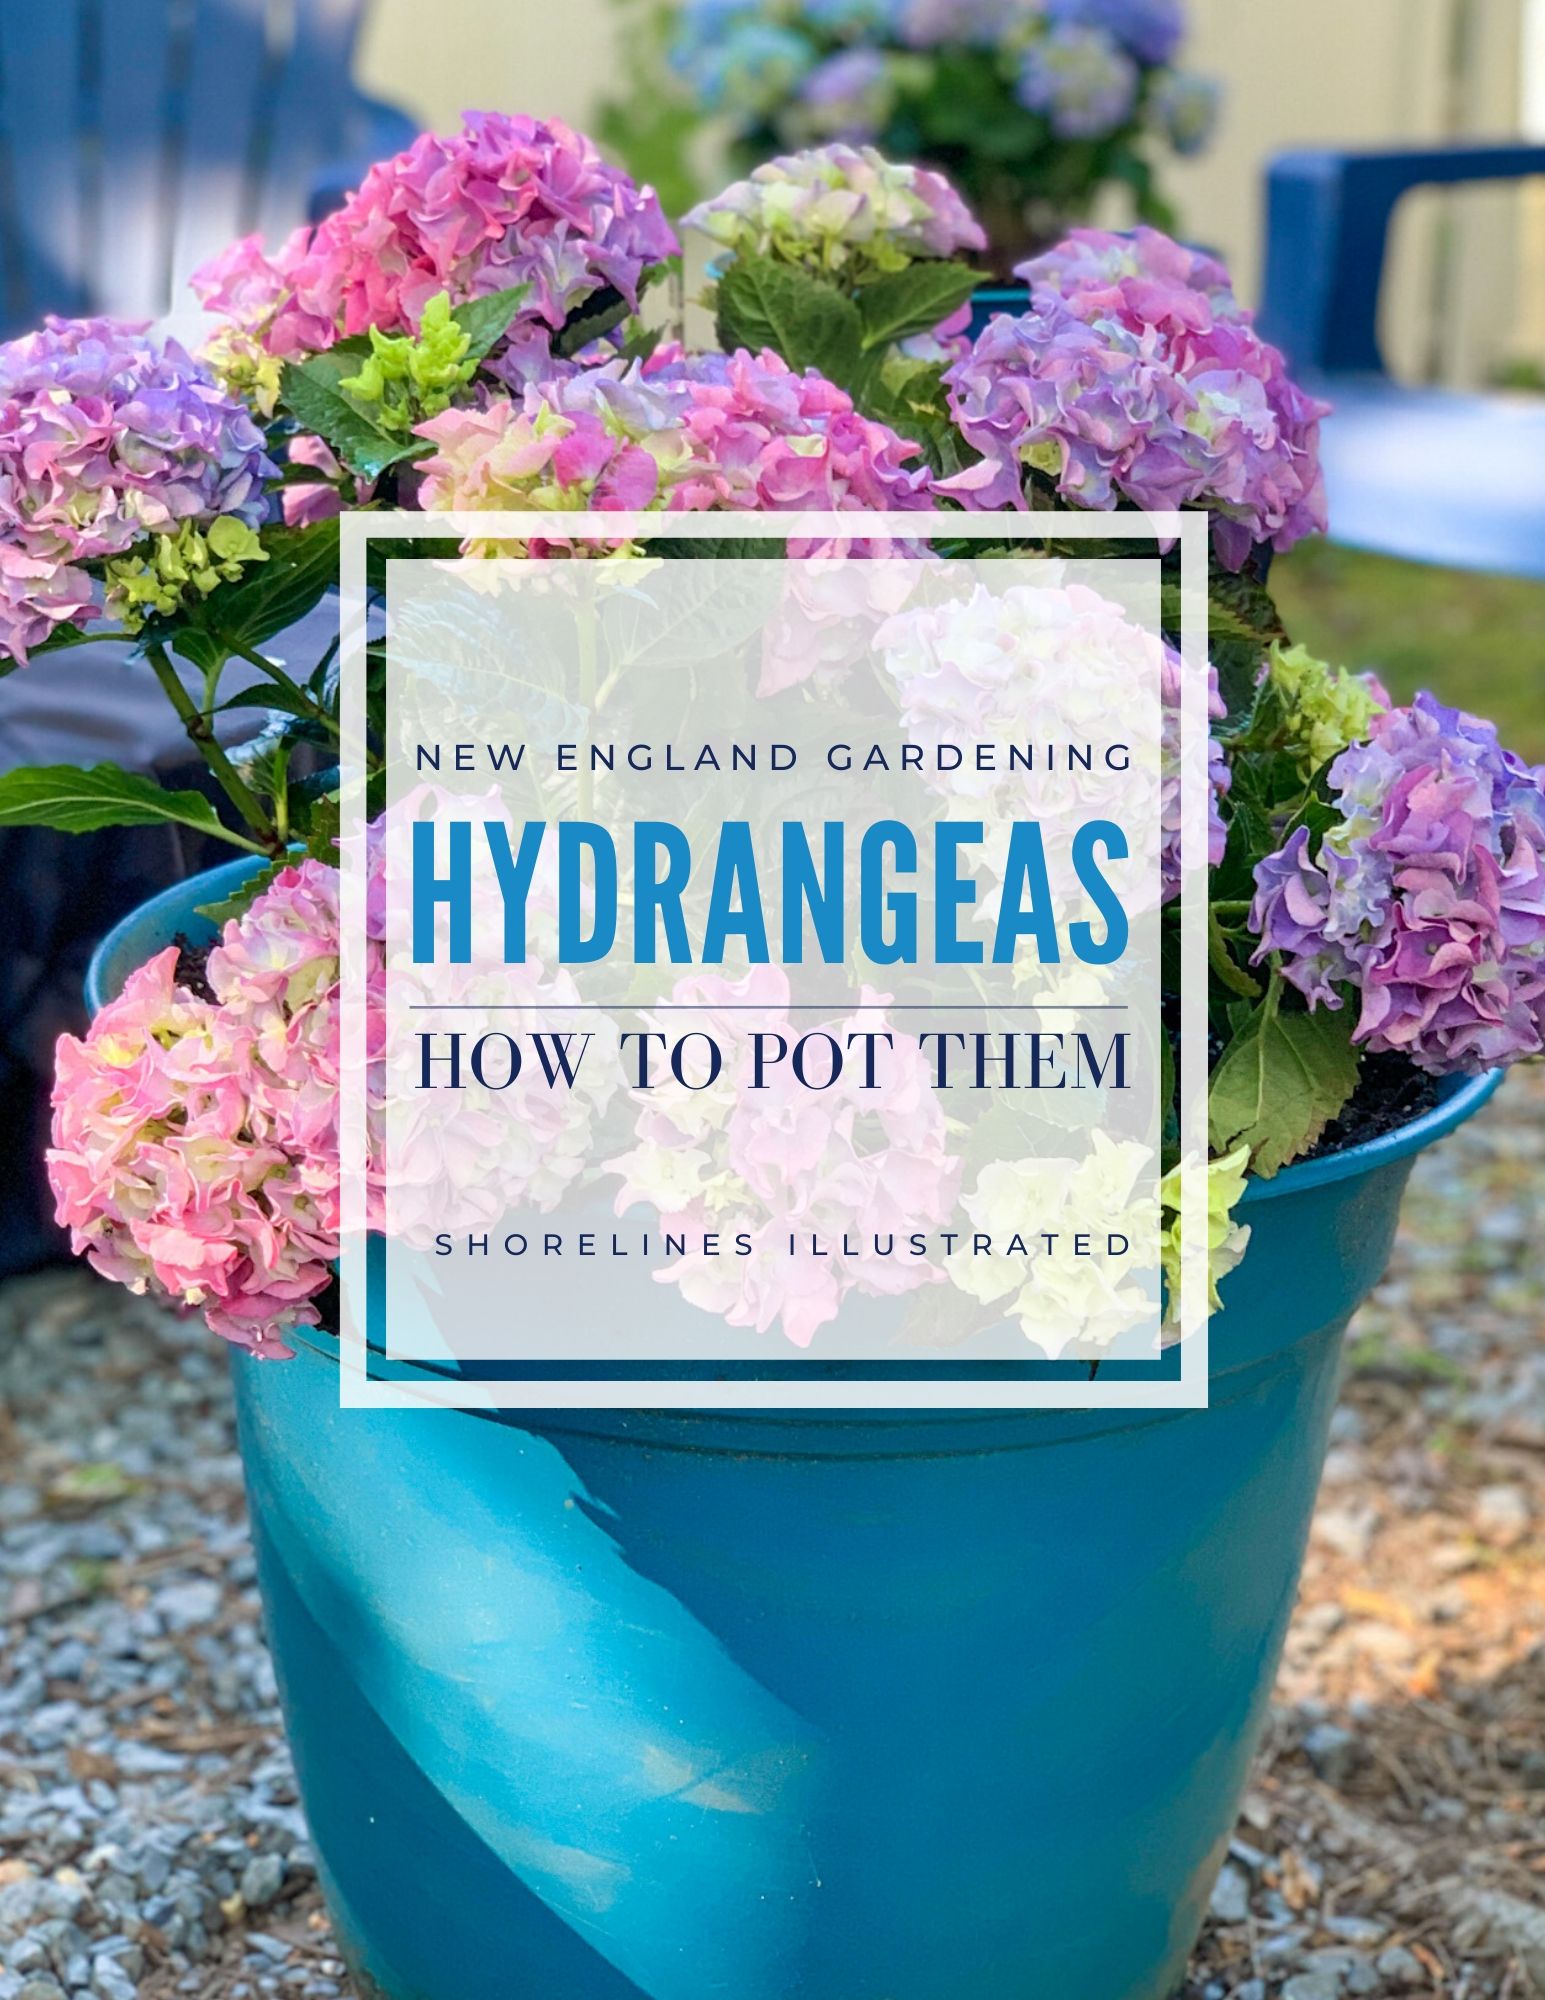
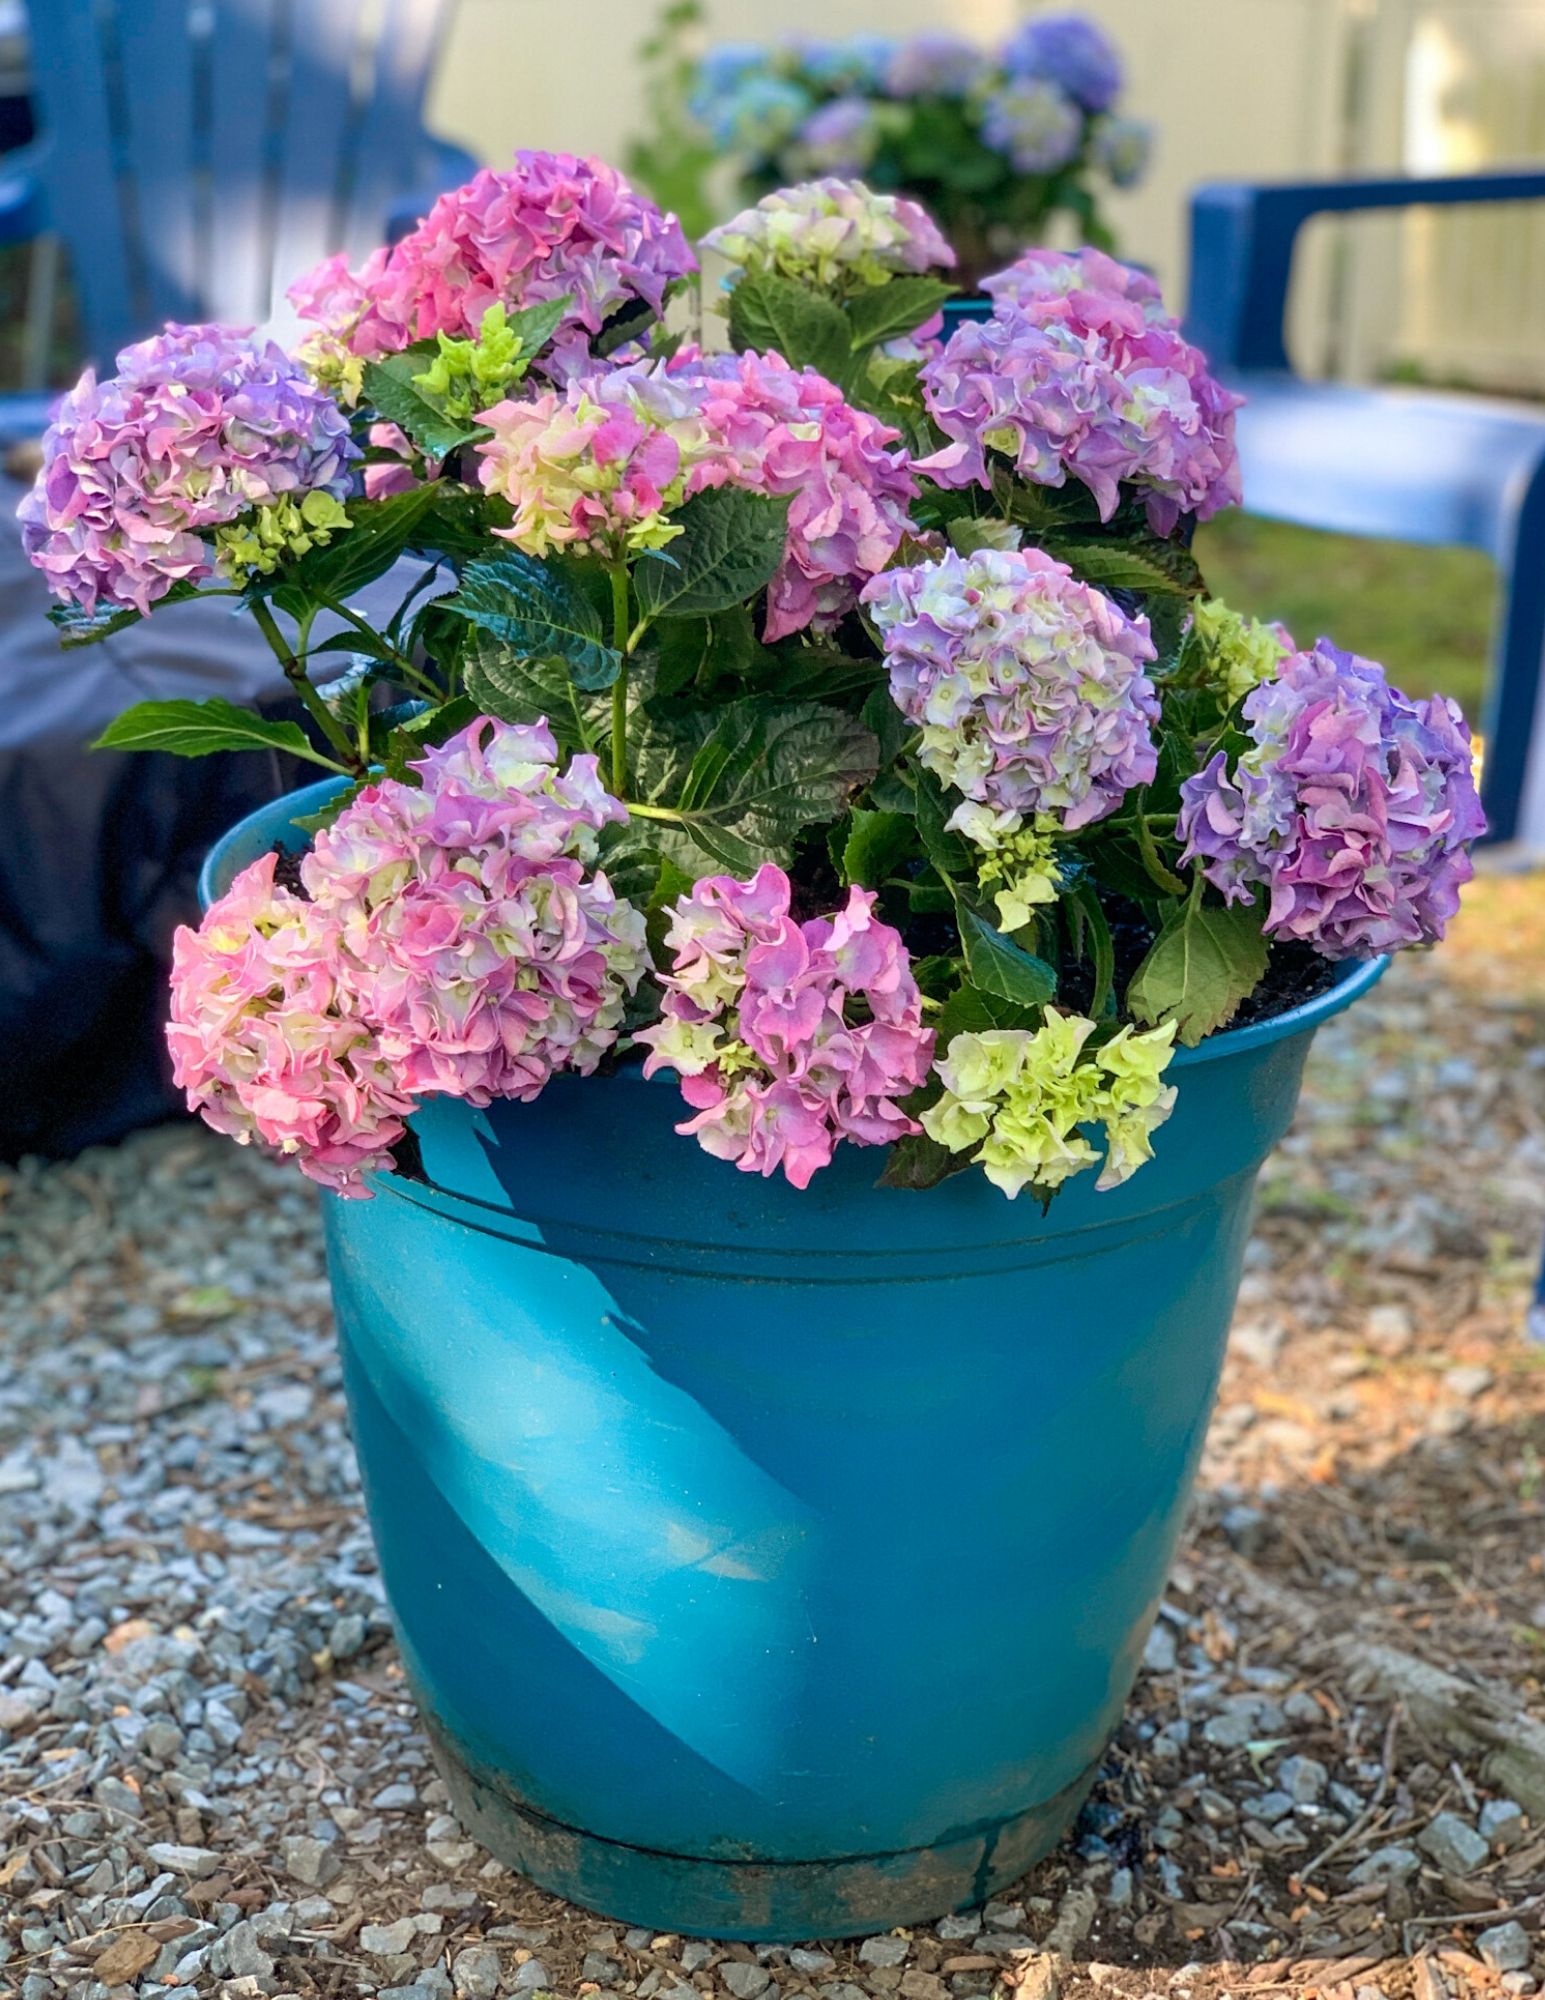
It’s no secret that we love Hydrangeas around here. But having them close by on a porch or patio is not always an option. Our first summer keeping potted hydrangeas on our deck was a huge success – we had blooms from the time we planted them in June until as late as September. And the best part, its not as complicated as you think to arrange and maintain the plants throughout the entire summer.
Here is 7 step guide to making the most of your potted hydrangea garden.
1. Pick a Winner
The first crucial step is to make sure you choose a plant that looks hearty and healthy. Do they look like they have been well watered? Are the leaves browning? Are there incoming buds on the stems? Most of these issues will depend on the store or nursery you are buying your plants from. Some of the big box stores can have varying qualities in their garden centers so be careful when you’re making your selections. While some TLC will certainly help bring them back to life, you want to be able to start with a good base.
2. Be Container Ready
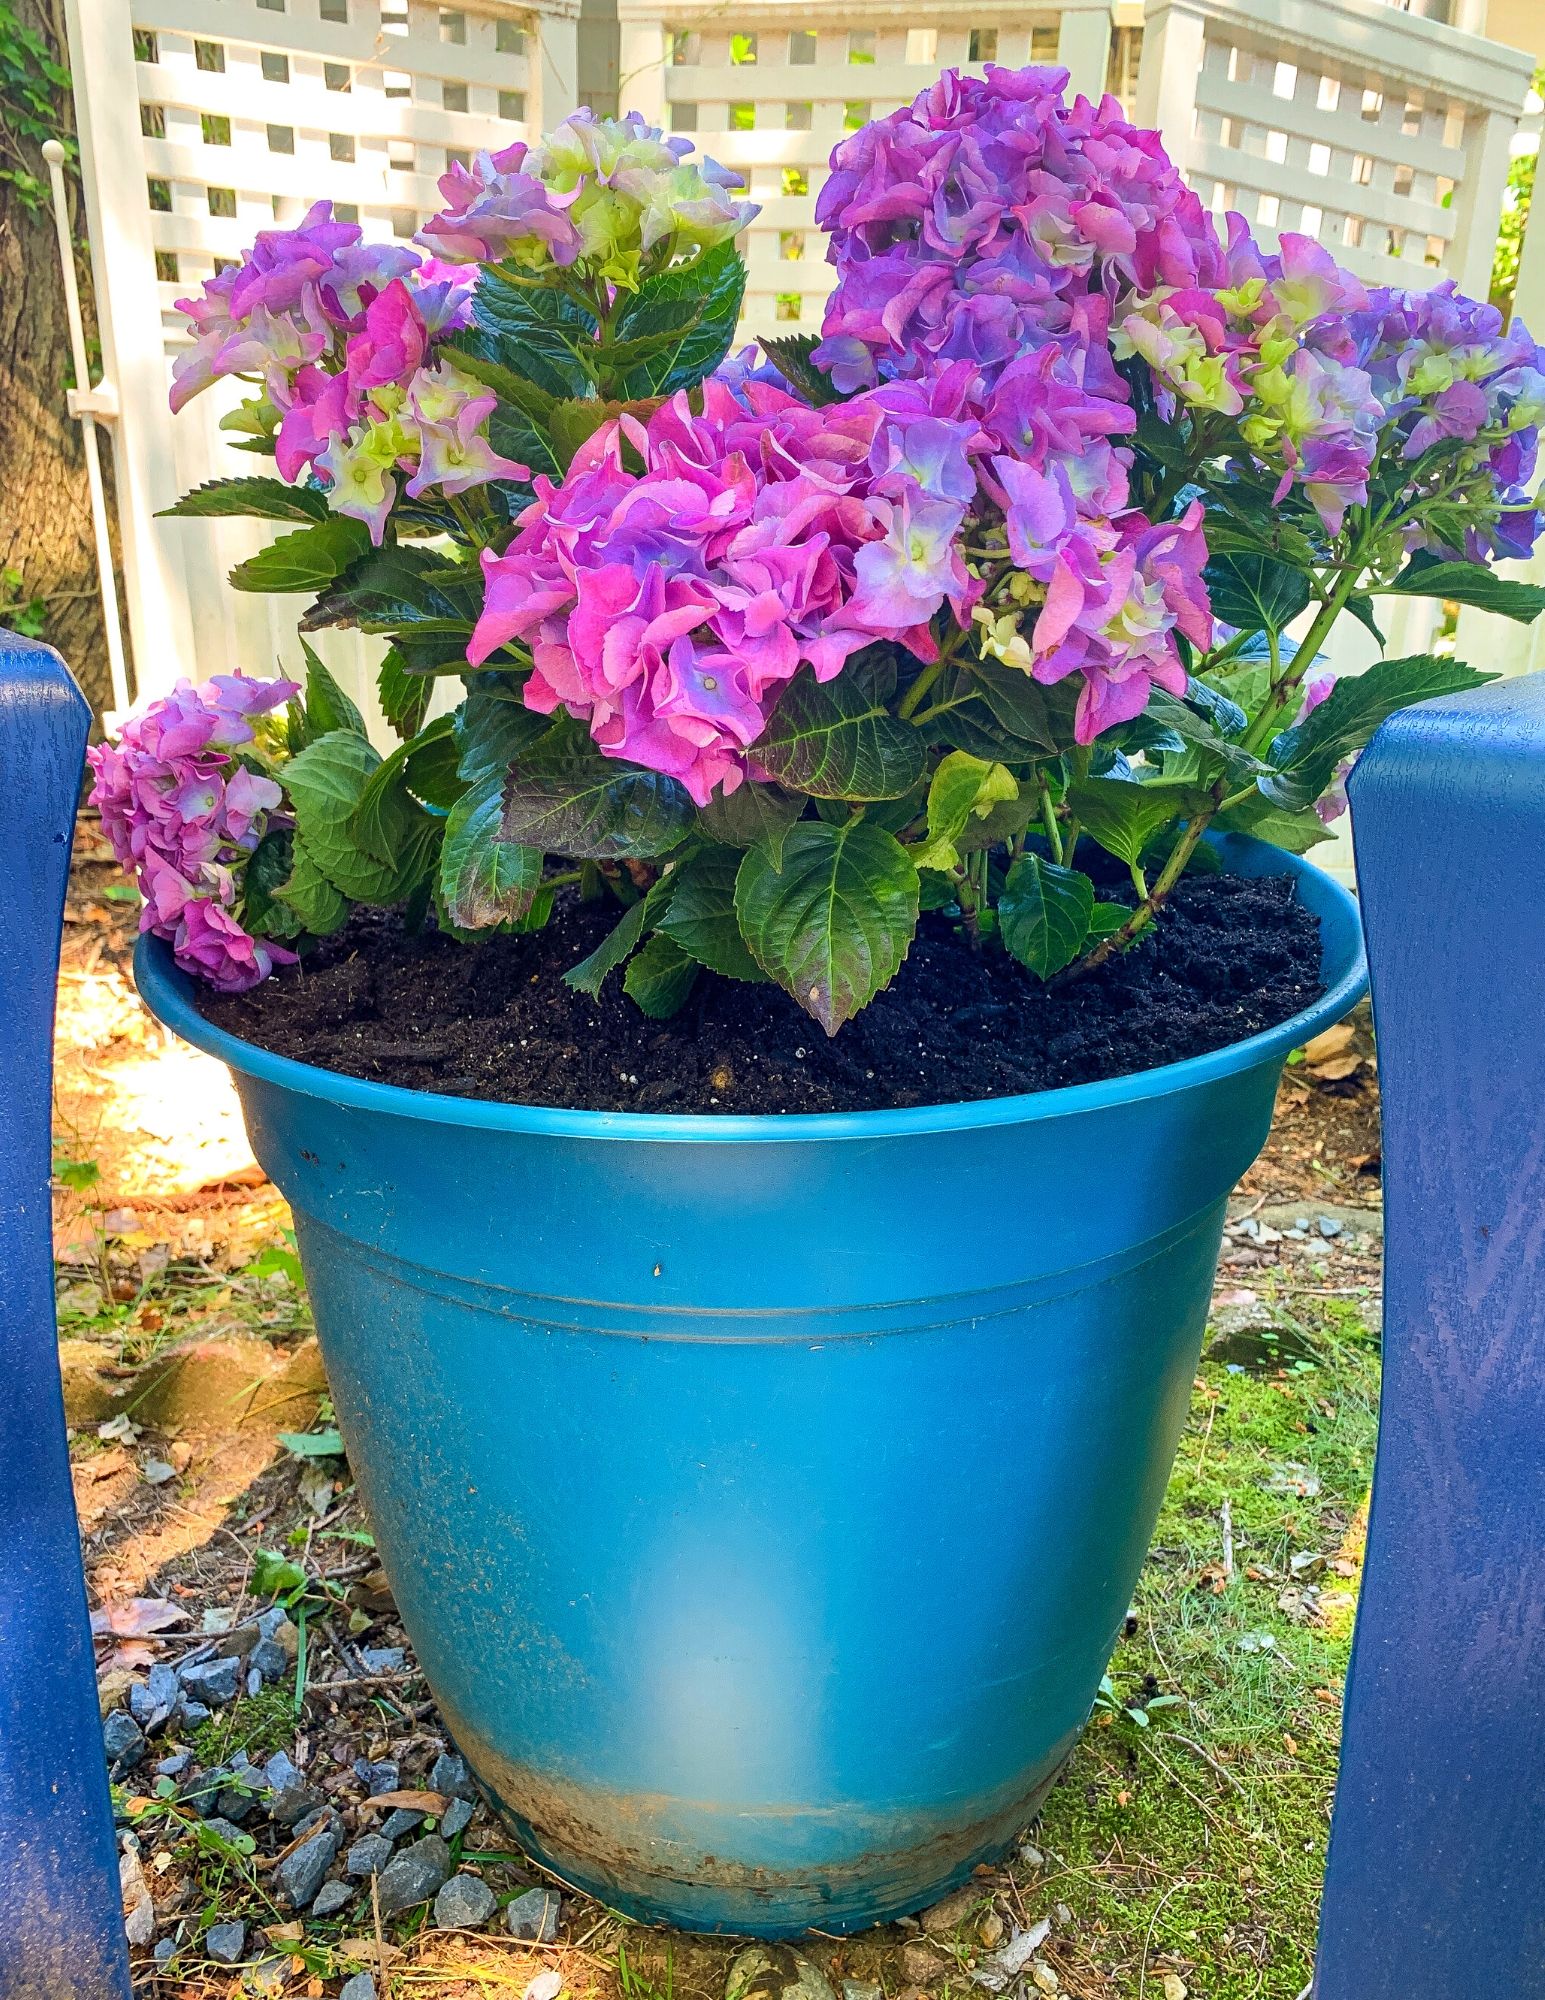
Choosing your containers will help determine how much soil and plants you will need. We planned on doing 2 large floor planters and 2 medium pedestal planters.
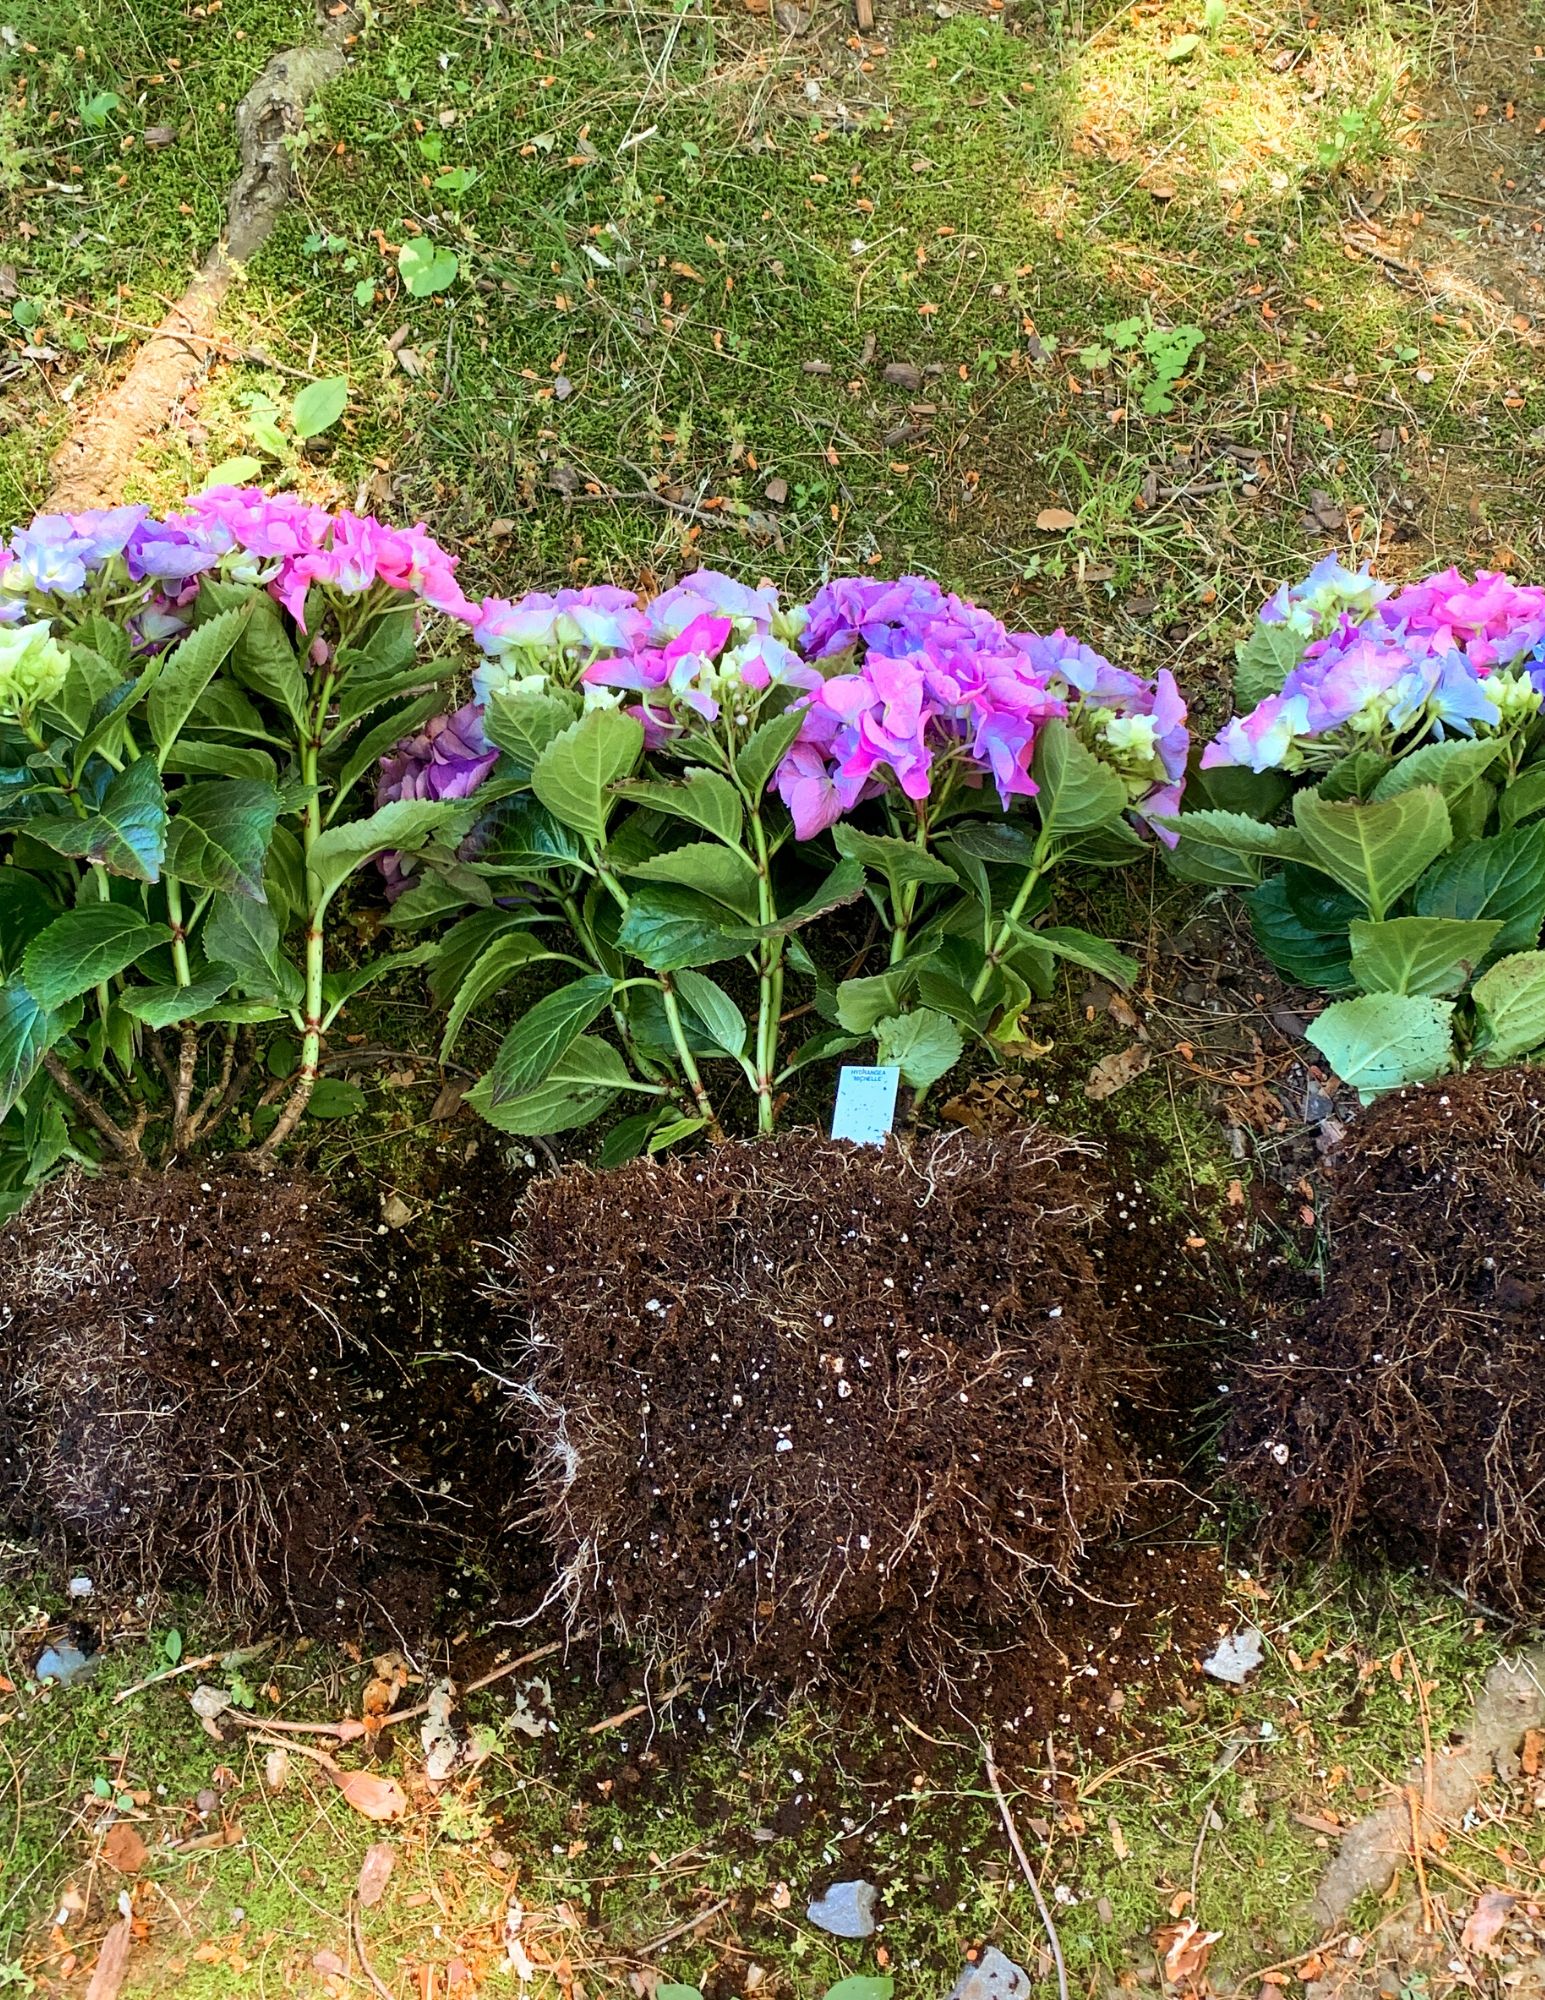
The plants we chose had 3 separate bulbs, so we decided to keep them together and just separate them slightly in the bigger pots and in tact with the smaller ones.
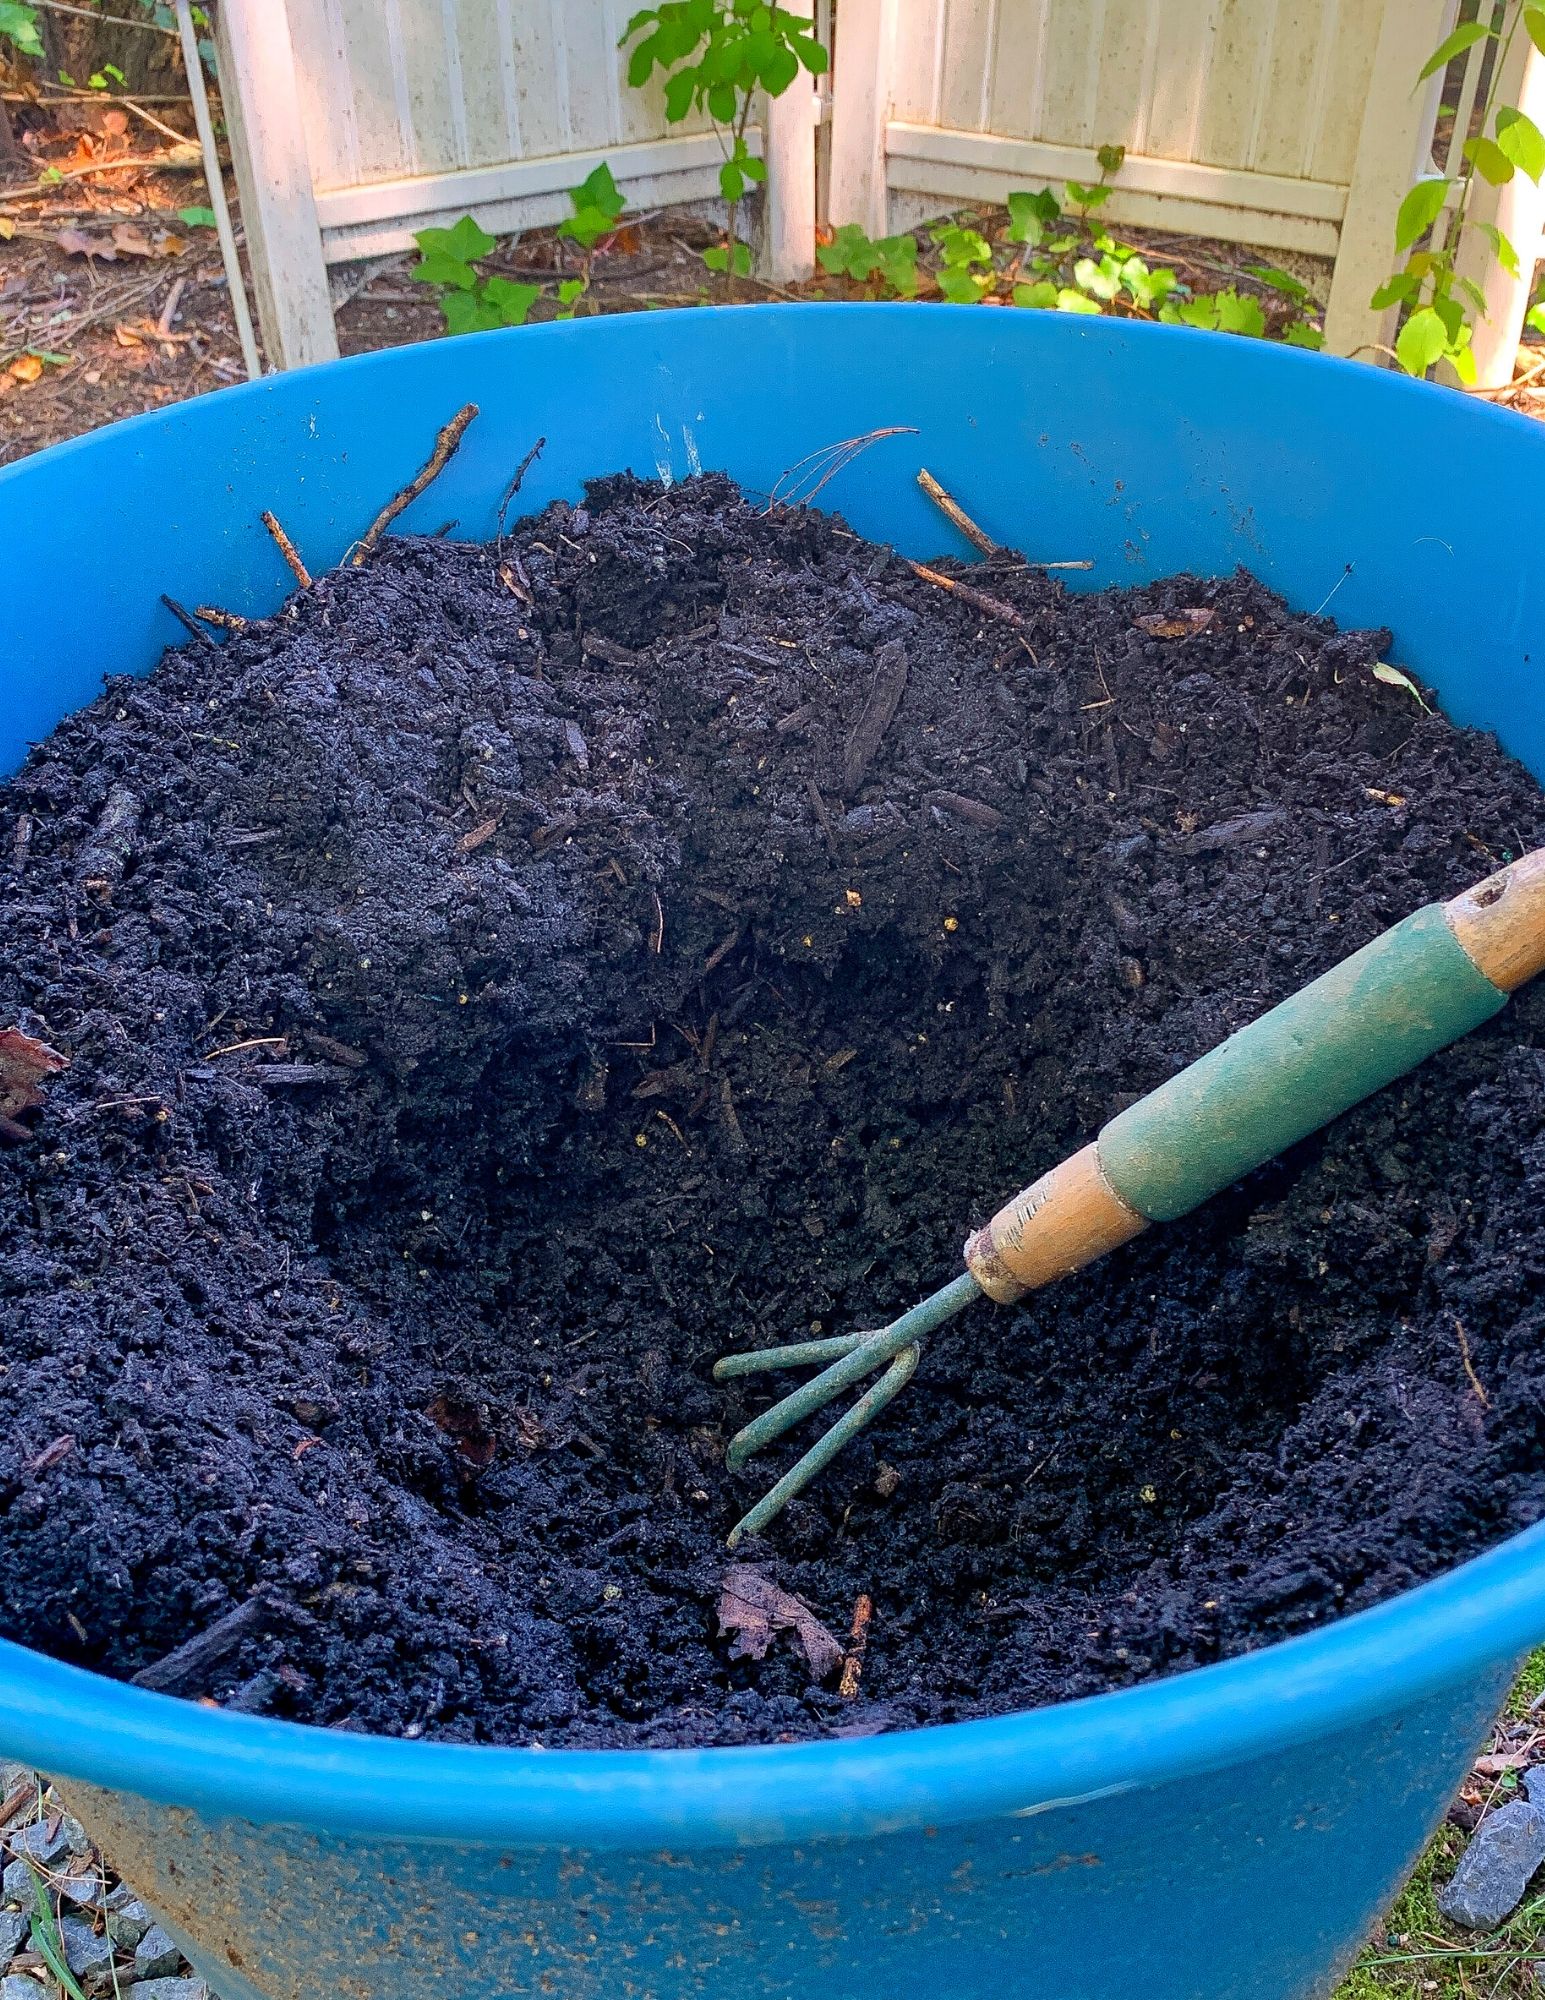
Each large planter required approximately (2) 32QT Dry Bags of Soil. We grabbed (5) in total to be able to fill in the smaller pots with the extra one.
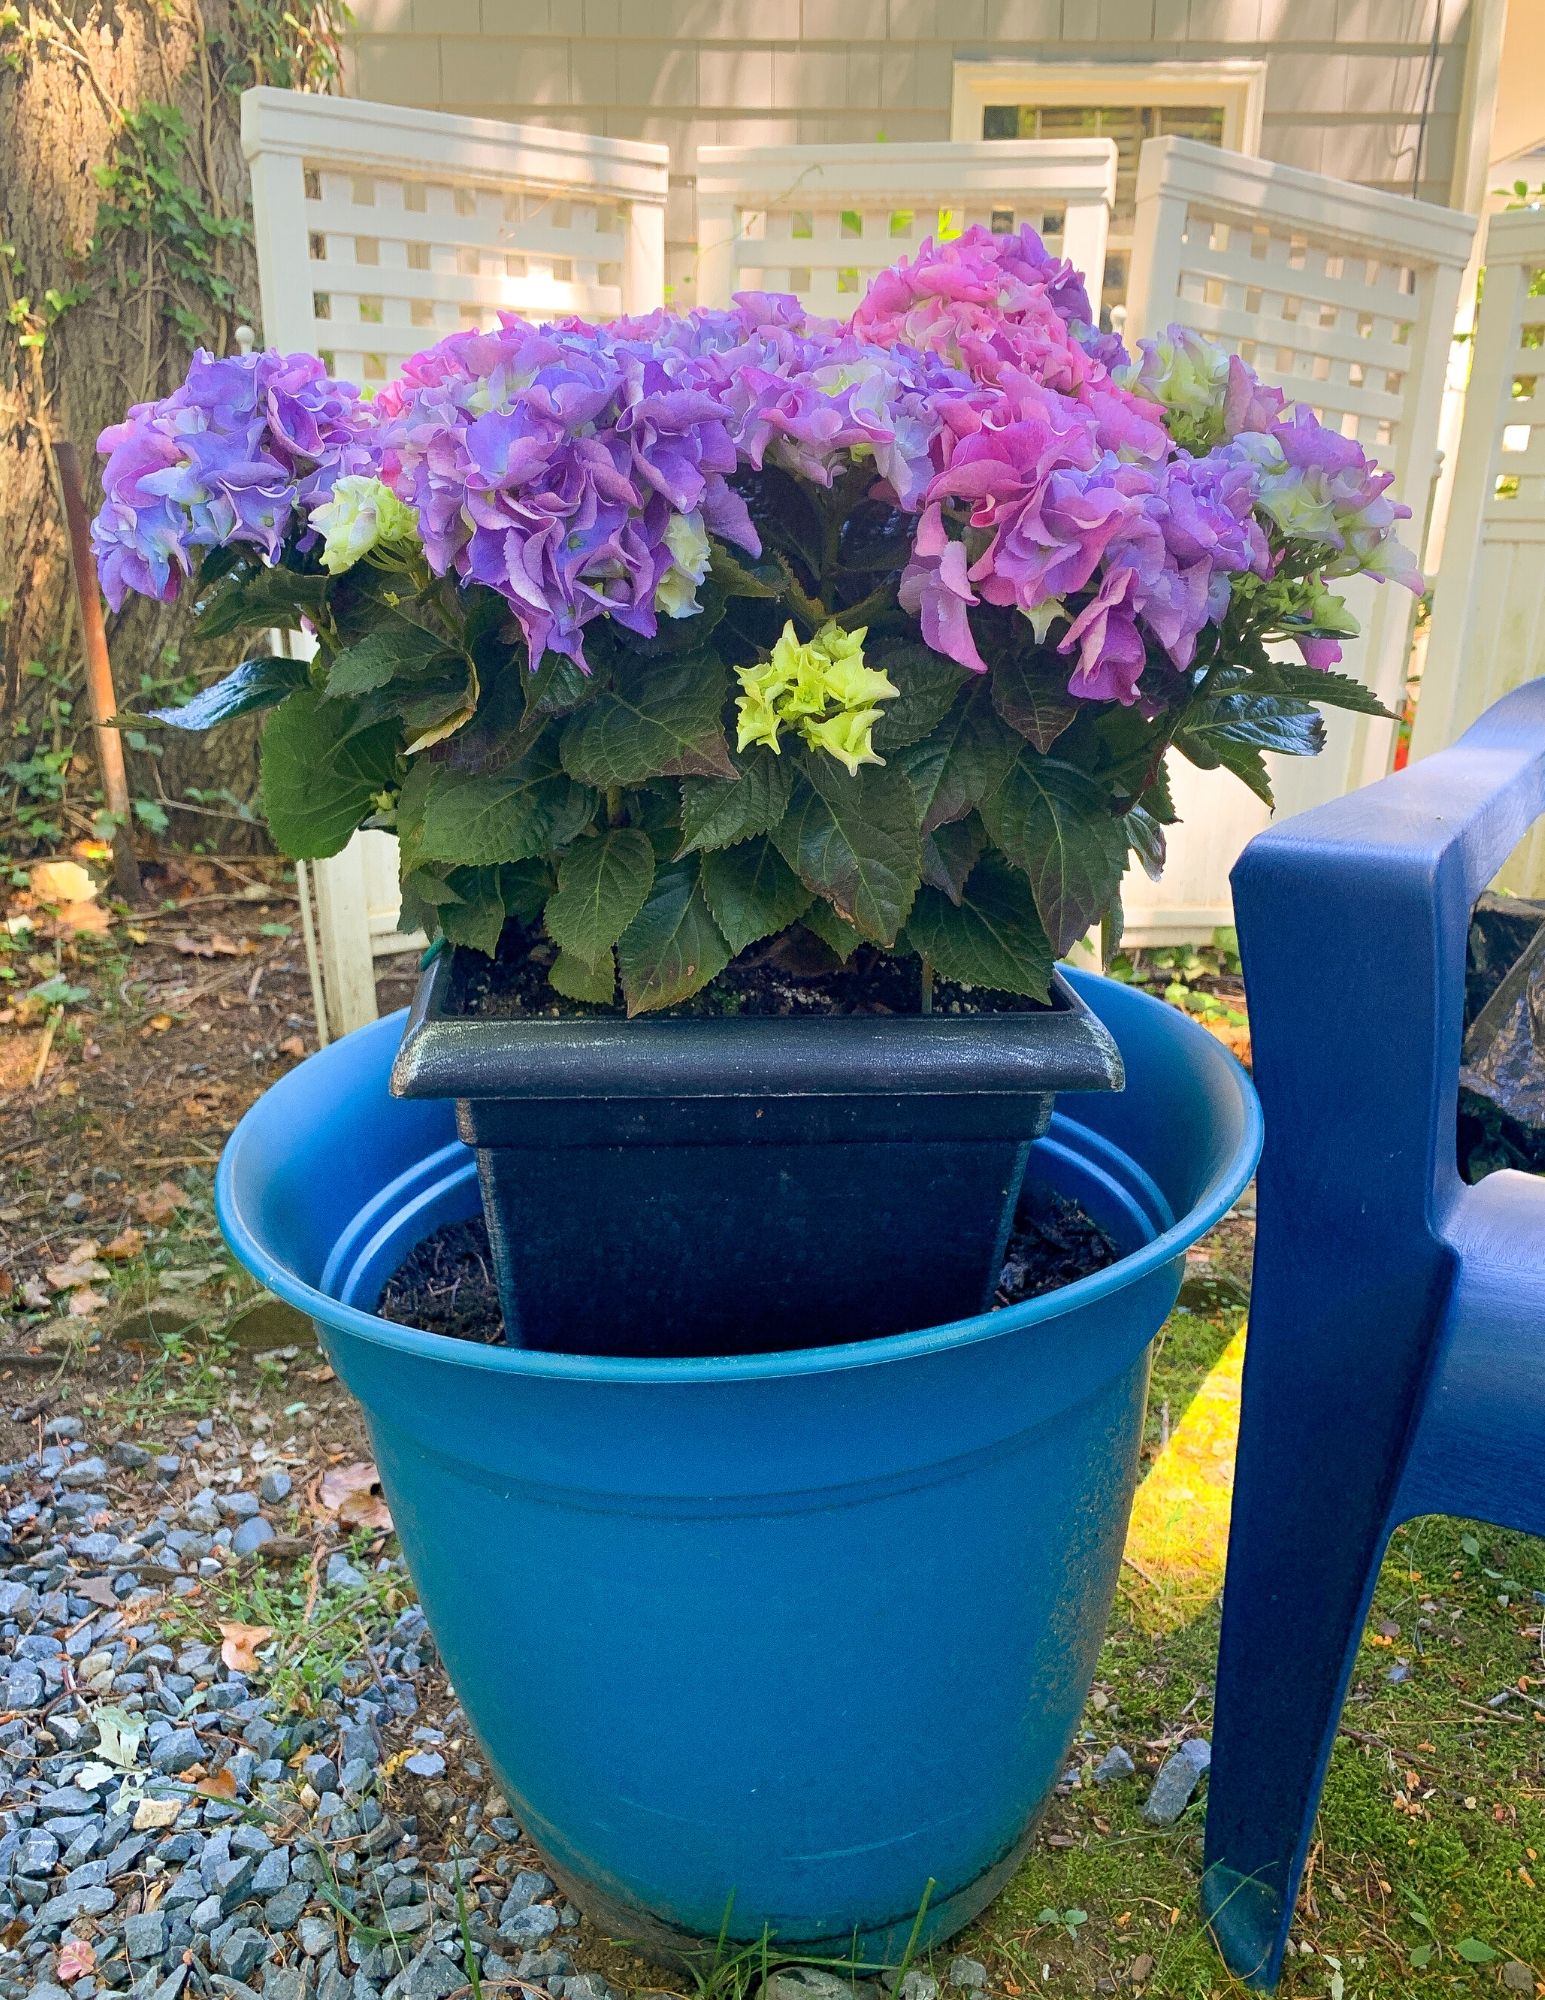
We filled each large planter about 2/3 of the way with soil and then placed the store container in the pot to see how much more we needed to fill before we placed the unpotted plants in them. This is a good way to make sure you don’t plant them too low or high in the container.
For the smaller planters, we only needed to fill about 1/3 of the planter, as the plants fit almost exactly in those.
3. Prepping the Plants
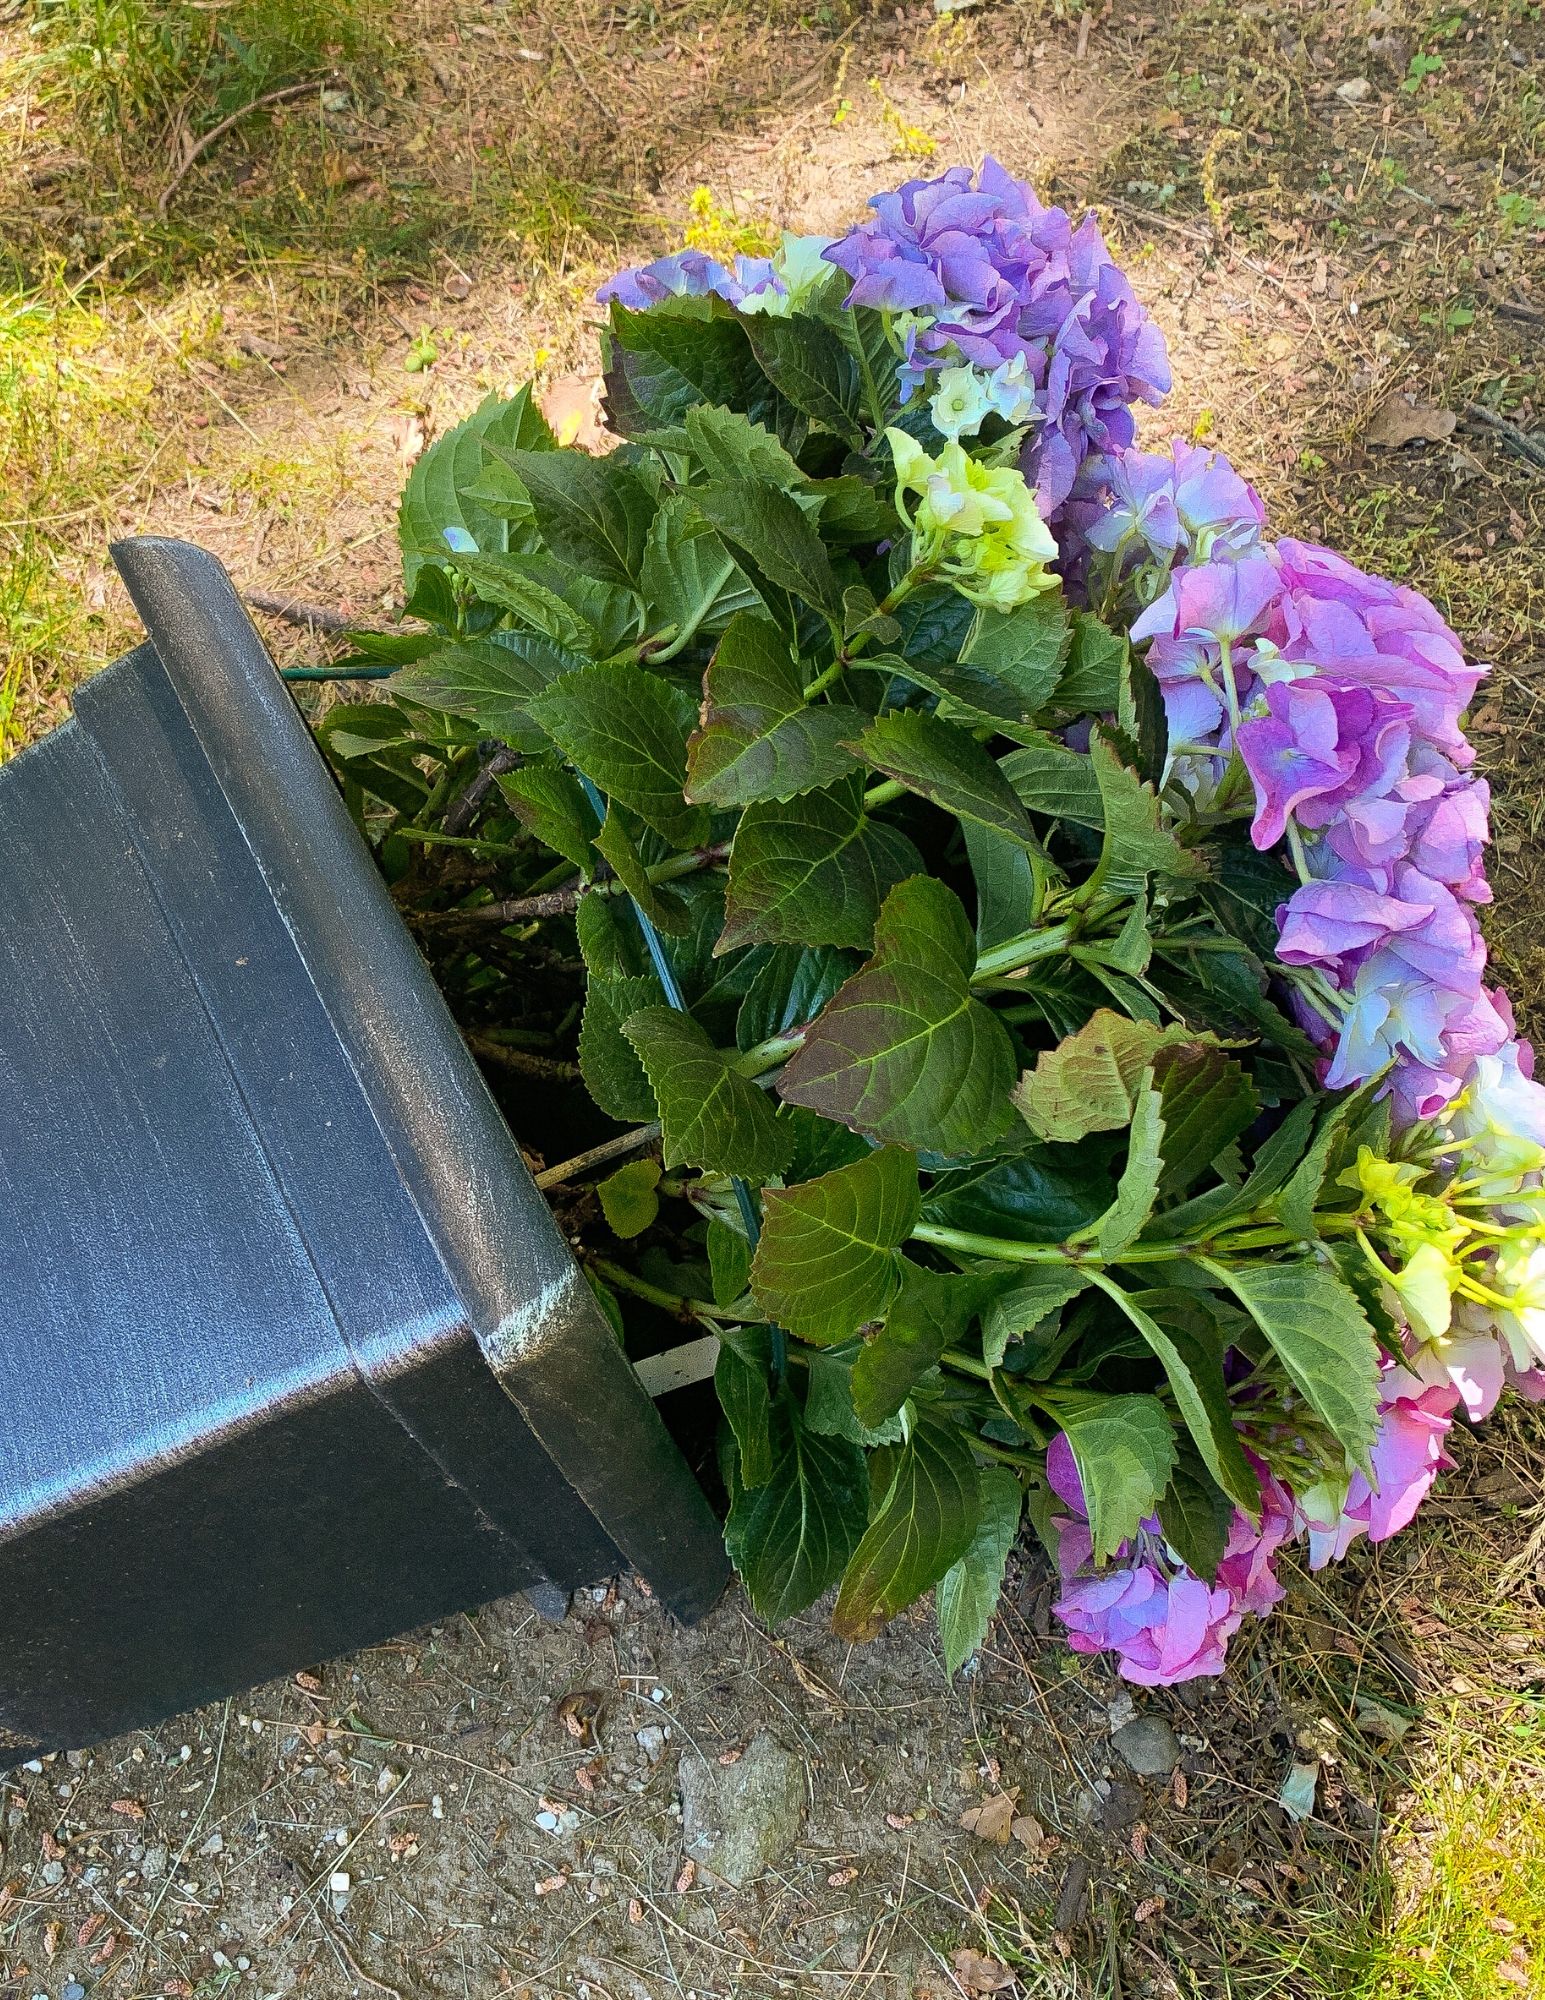
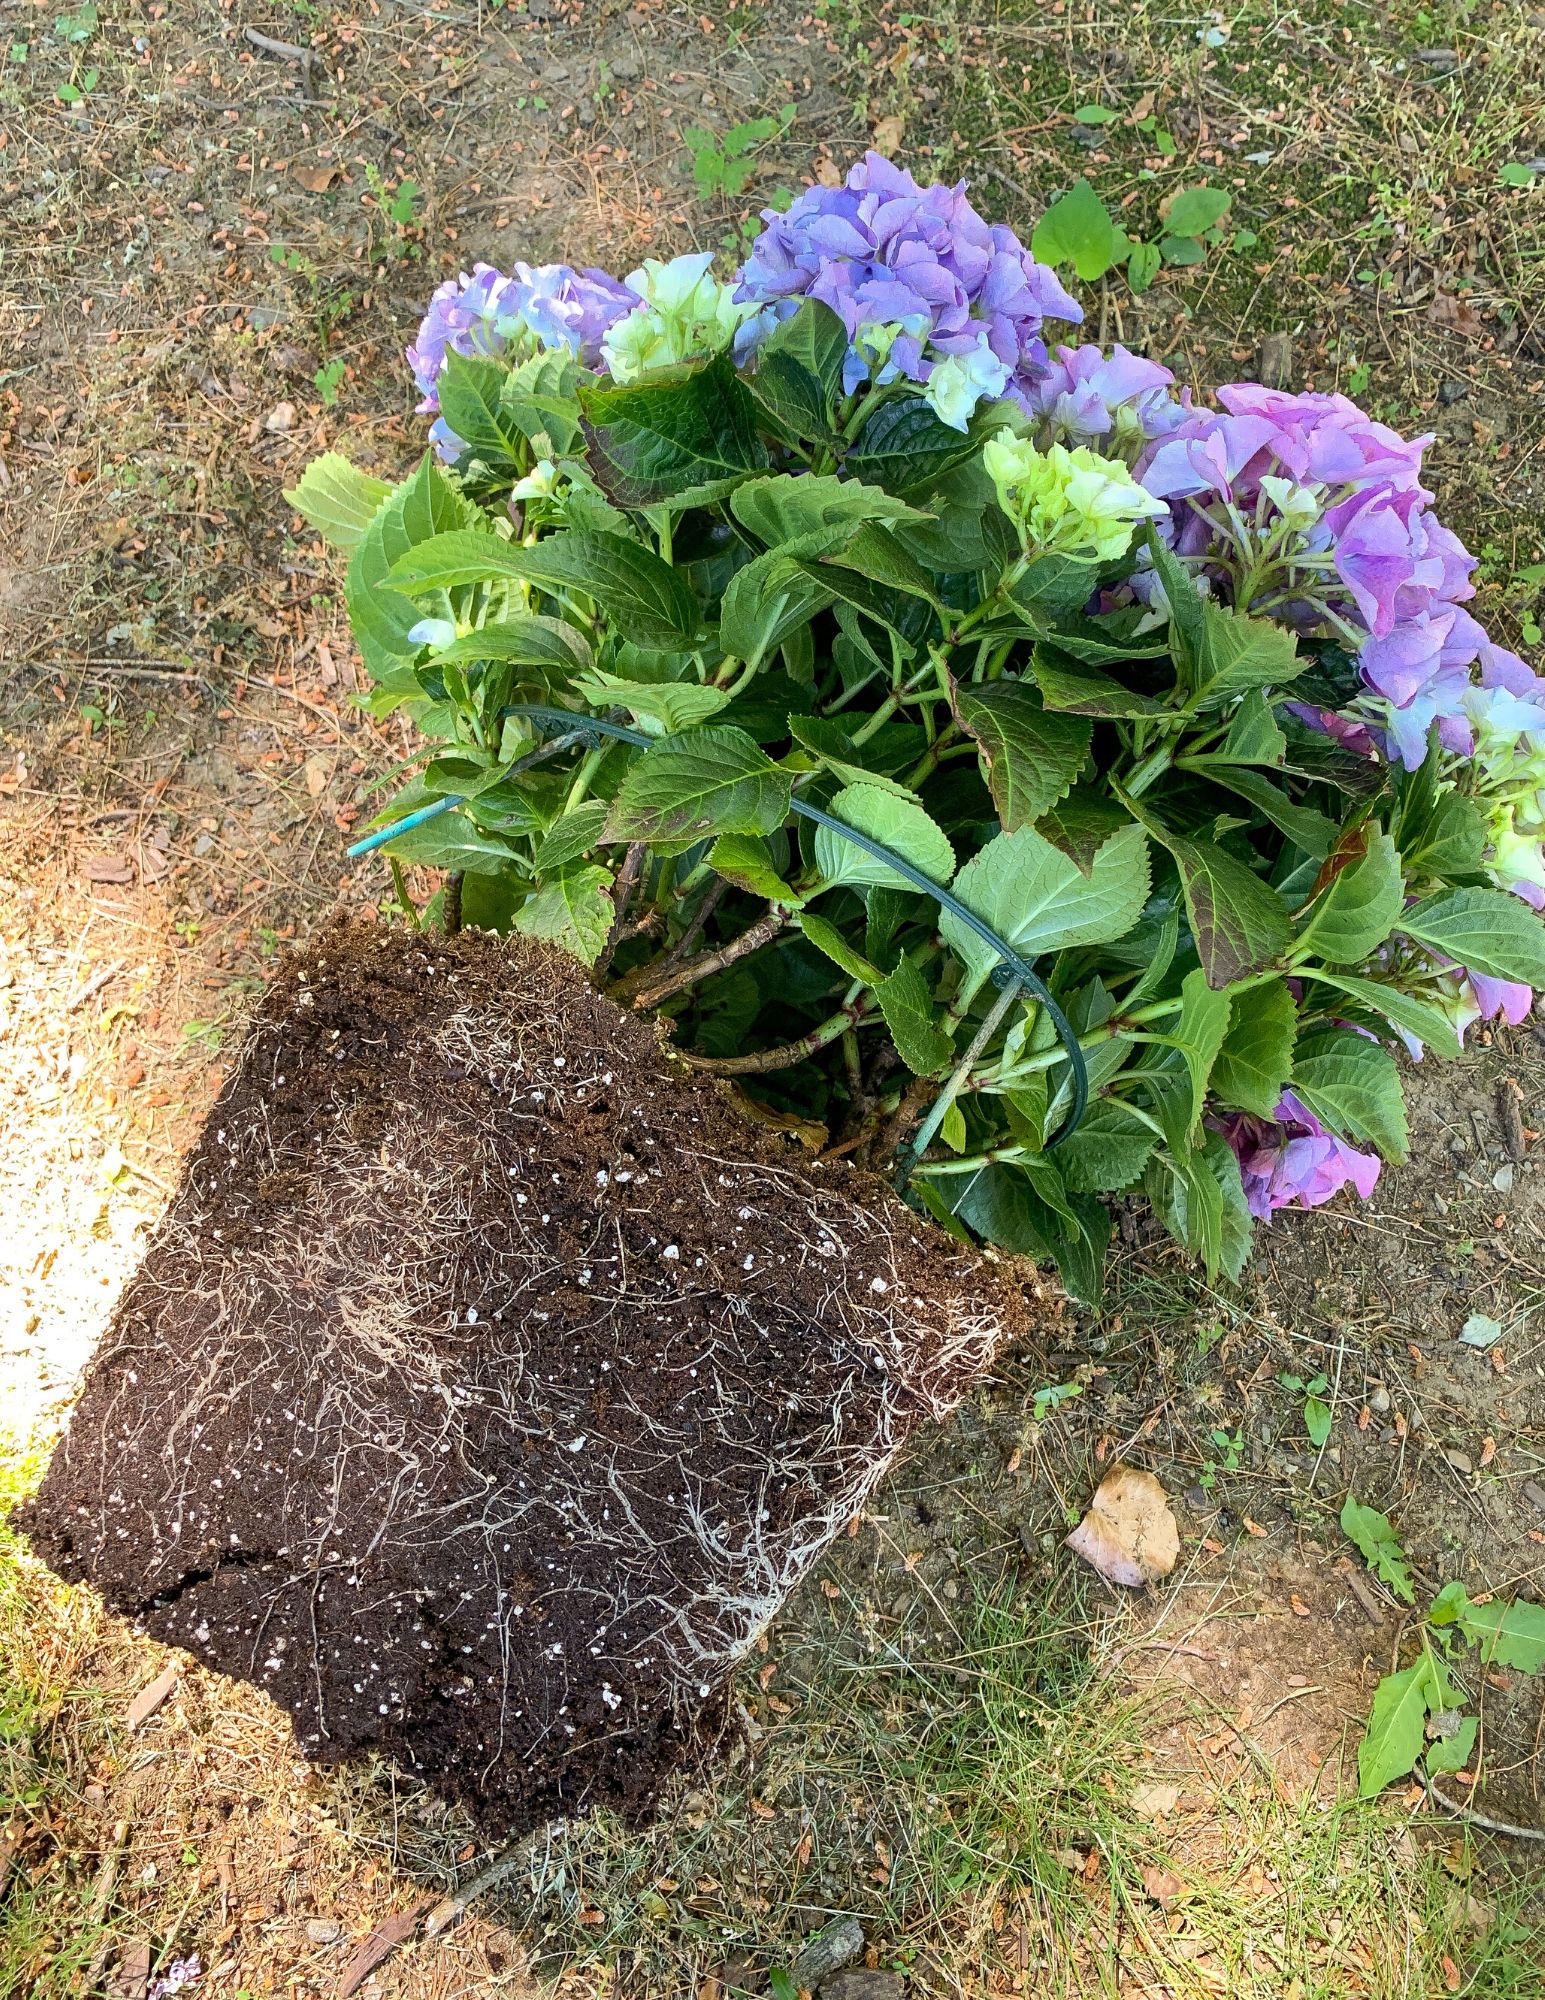
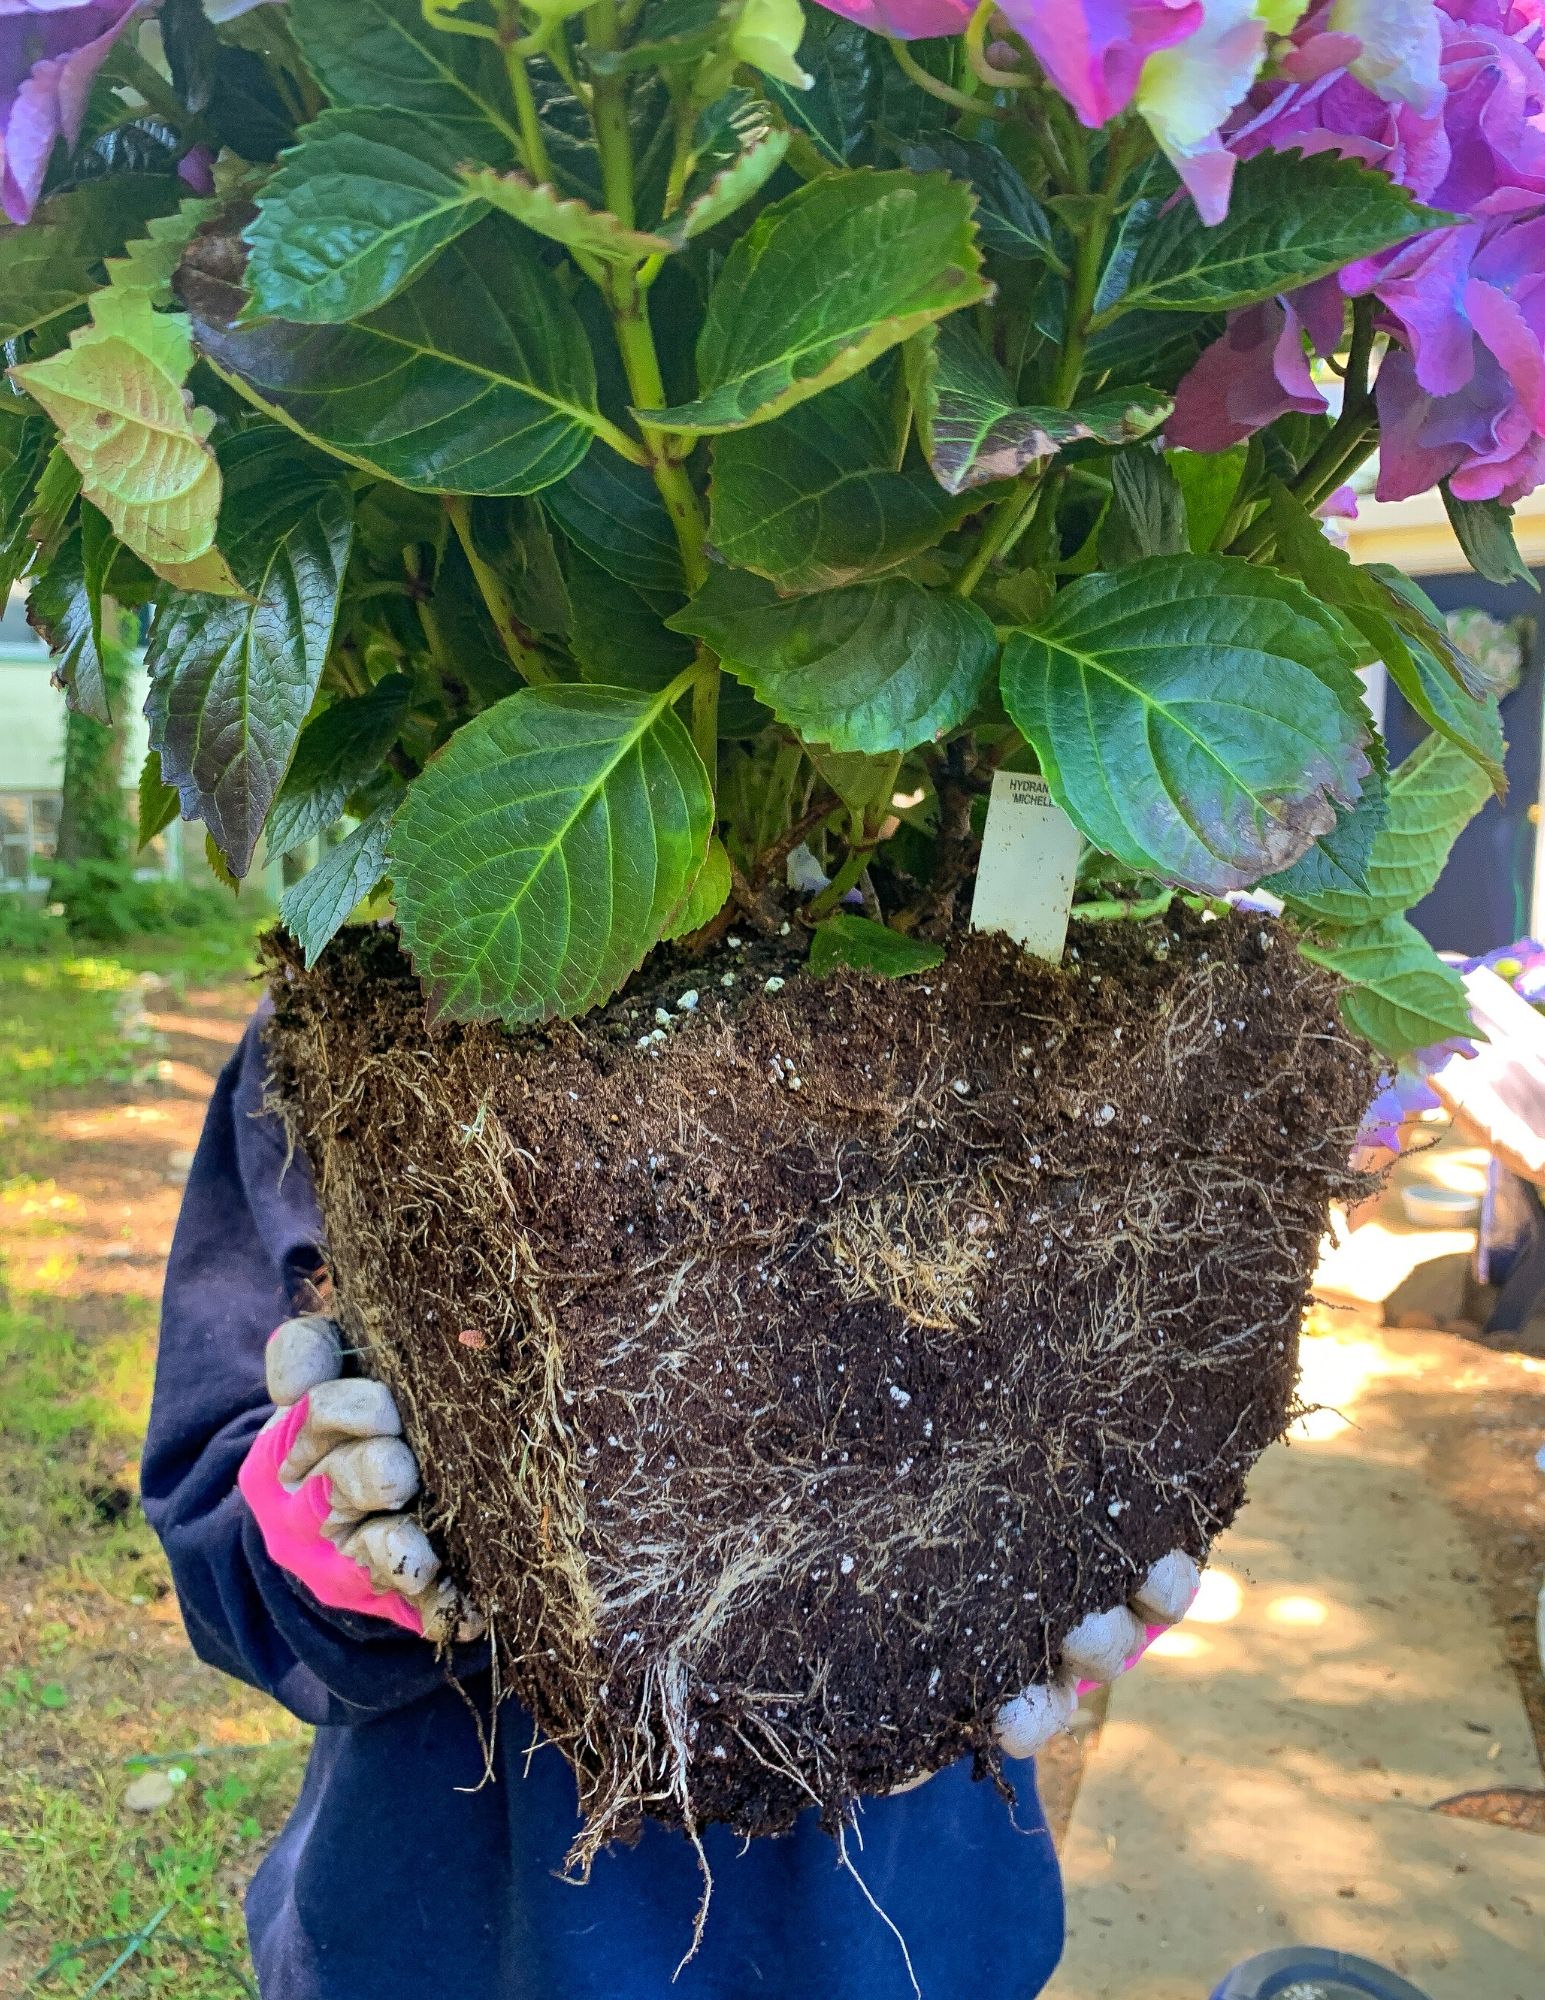
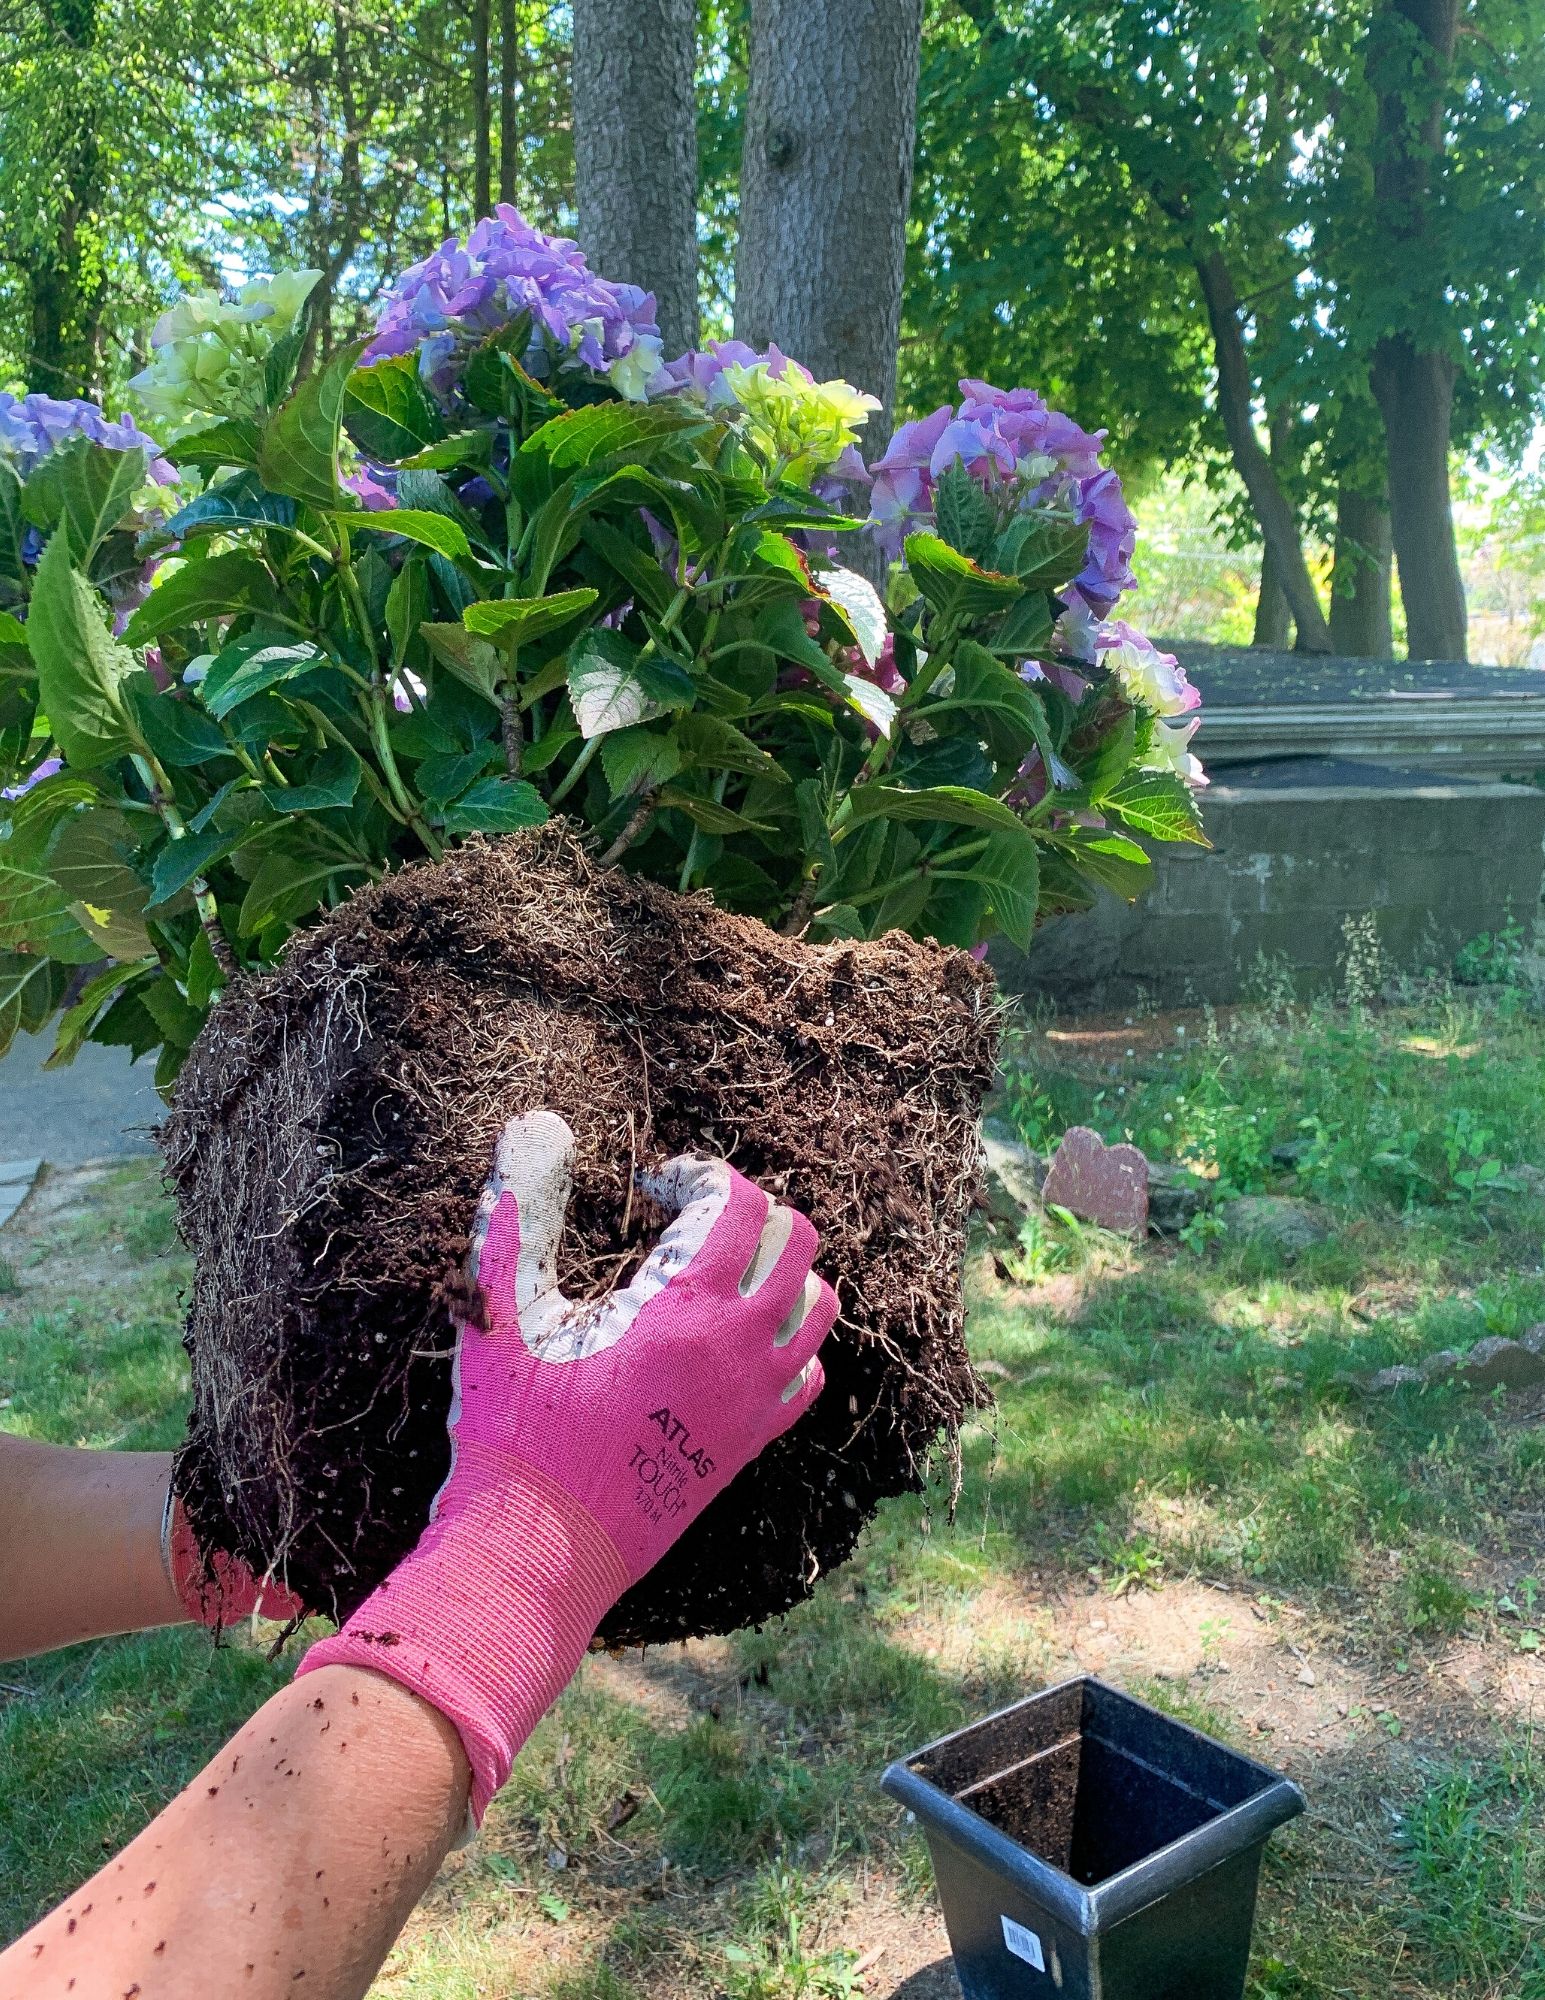
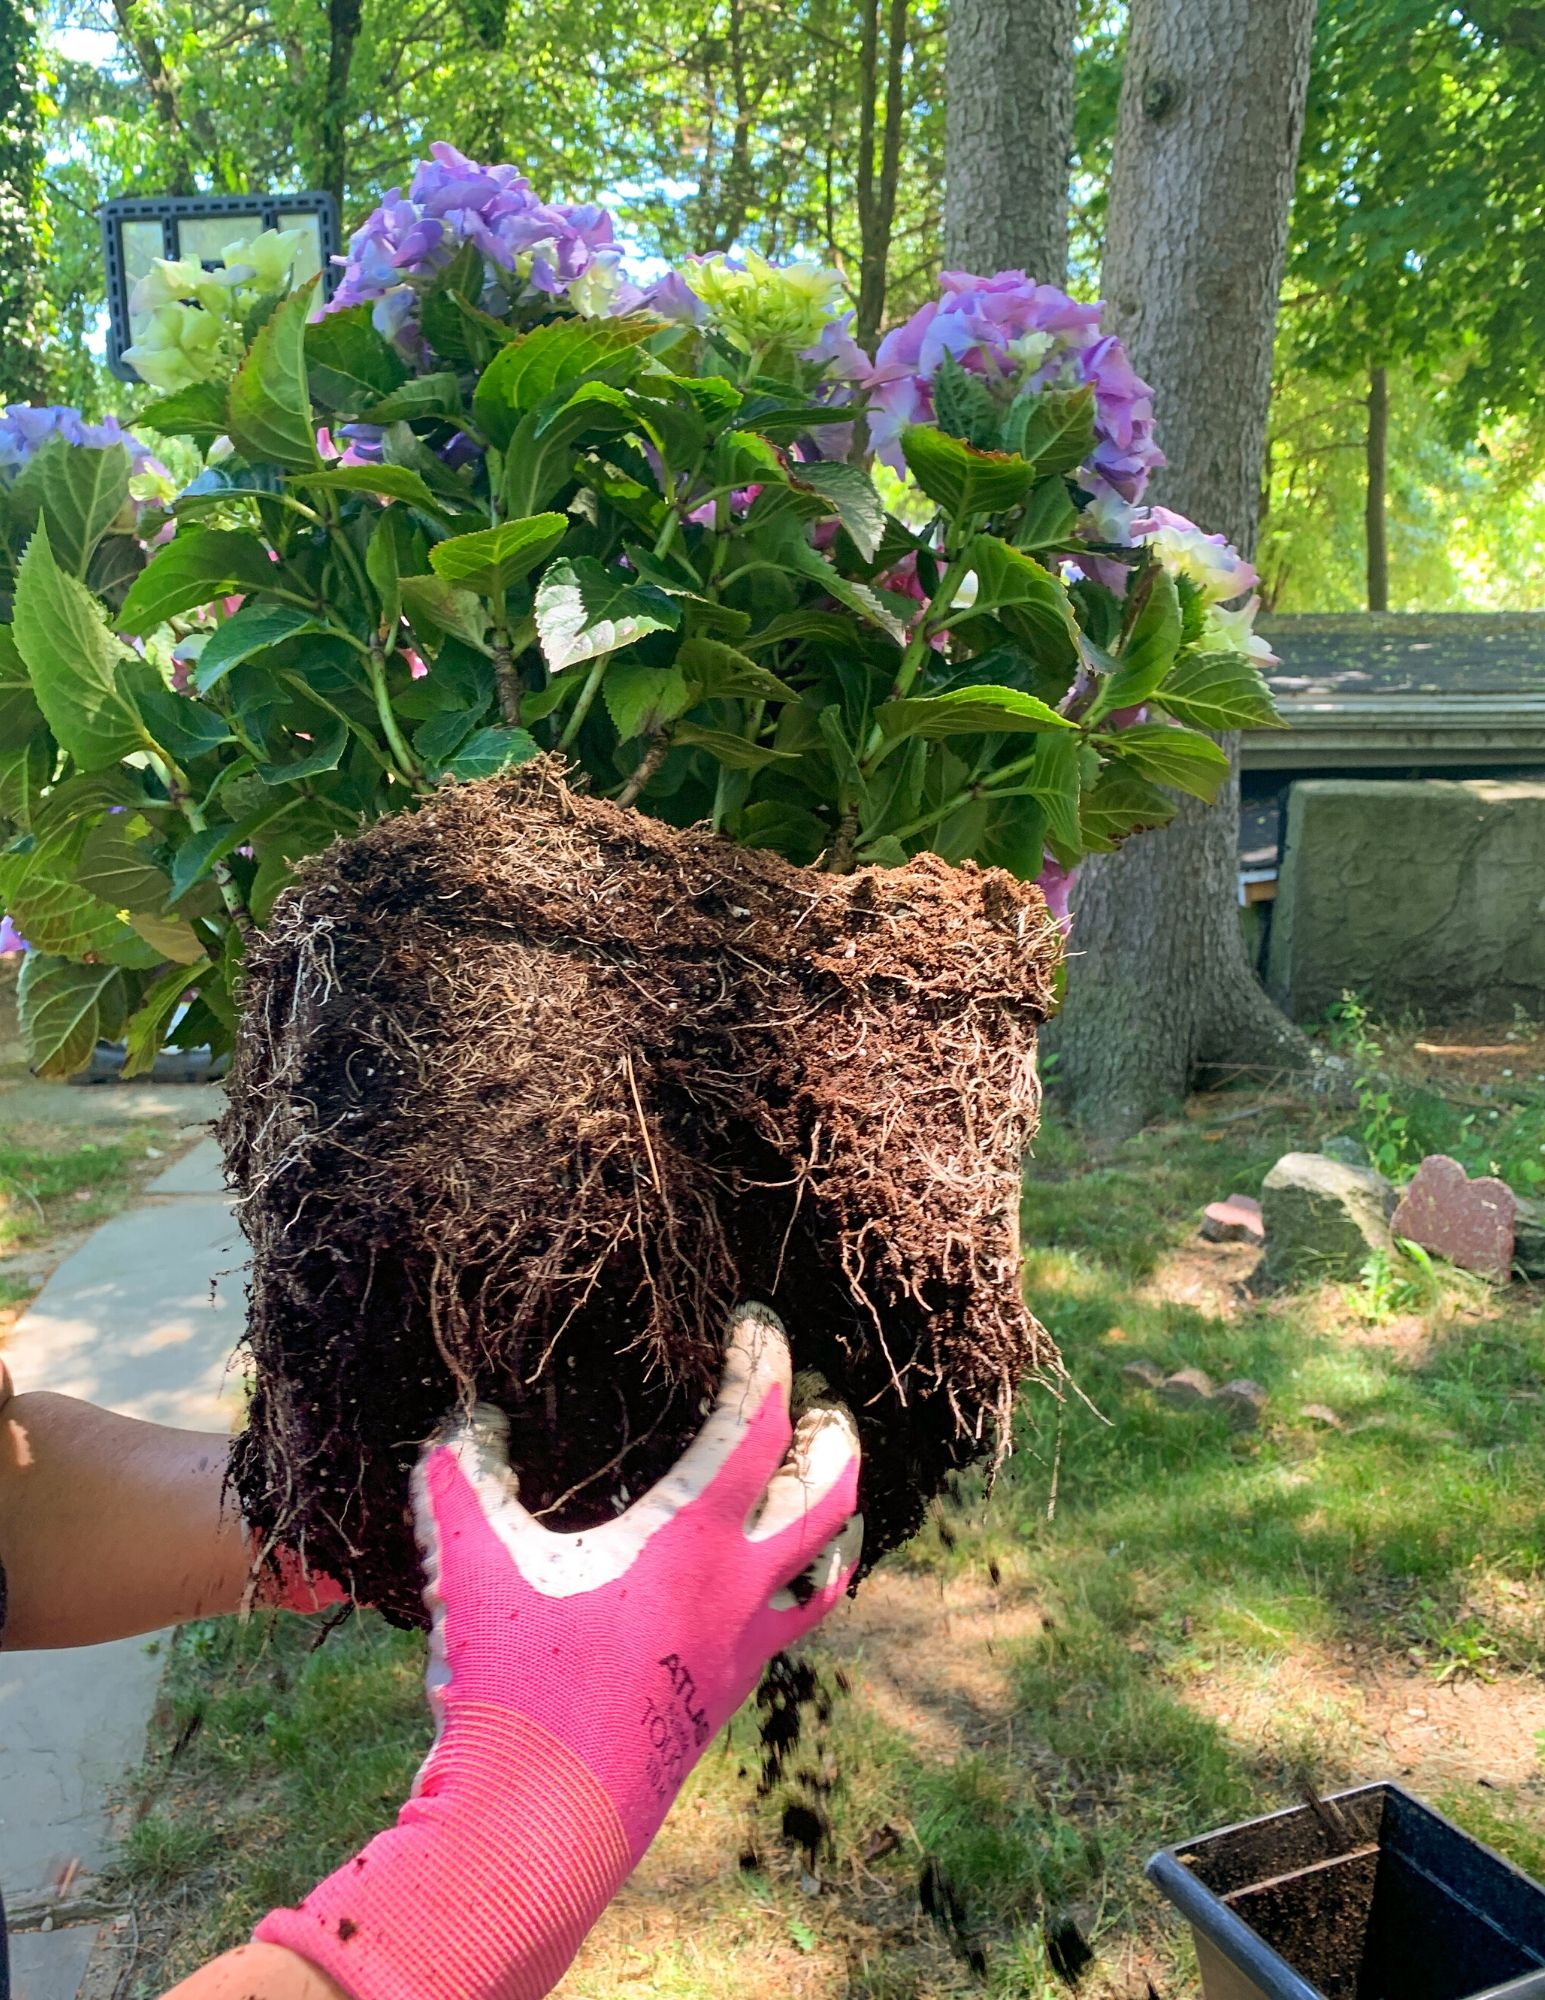
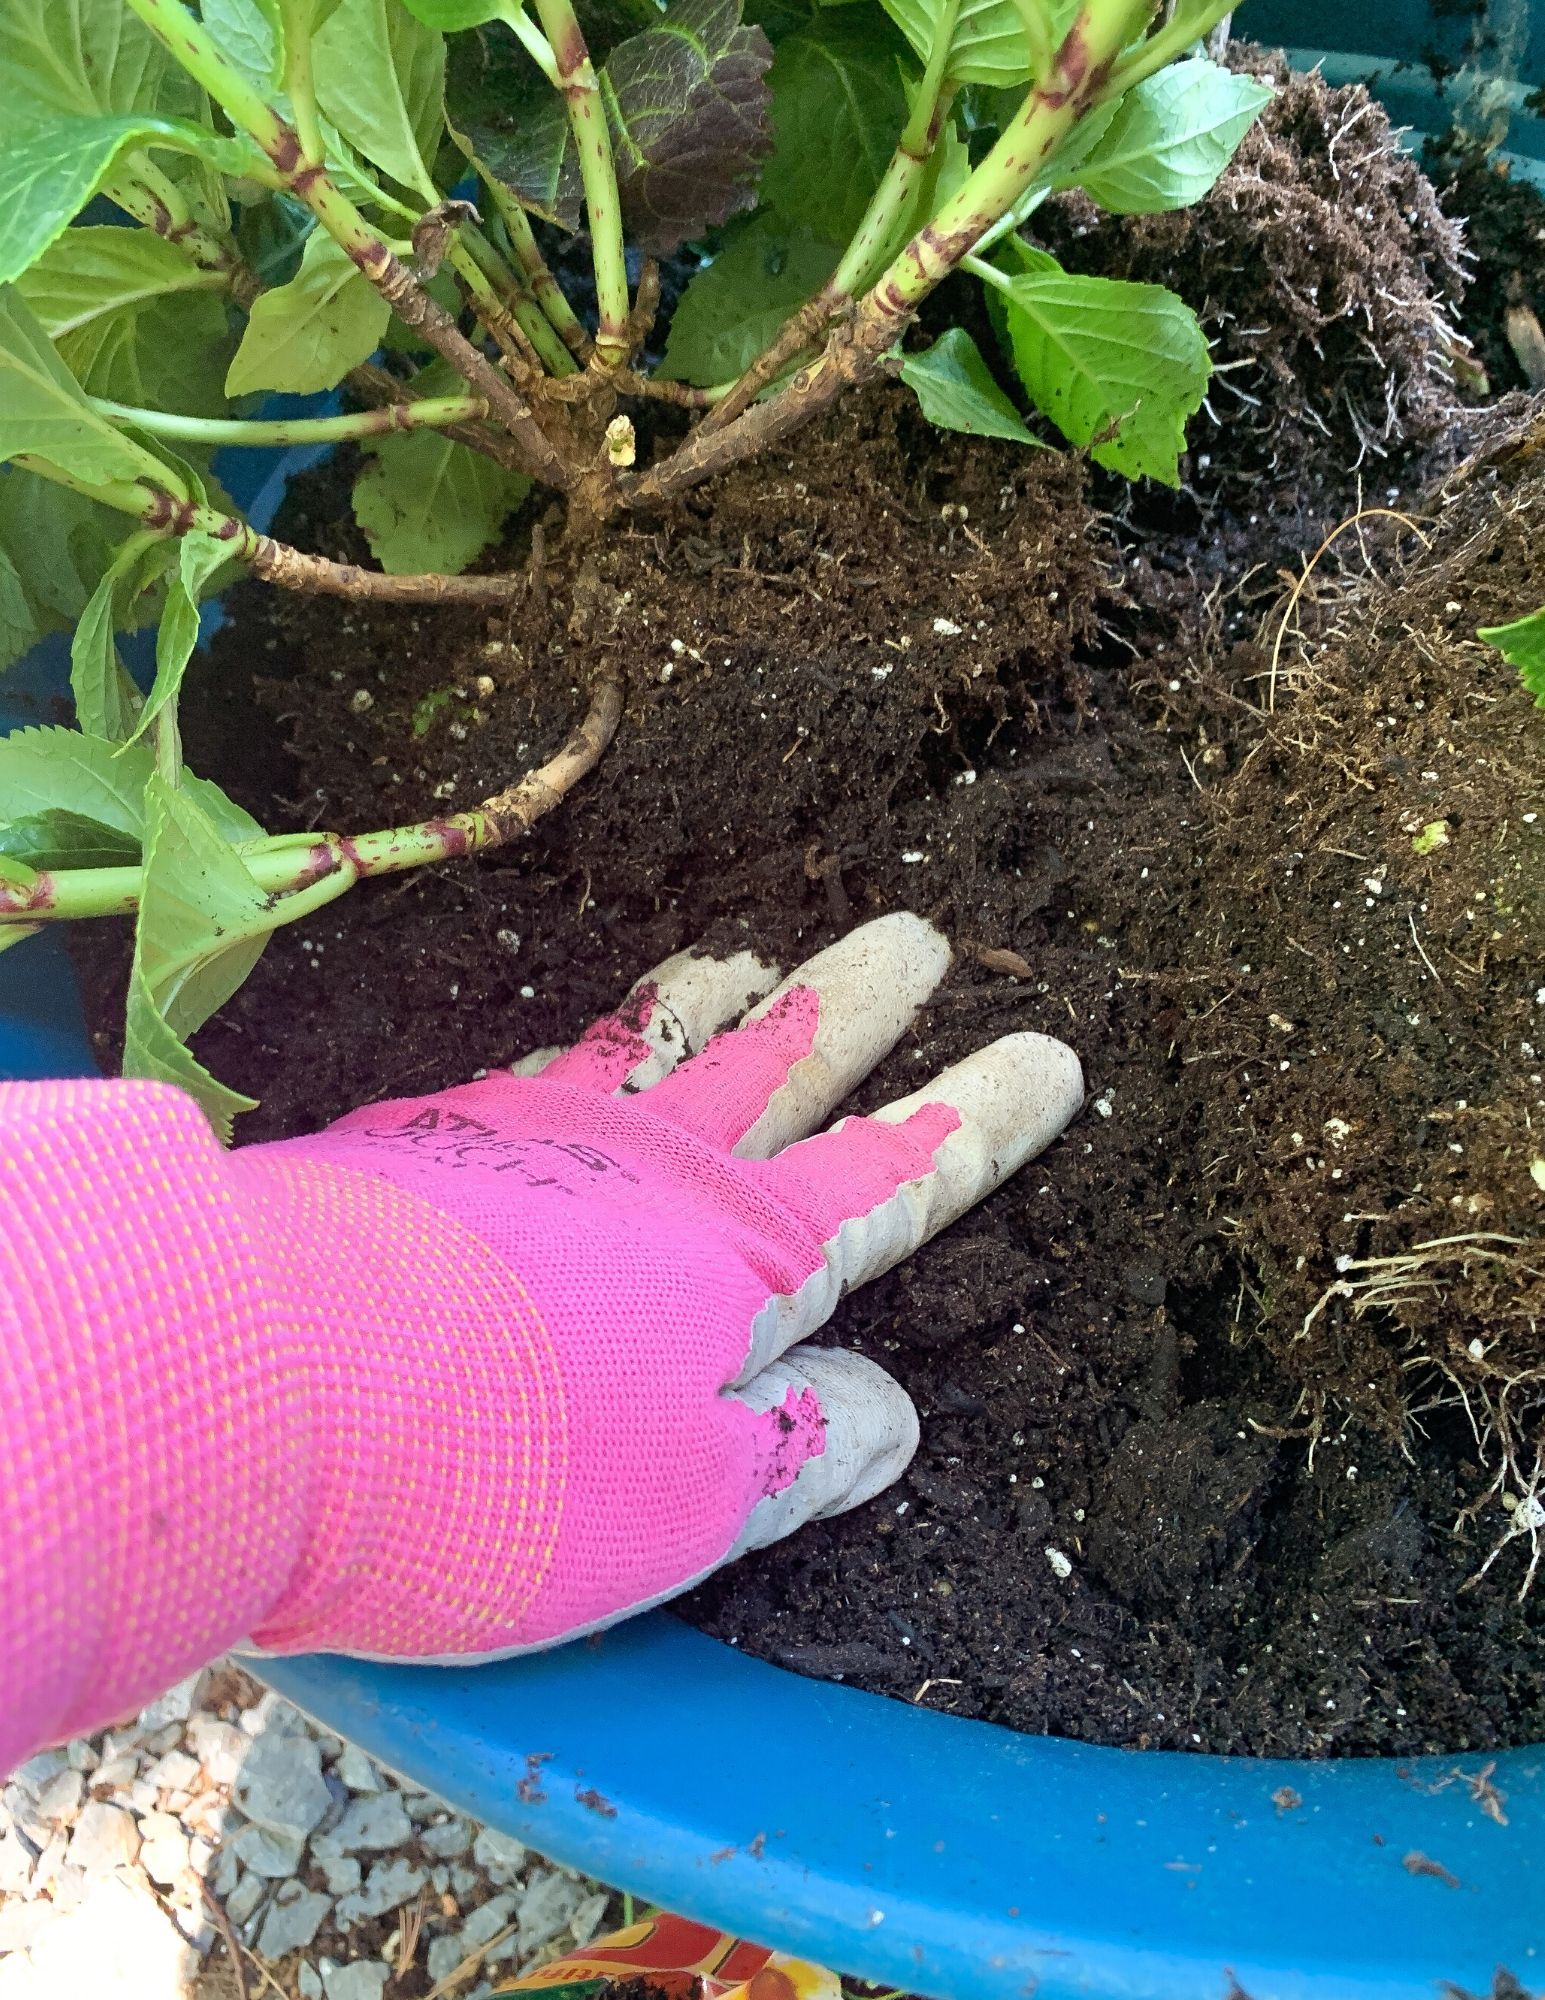
When you’re ready, gently remove the plants from the store container. It can be tricky so gently lay it on it’s side and start to shake it a little to start separating it from the sides. Then carefully turn the plant upside down and wiggle the container off, all the while being sure the flowers and branches are not bending or getting crushed.
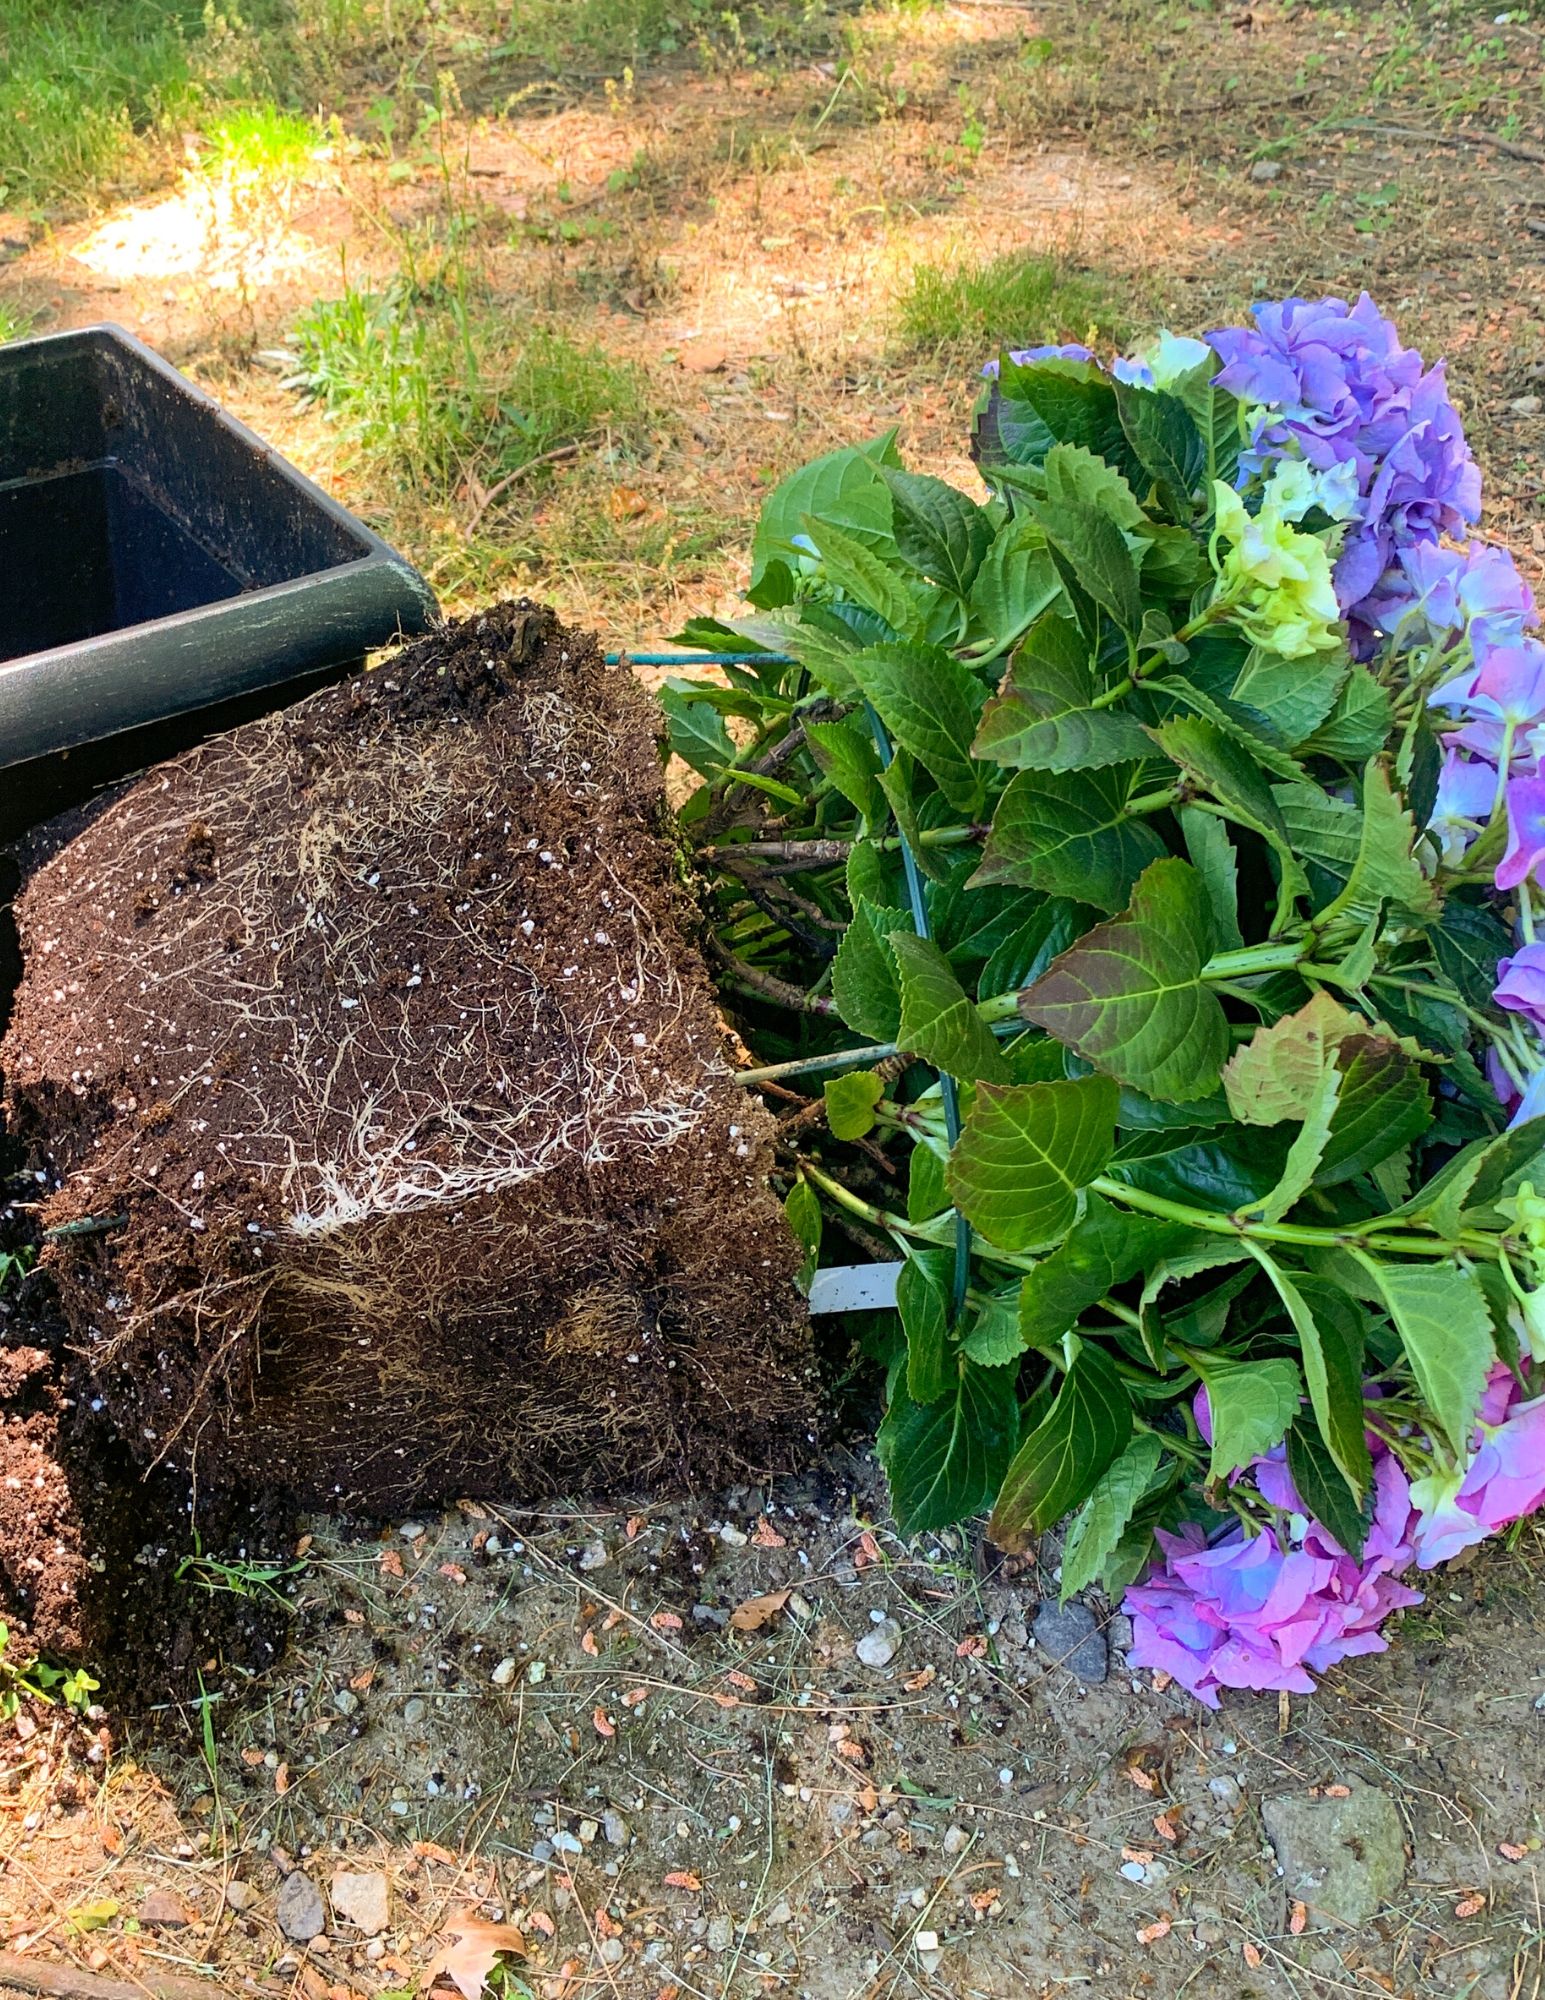
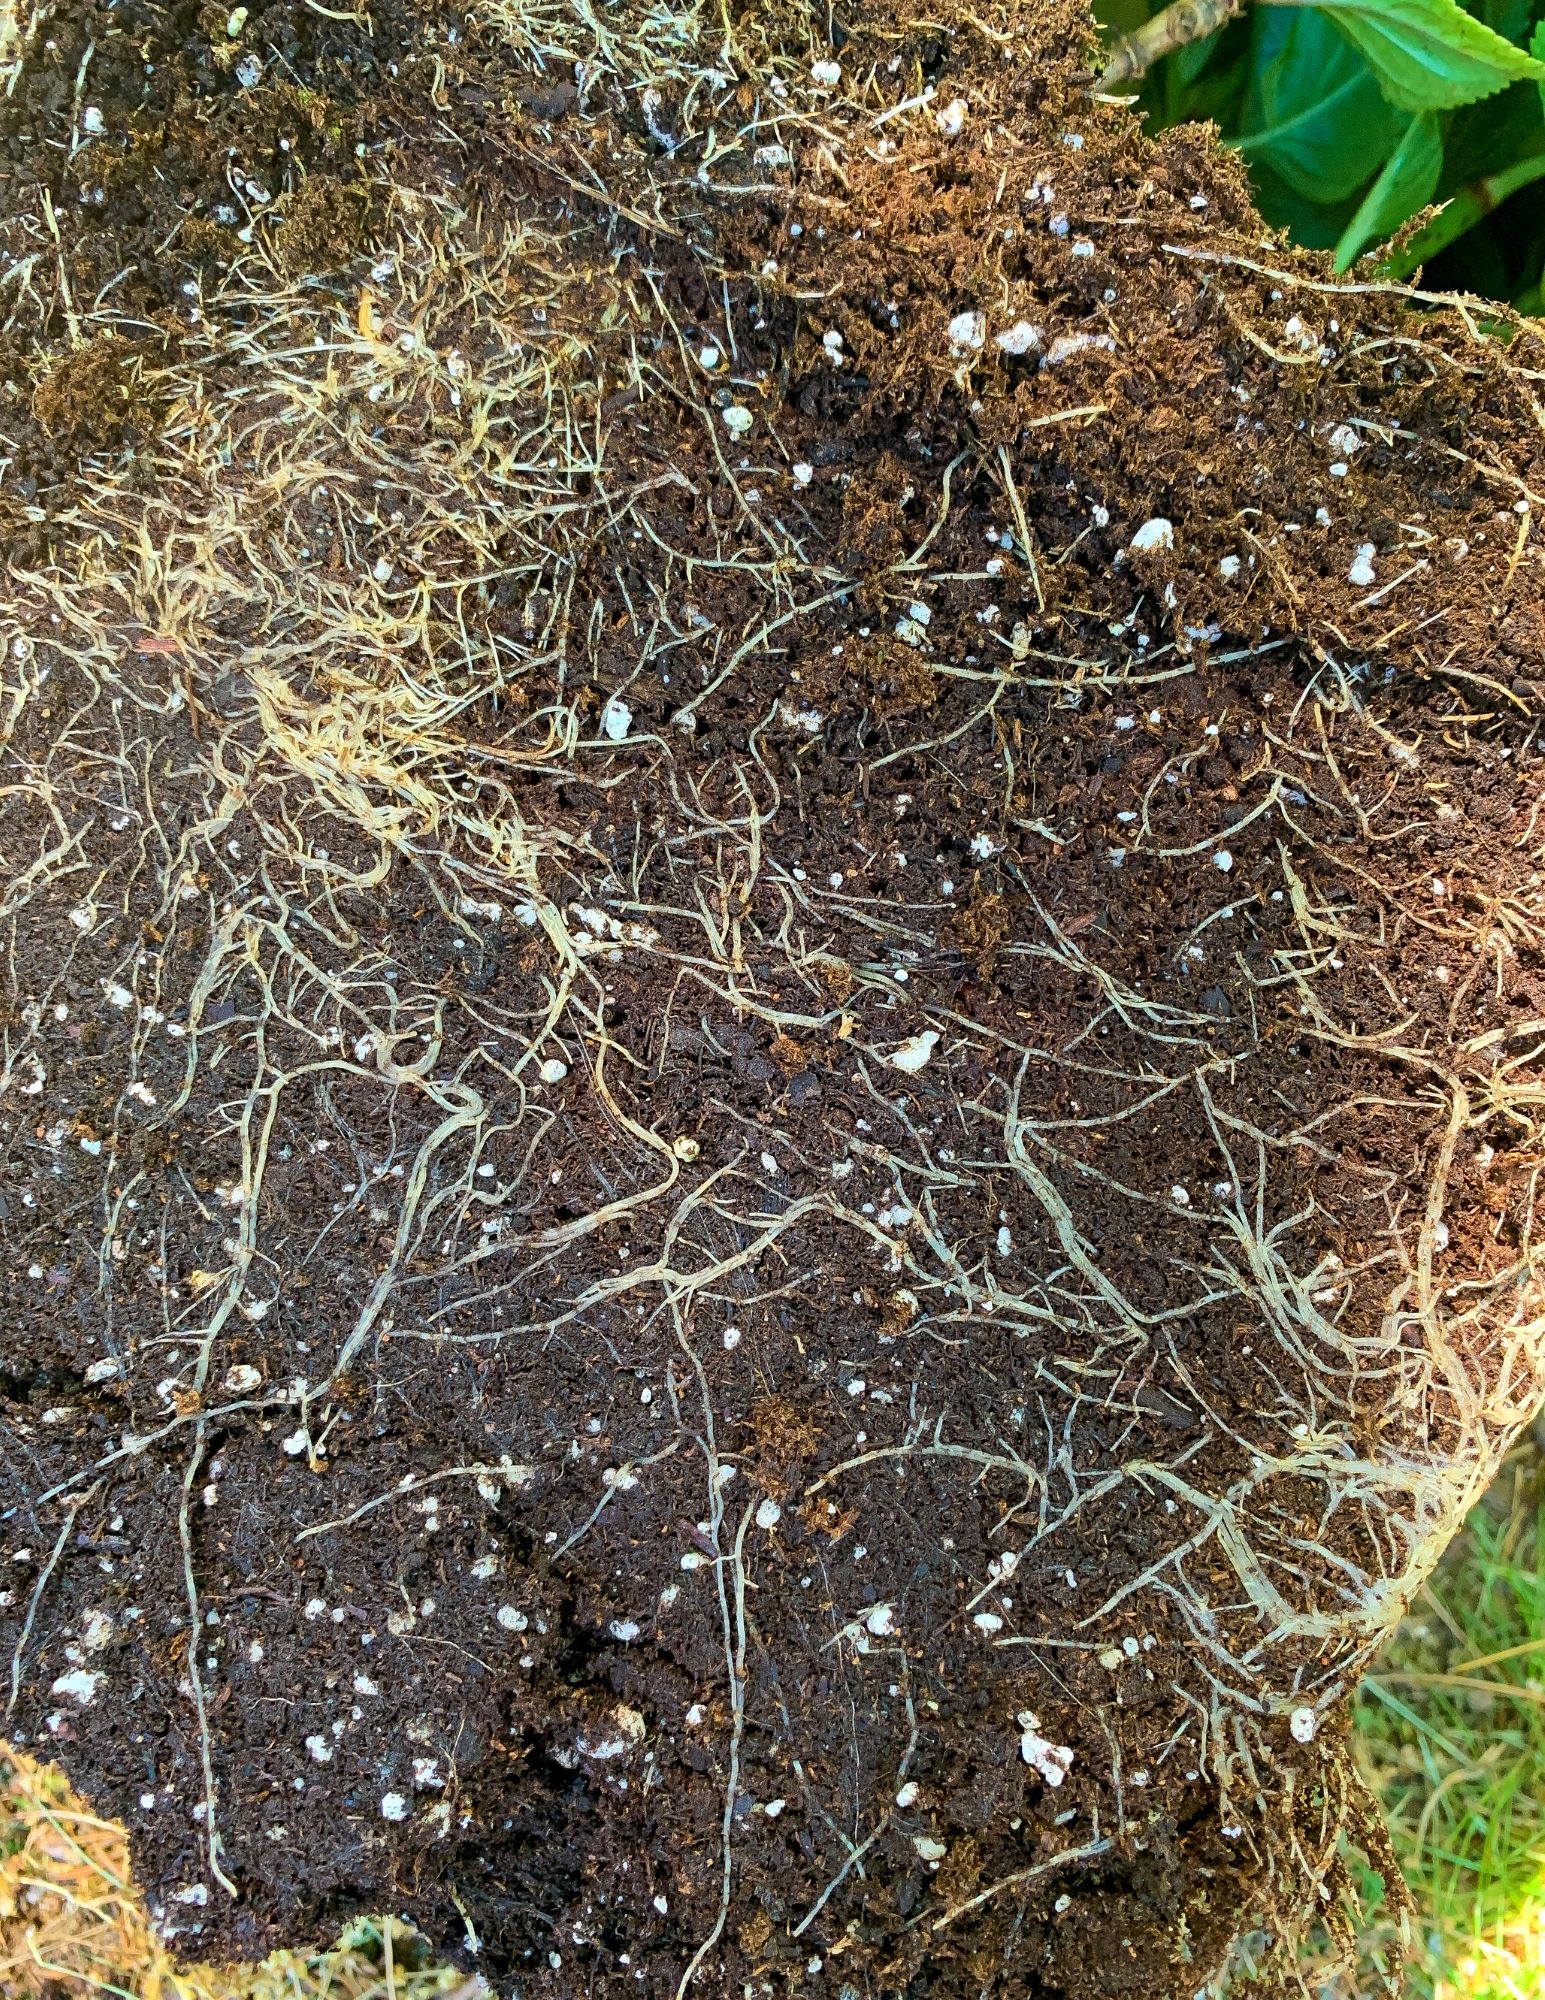
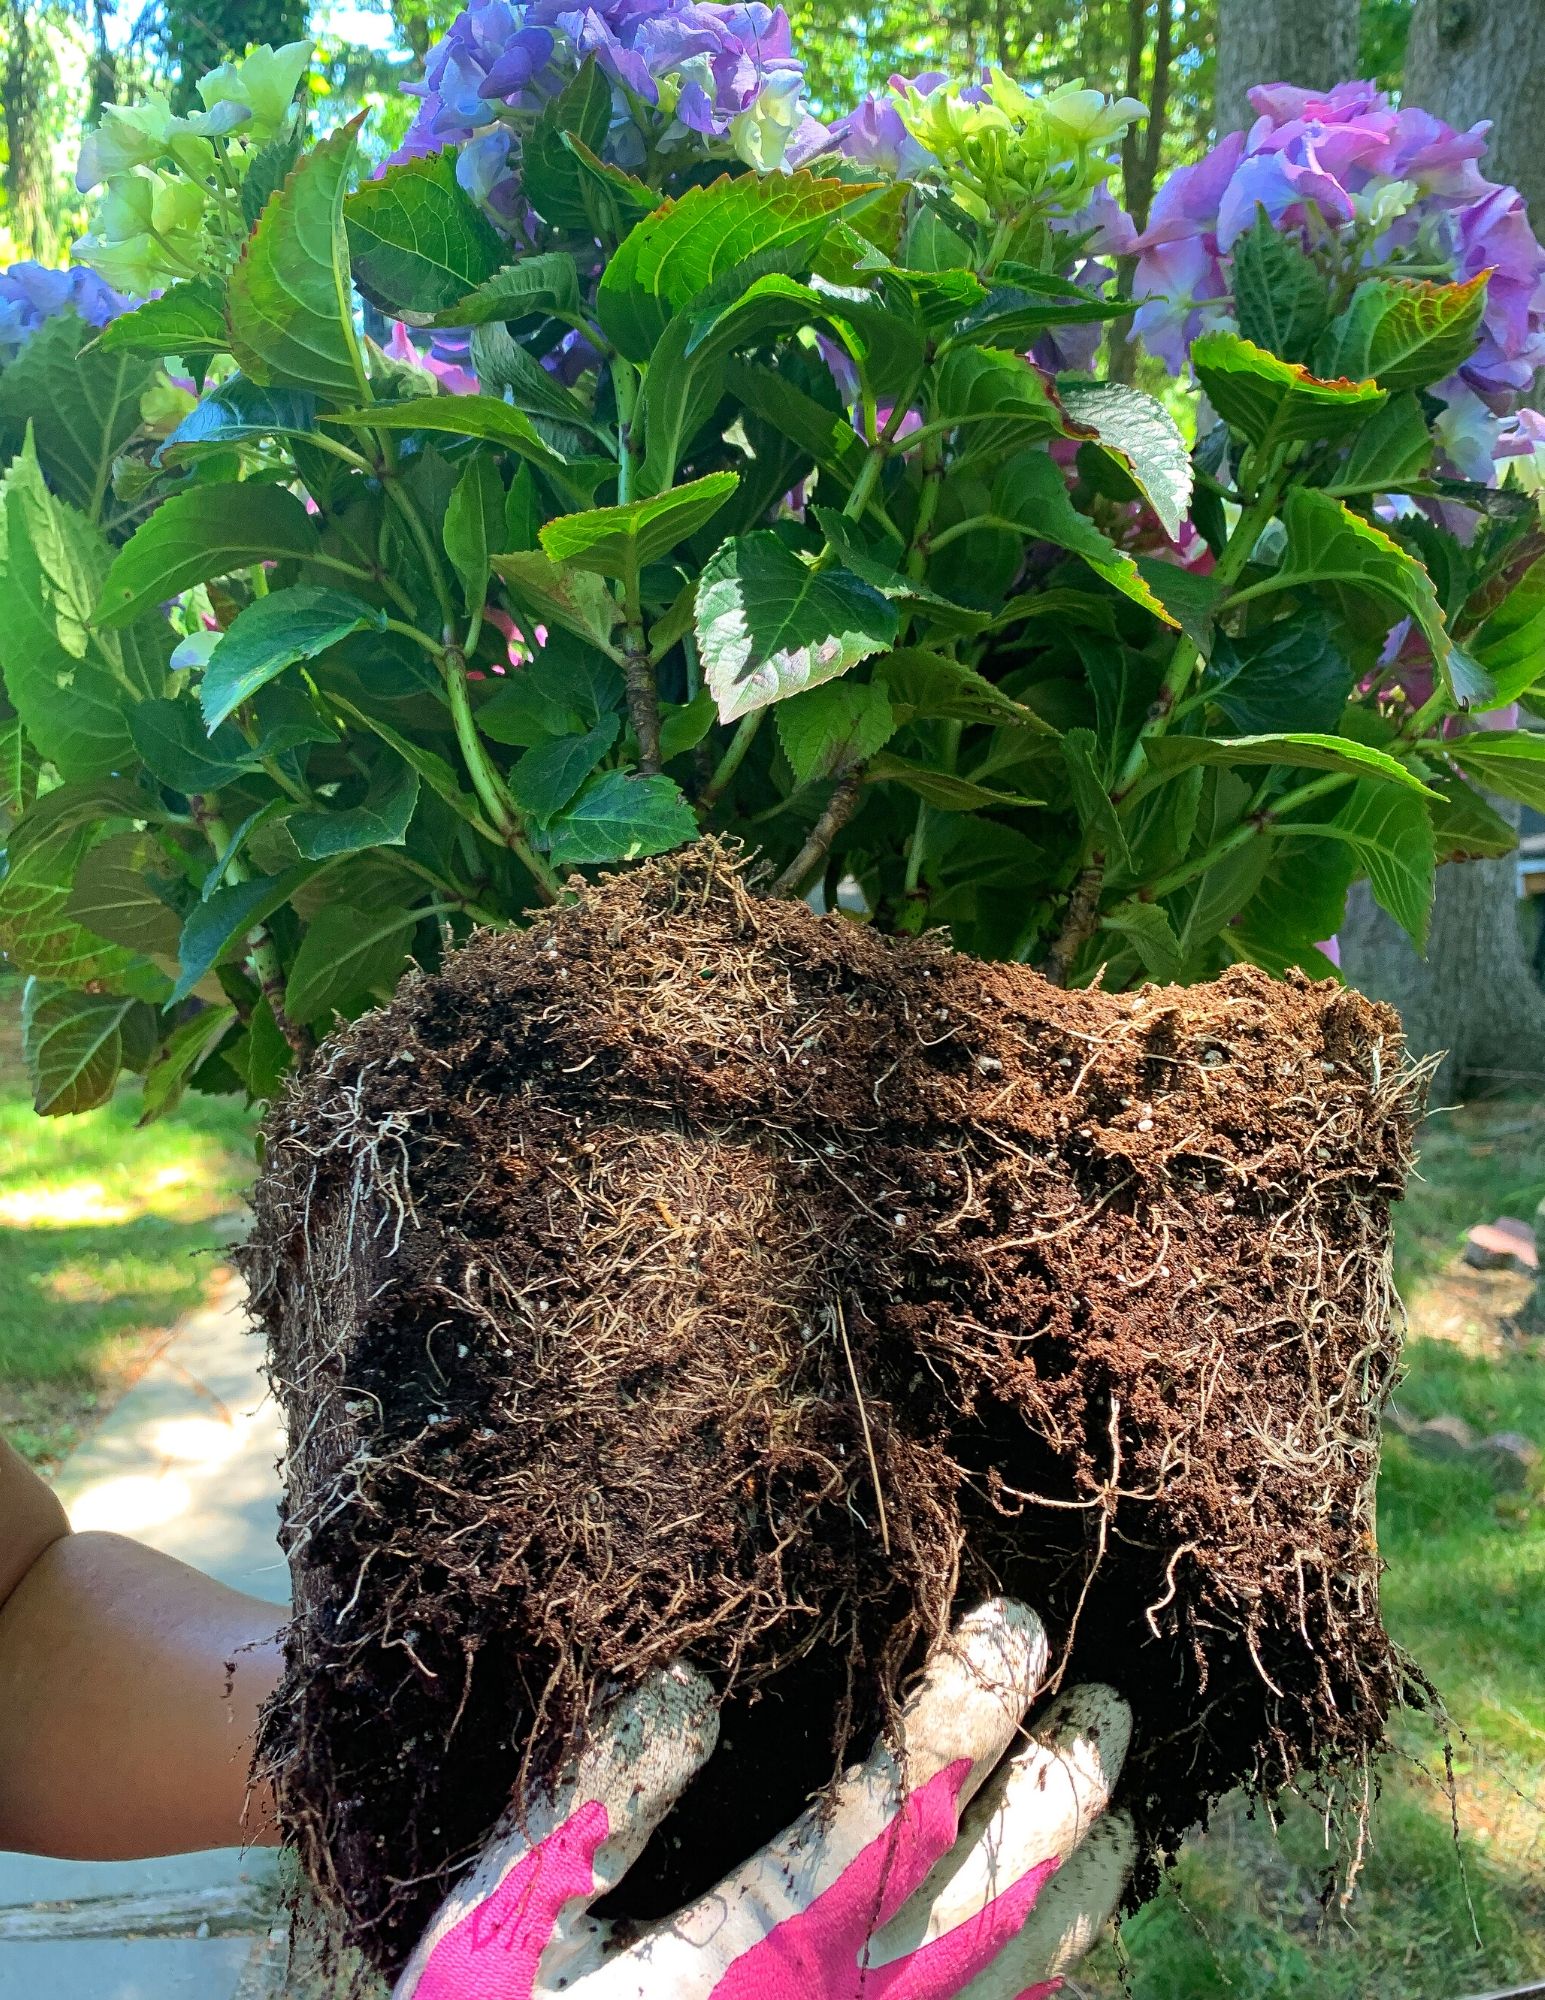
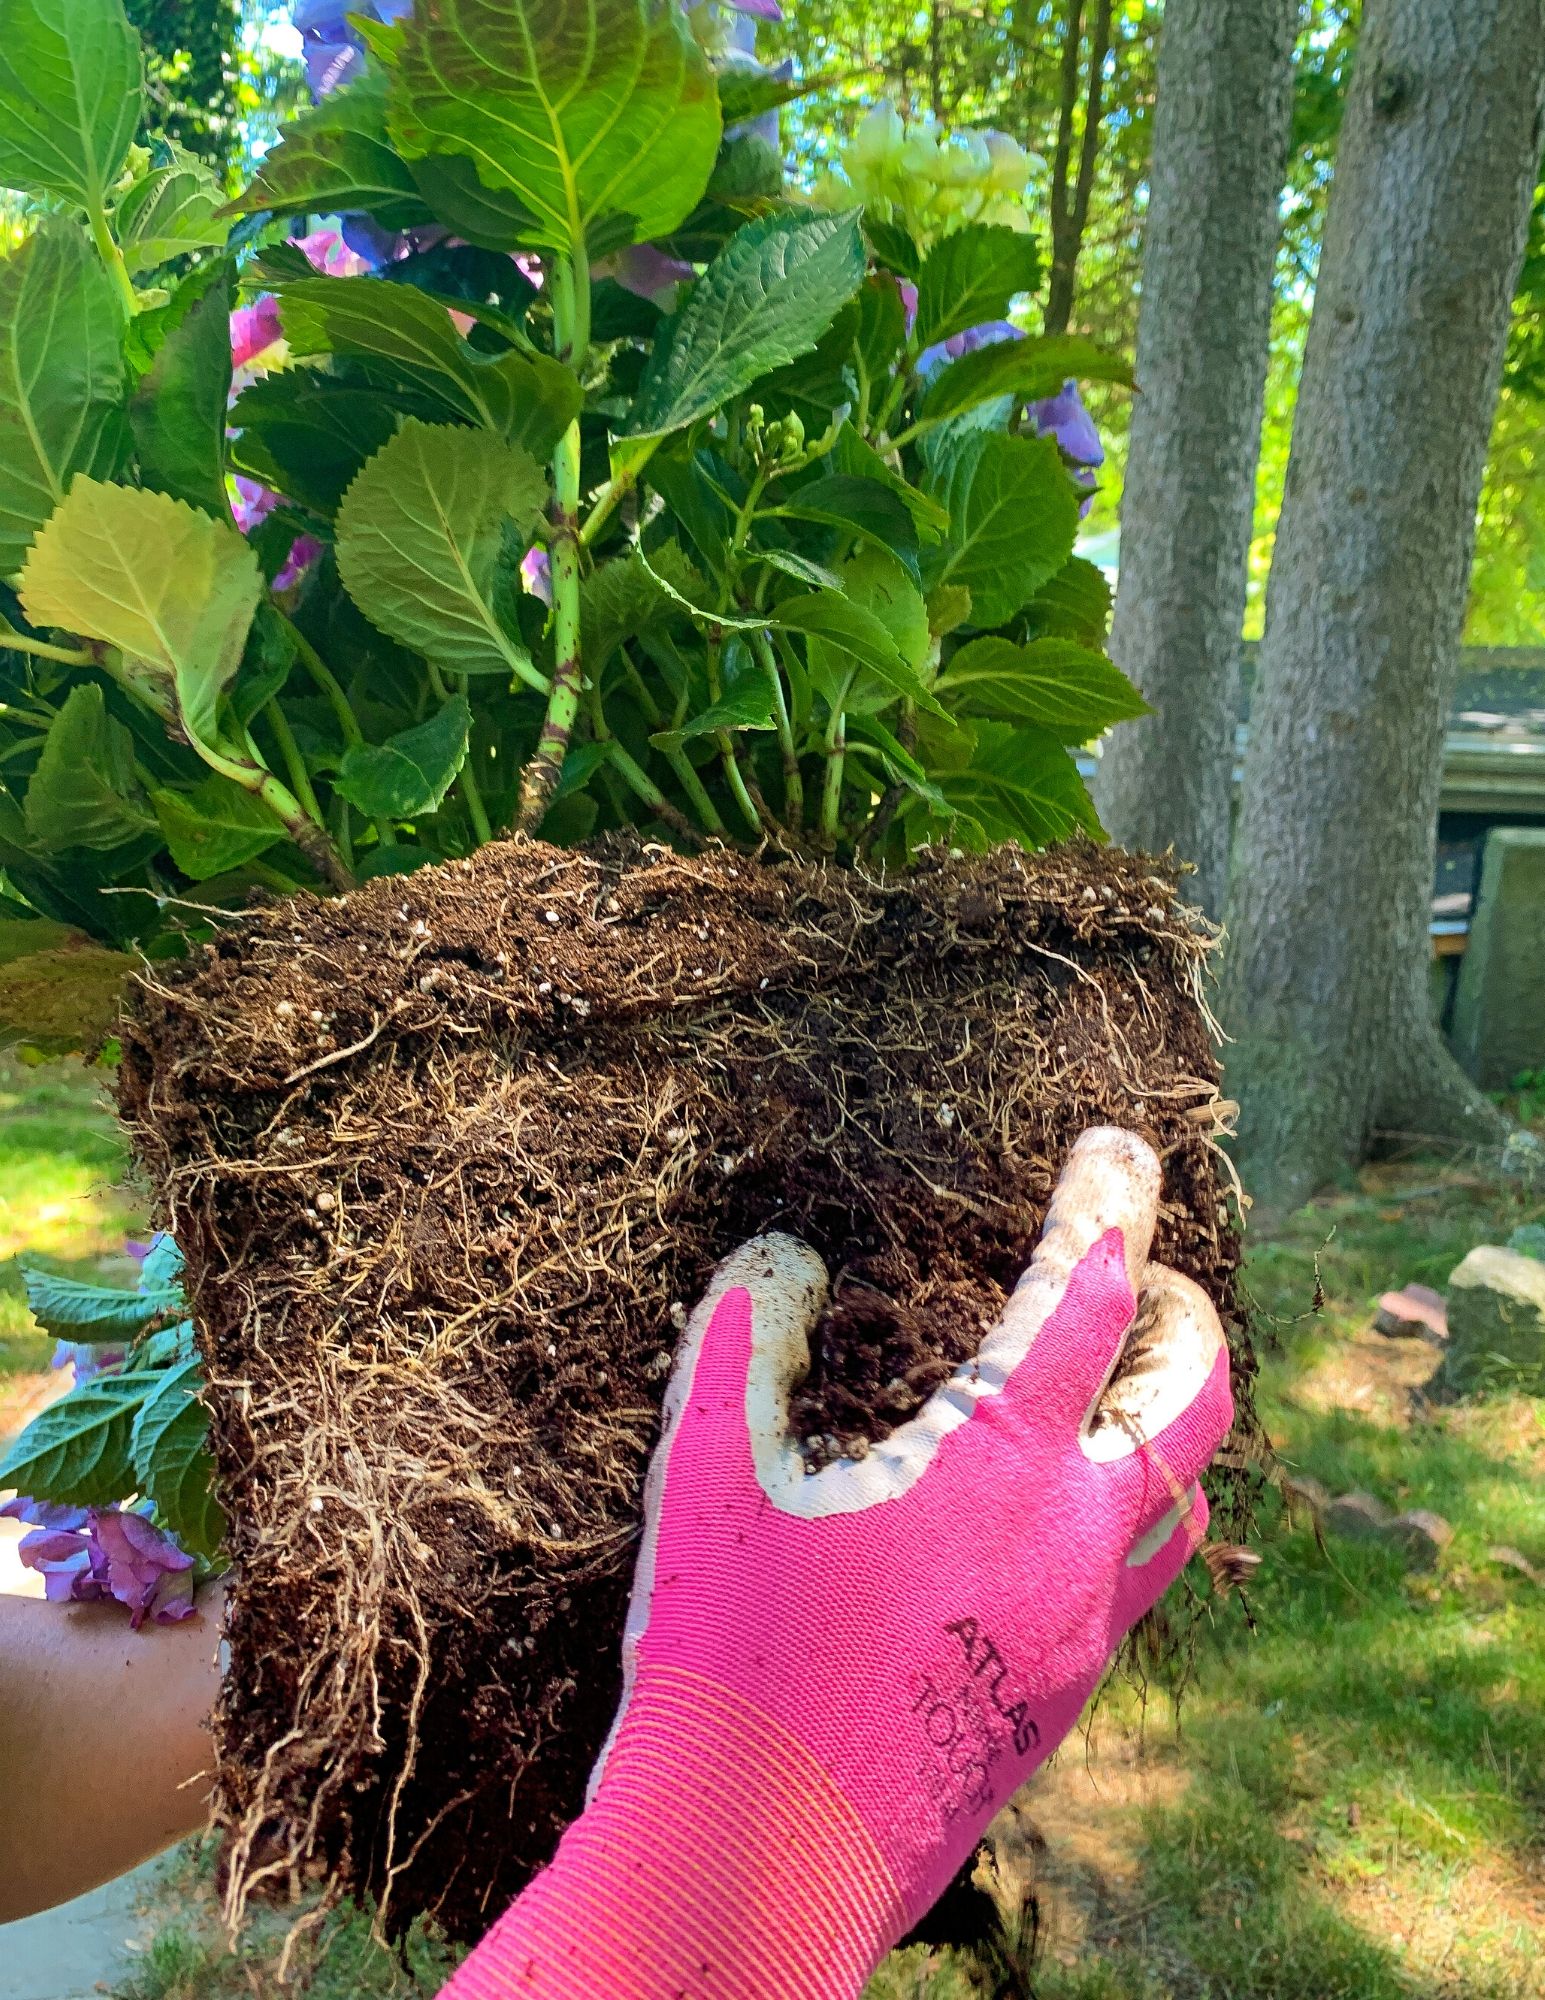
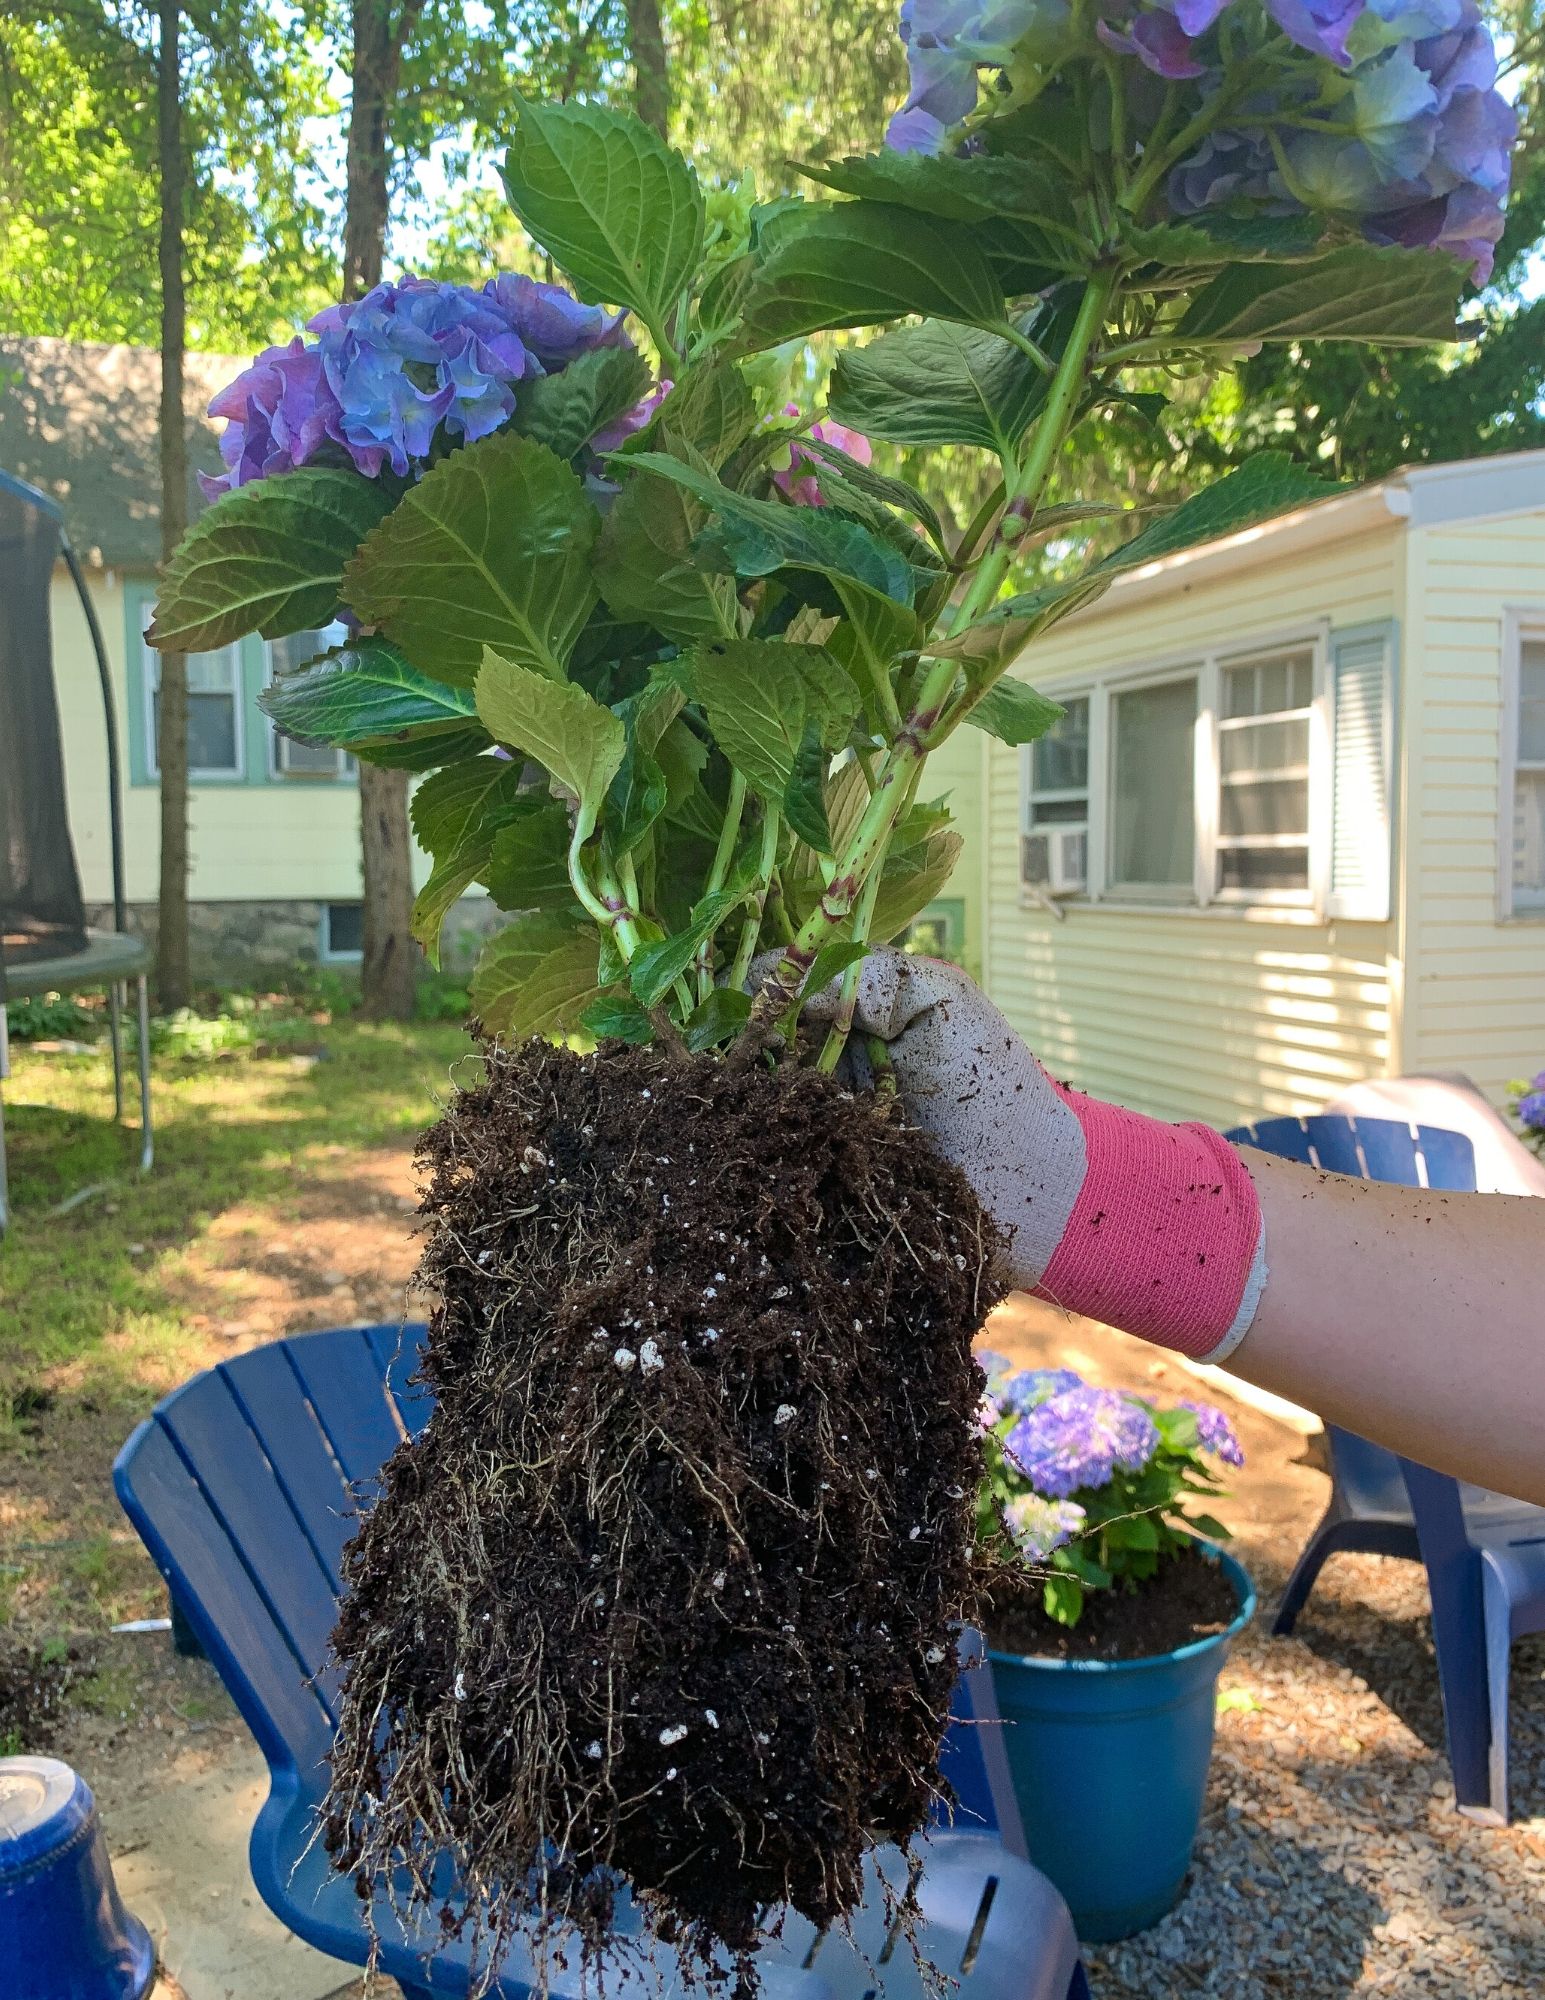
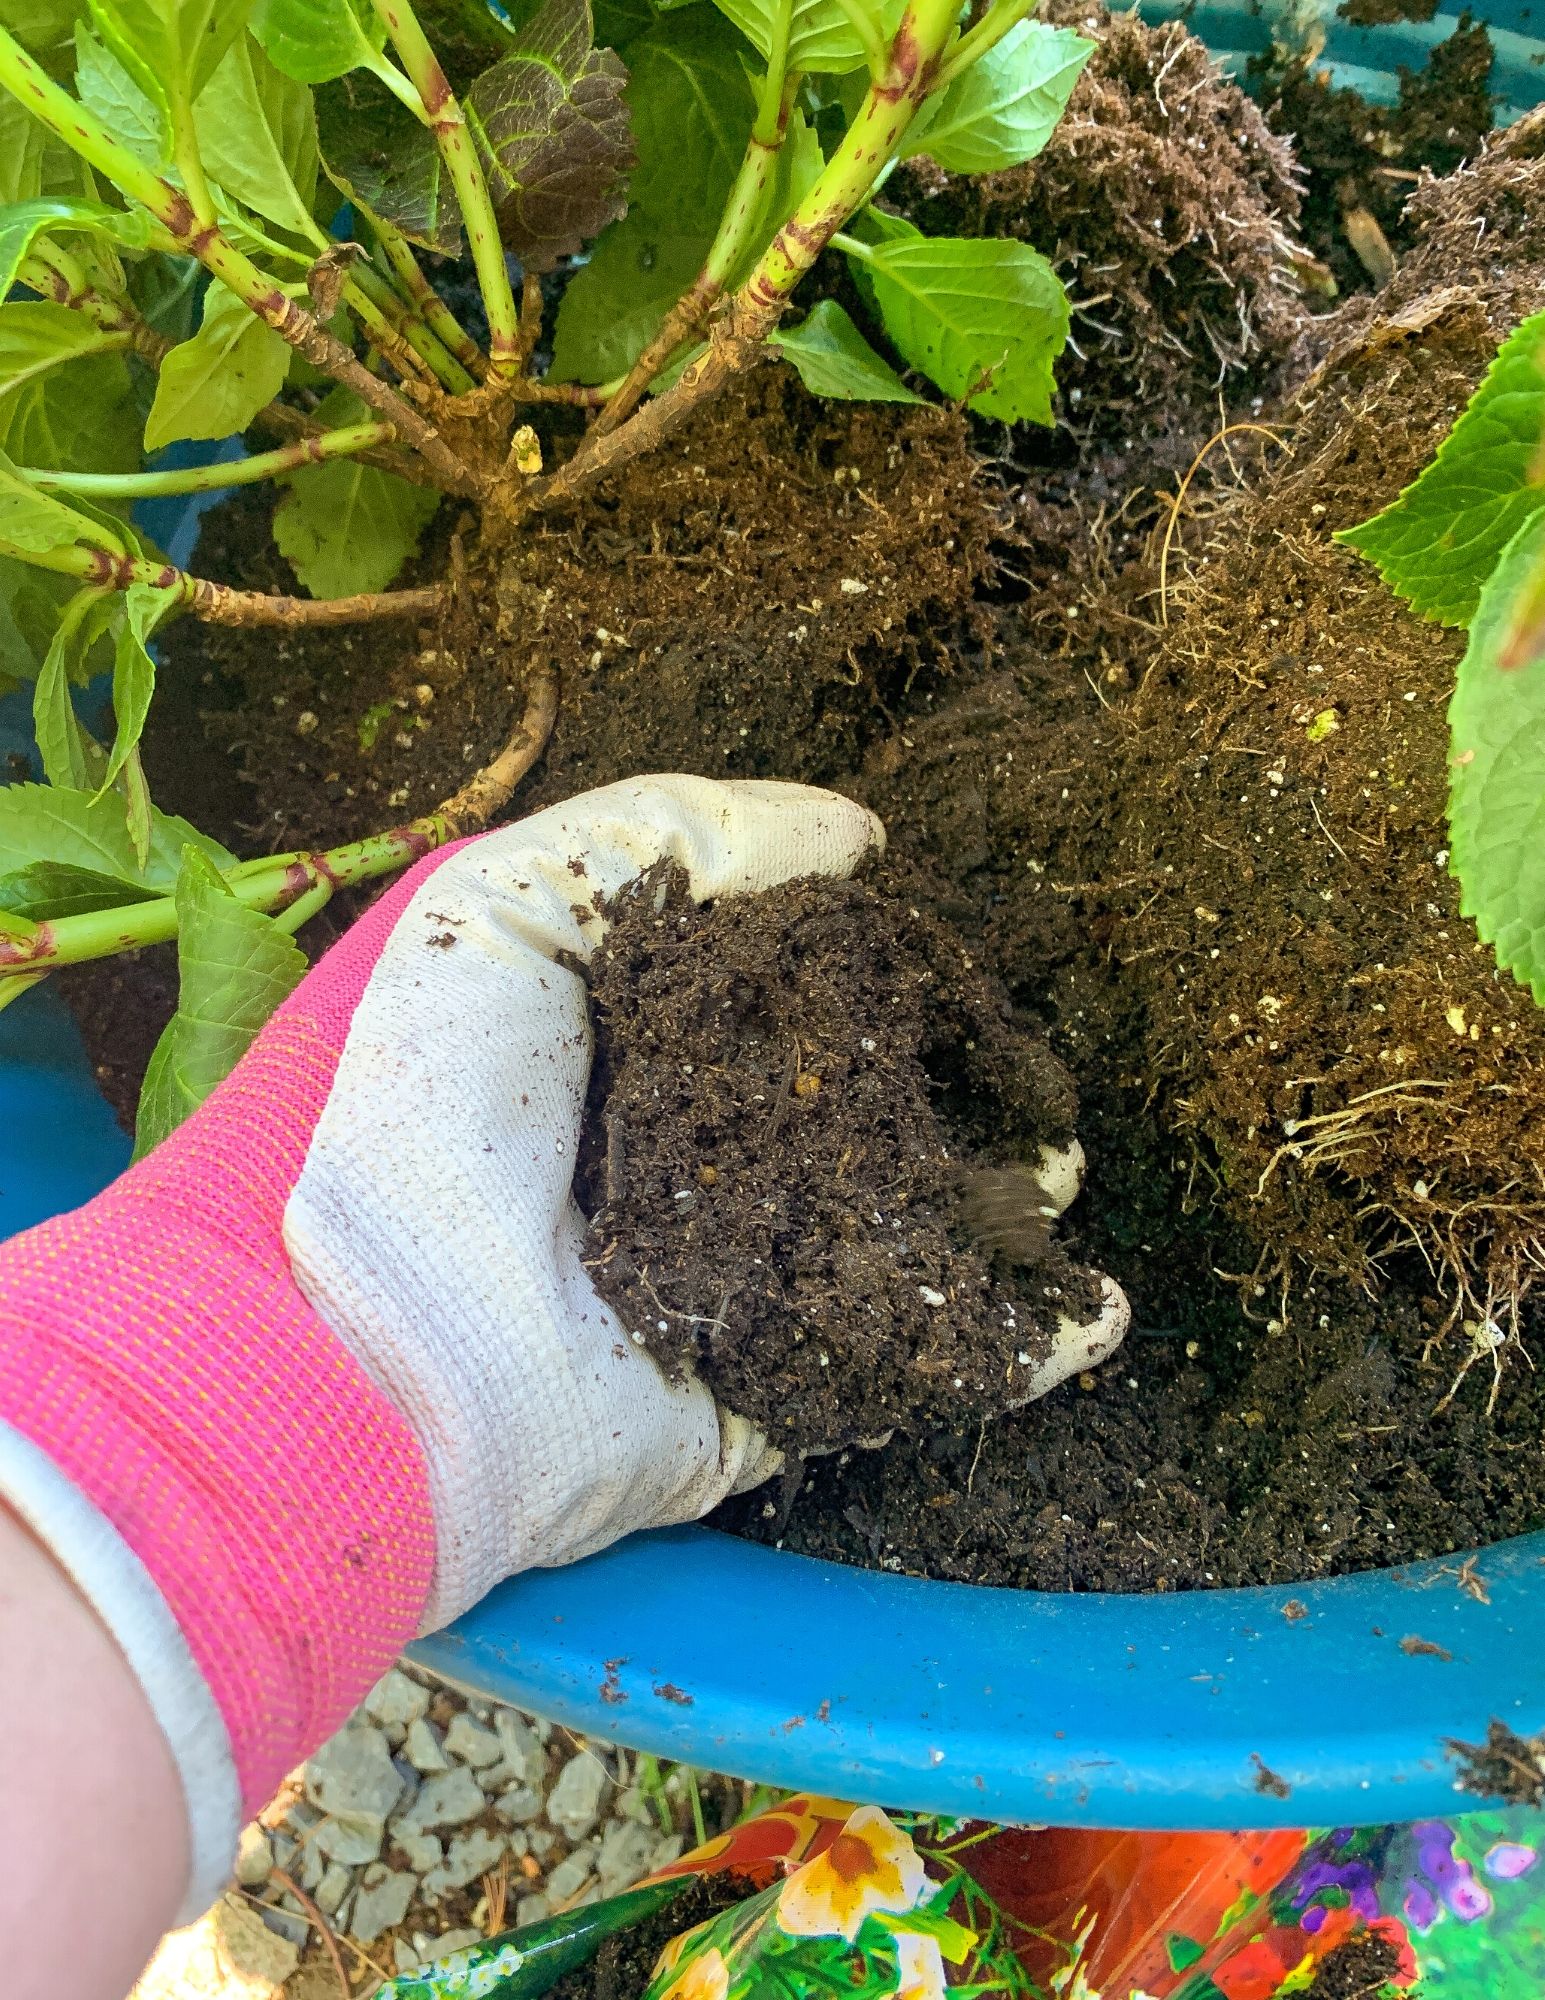
For the larger planters, we grabbed the soil base and gently separated each of the individual plants. Once separated, we manually fluffed and tilled the soil around the roots to separate and expose them. You want to do just enough to give them some new room to grow and attach to the new soil.
For the smaller planters, we repeated the same fluffing steps as above but did not separate the individual plants.
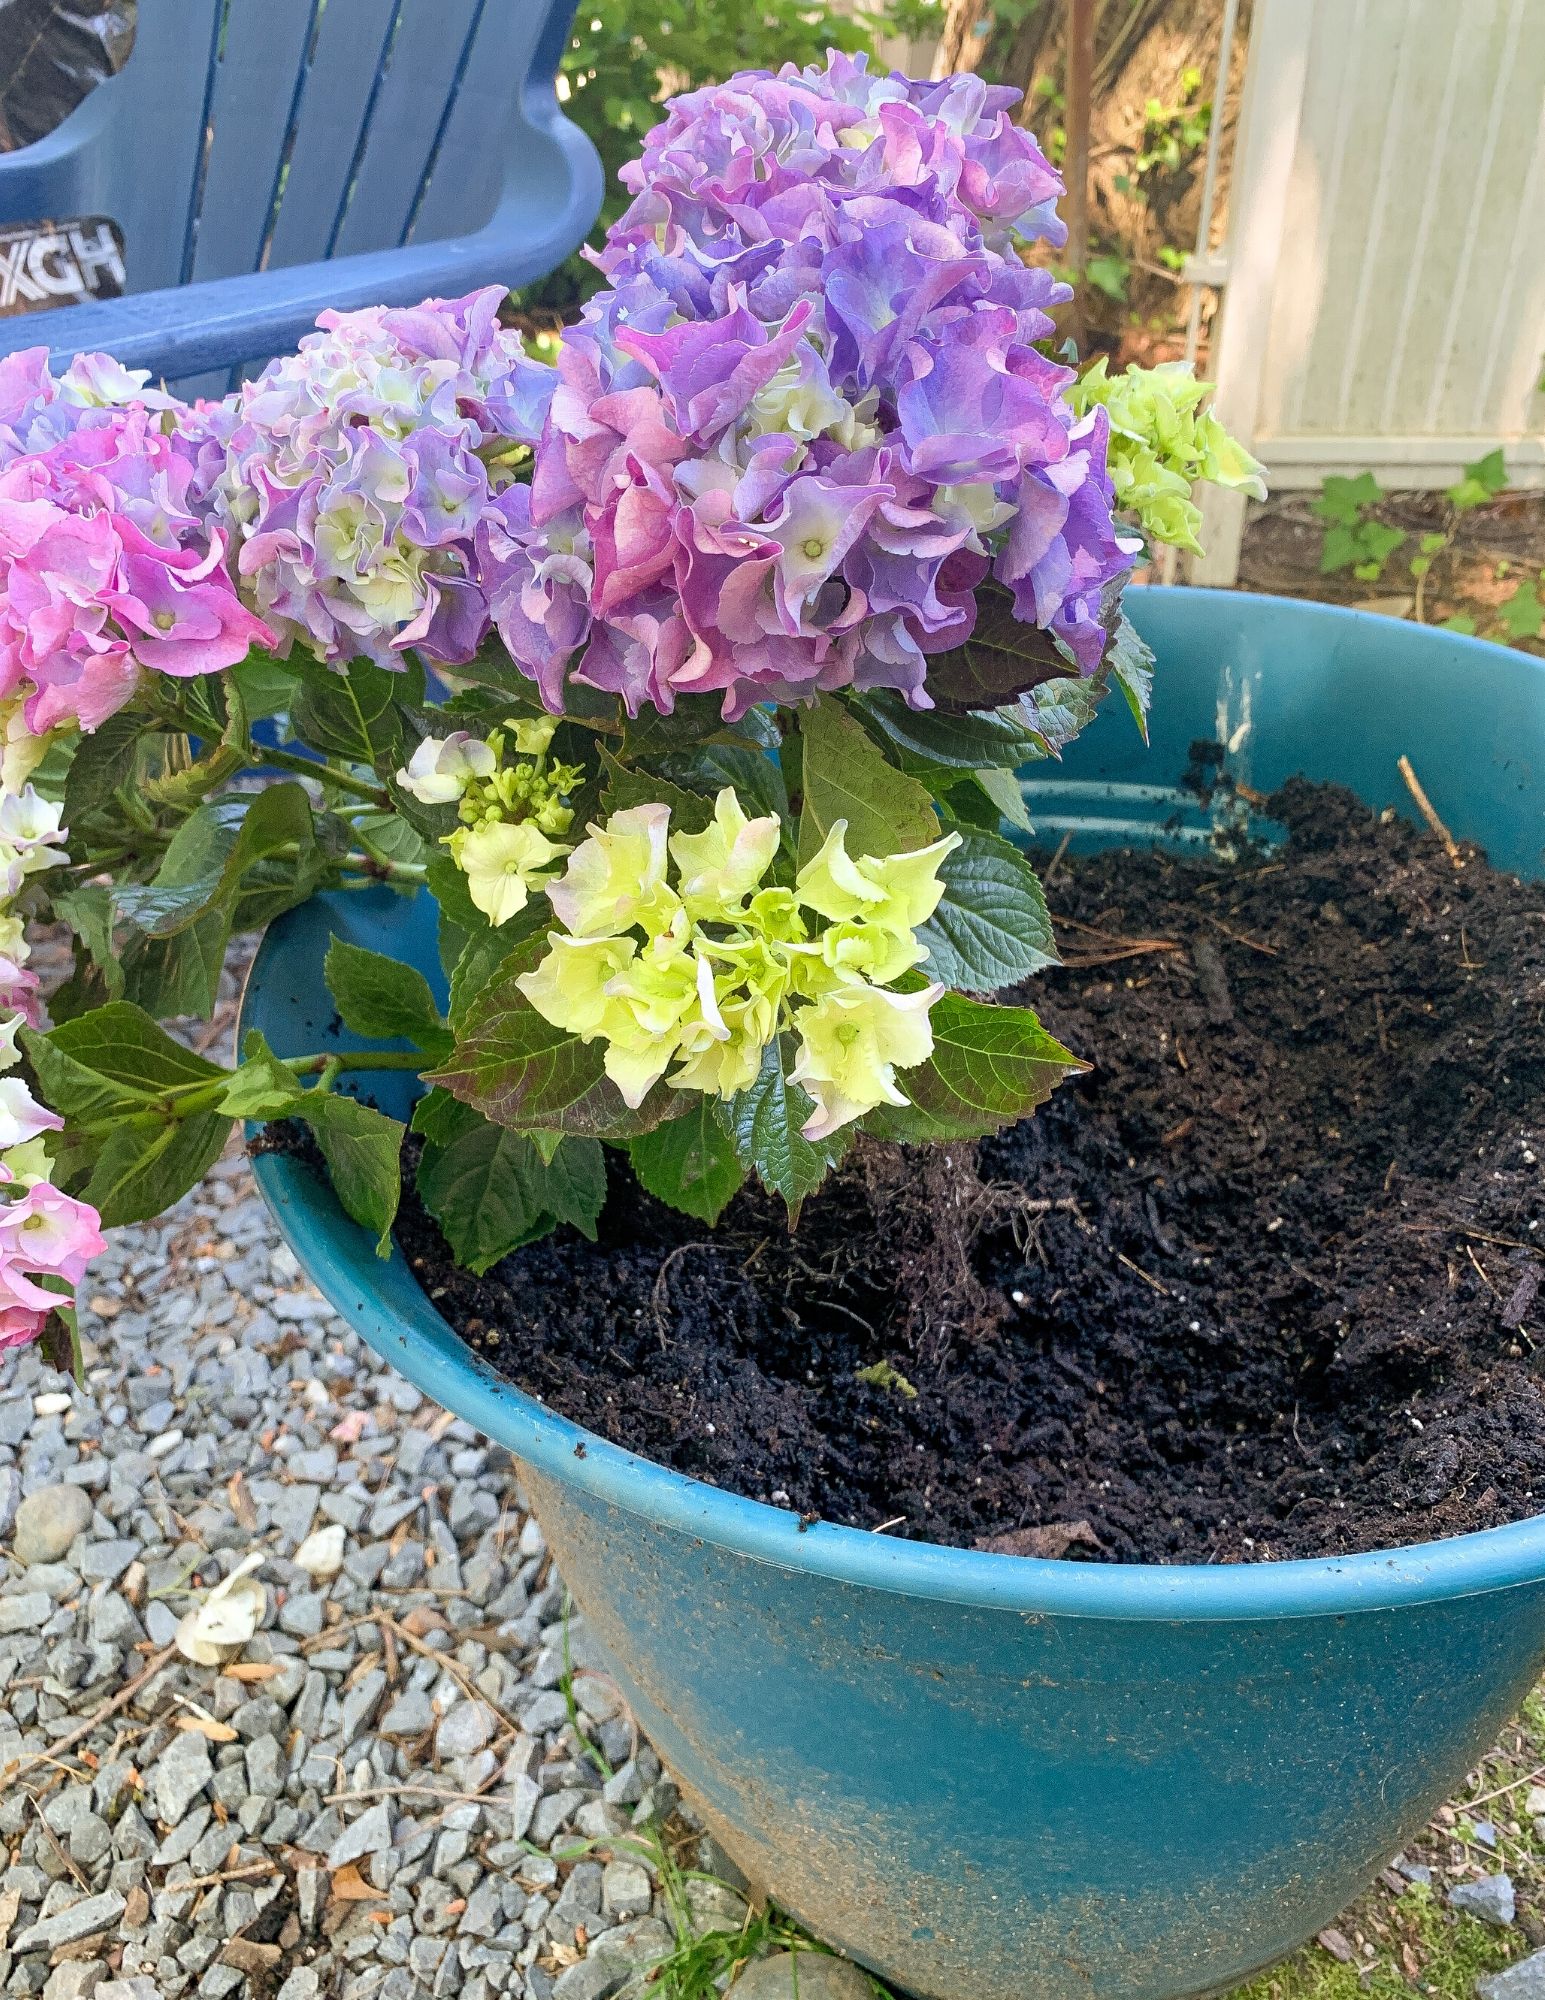
4. Planting
So you want to just scoop out a little soil to the sides of the container to be able to easily arrange and drop your plants right in. Once you have them snug and secure, start filling up the gaps and holes with new soil until the entire planter is filled and the roots and bottom of the plant is completely covered.
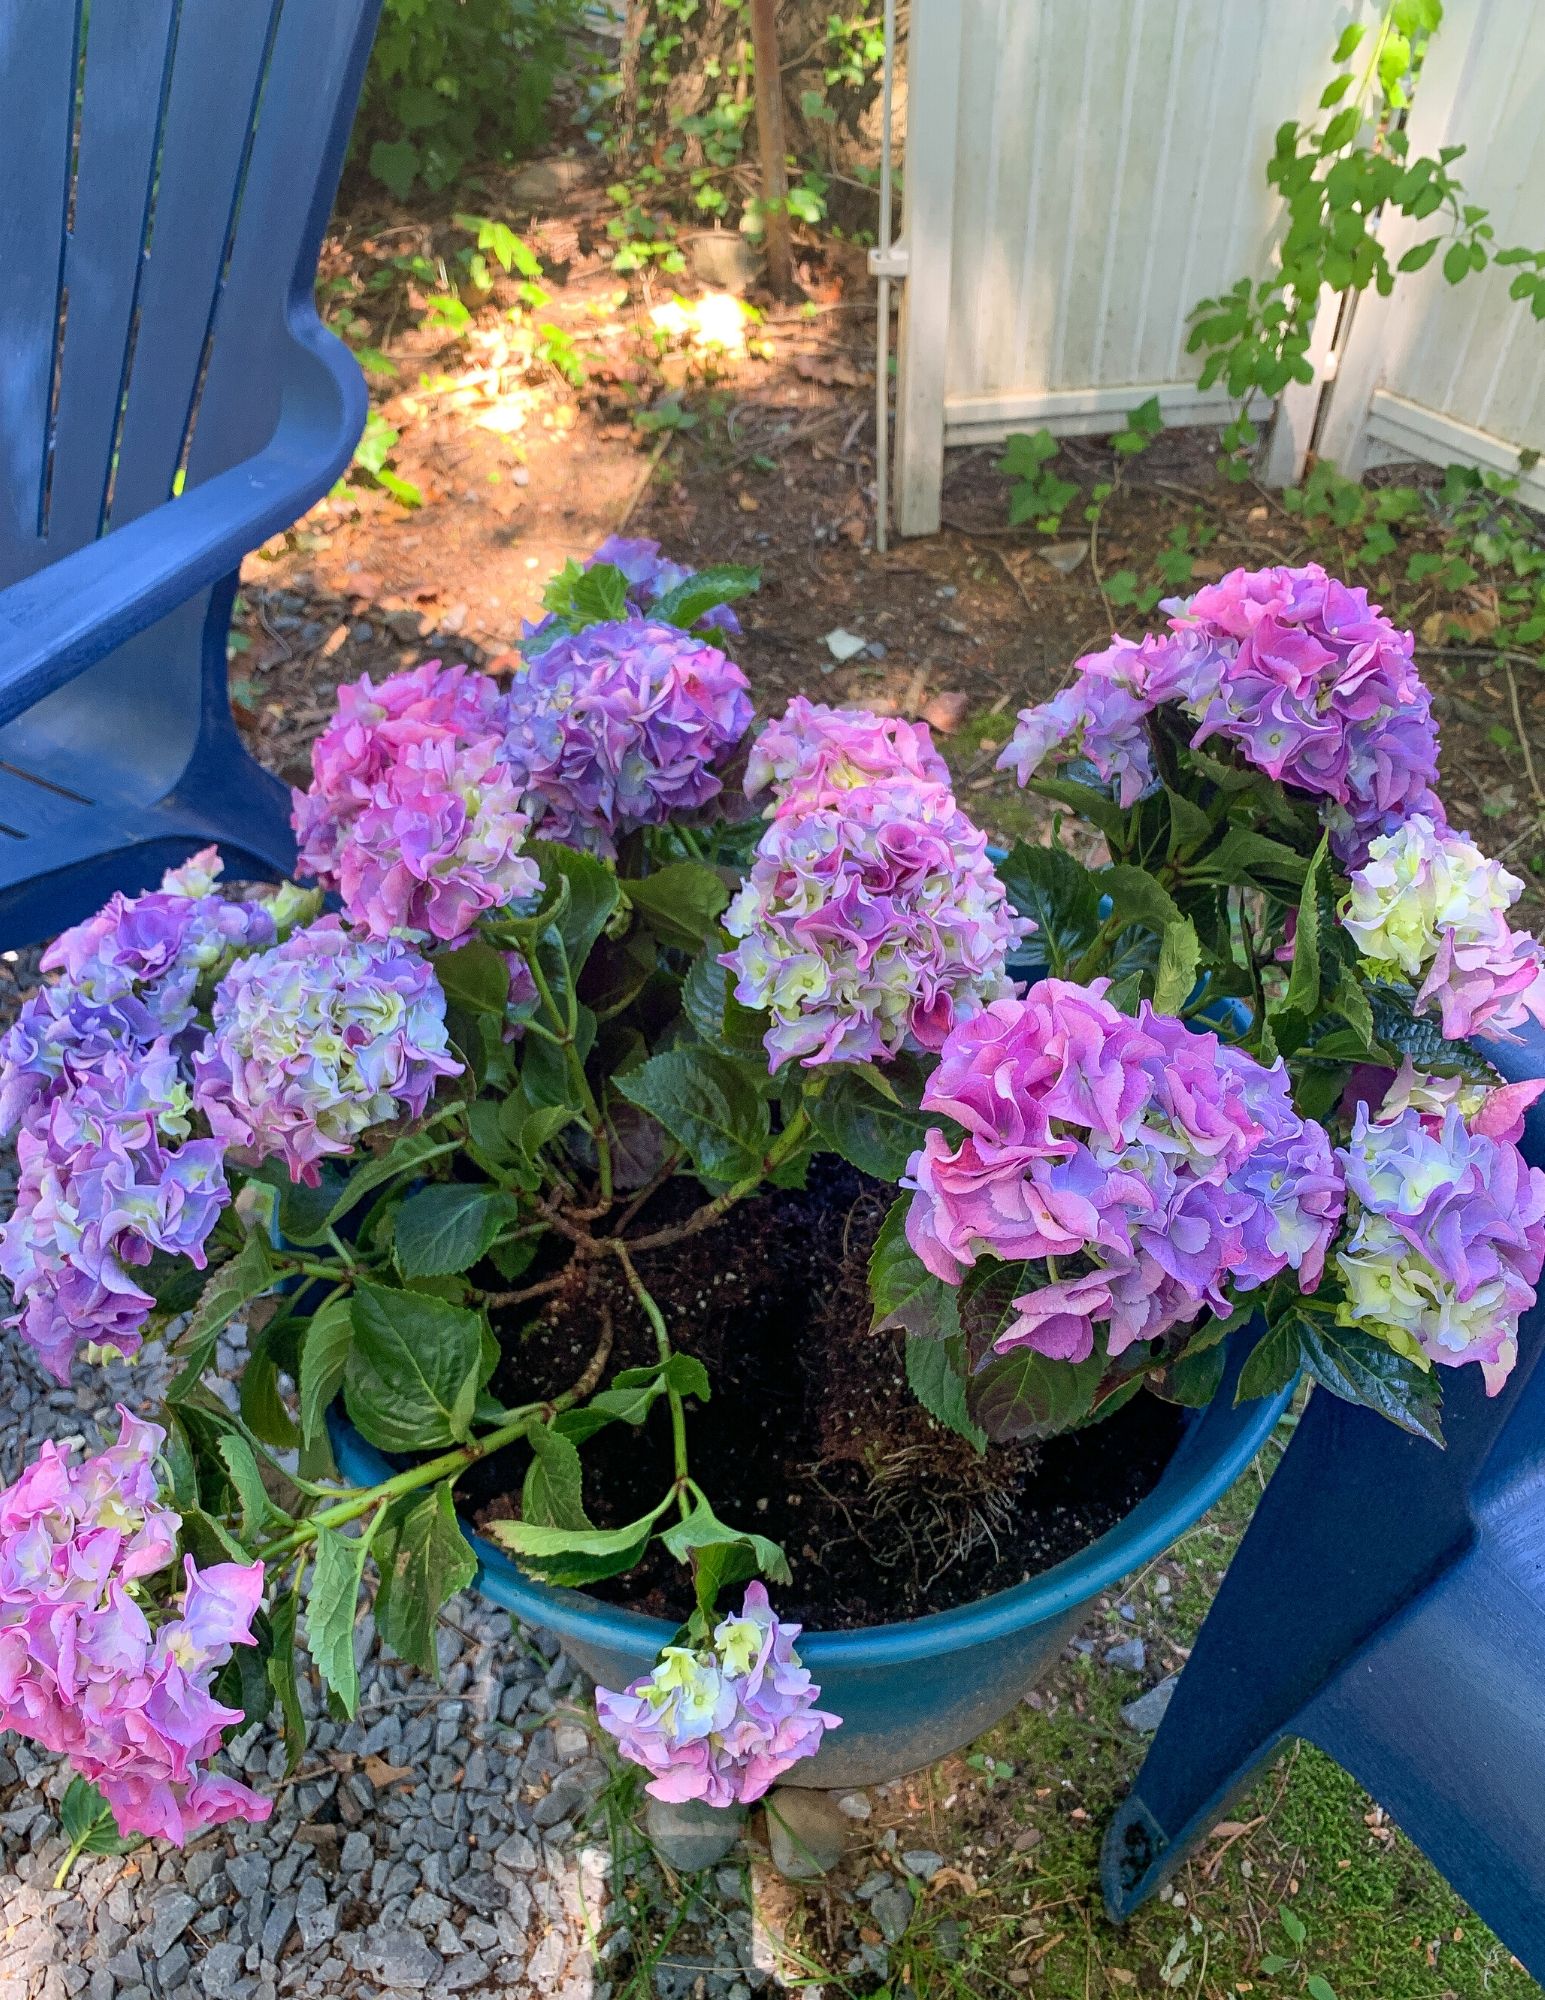
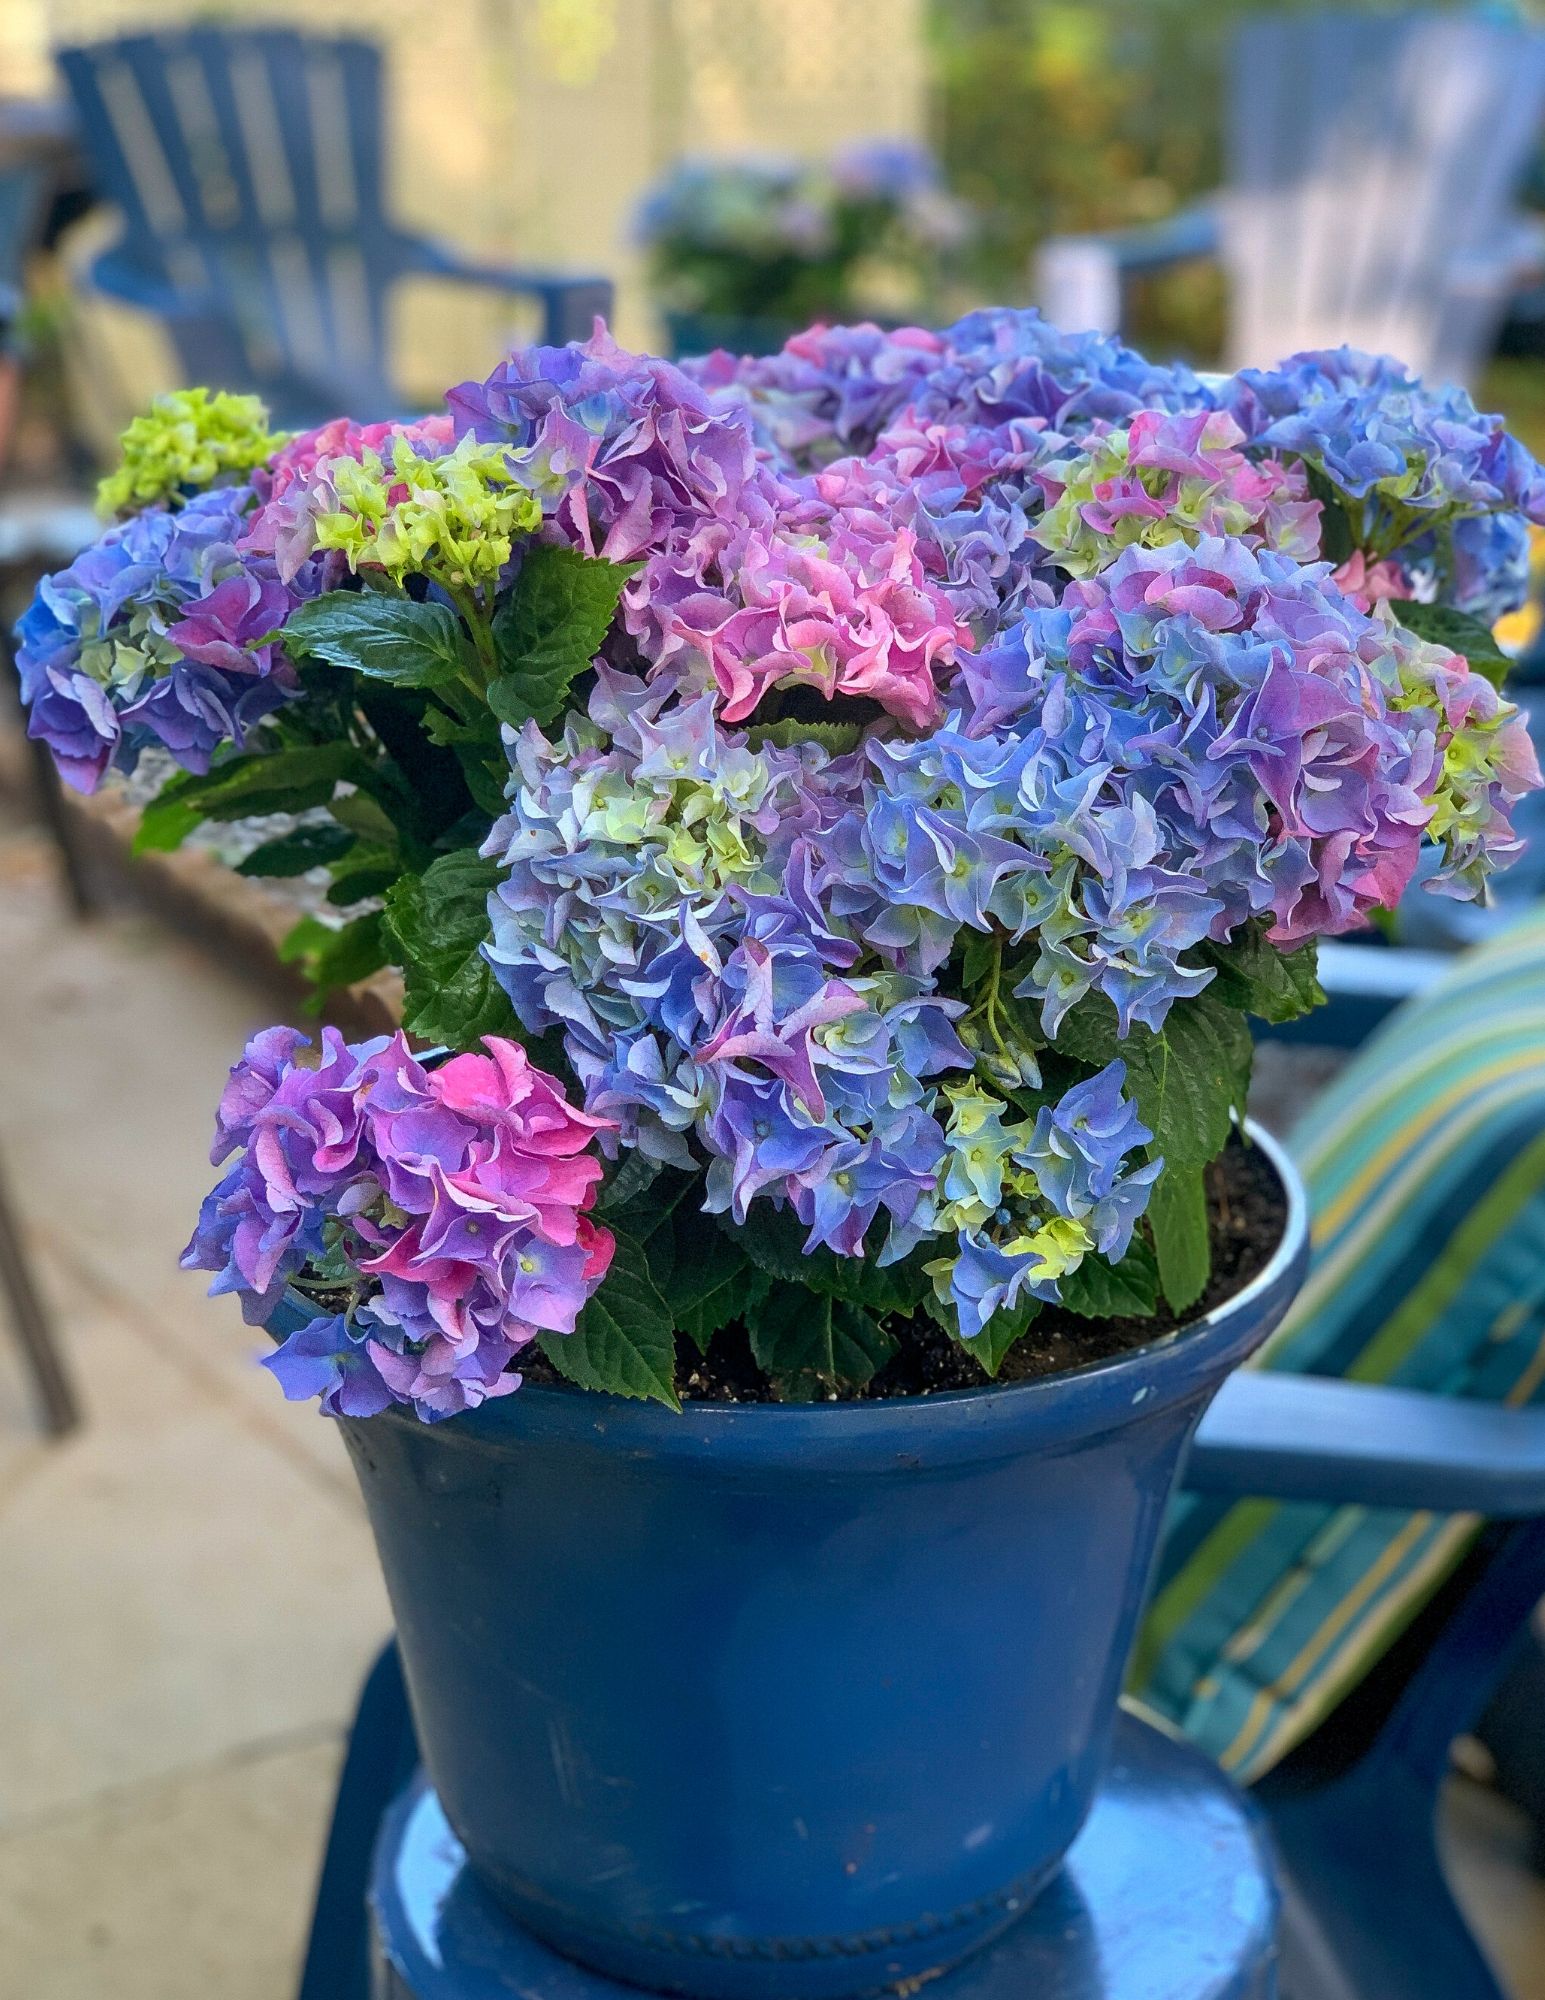
5. Where to Keep Them
You will want to make sure you place them in a spot that gets a good equal measure of sun and shade. The same tips and tricks that apply to garden planted hydrangeas apply to the planted ones too.
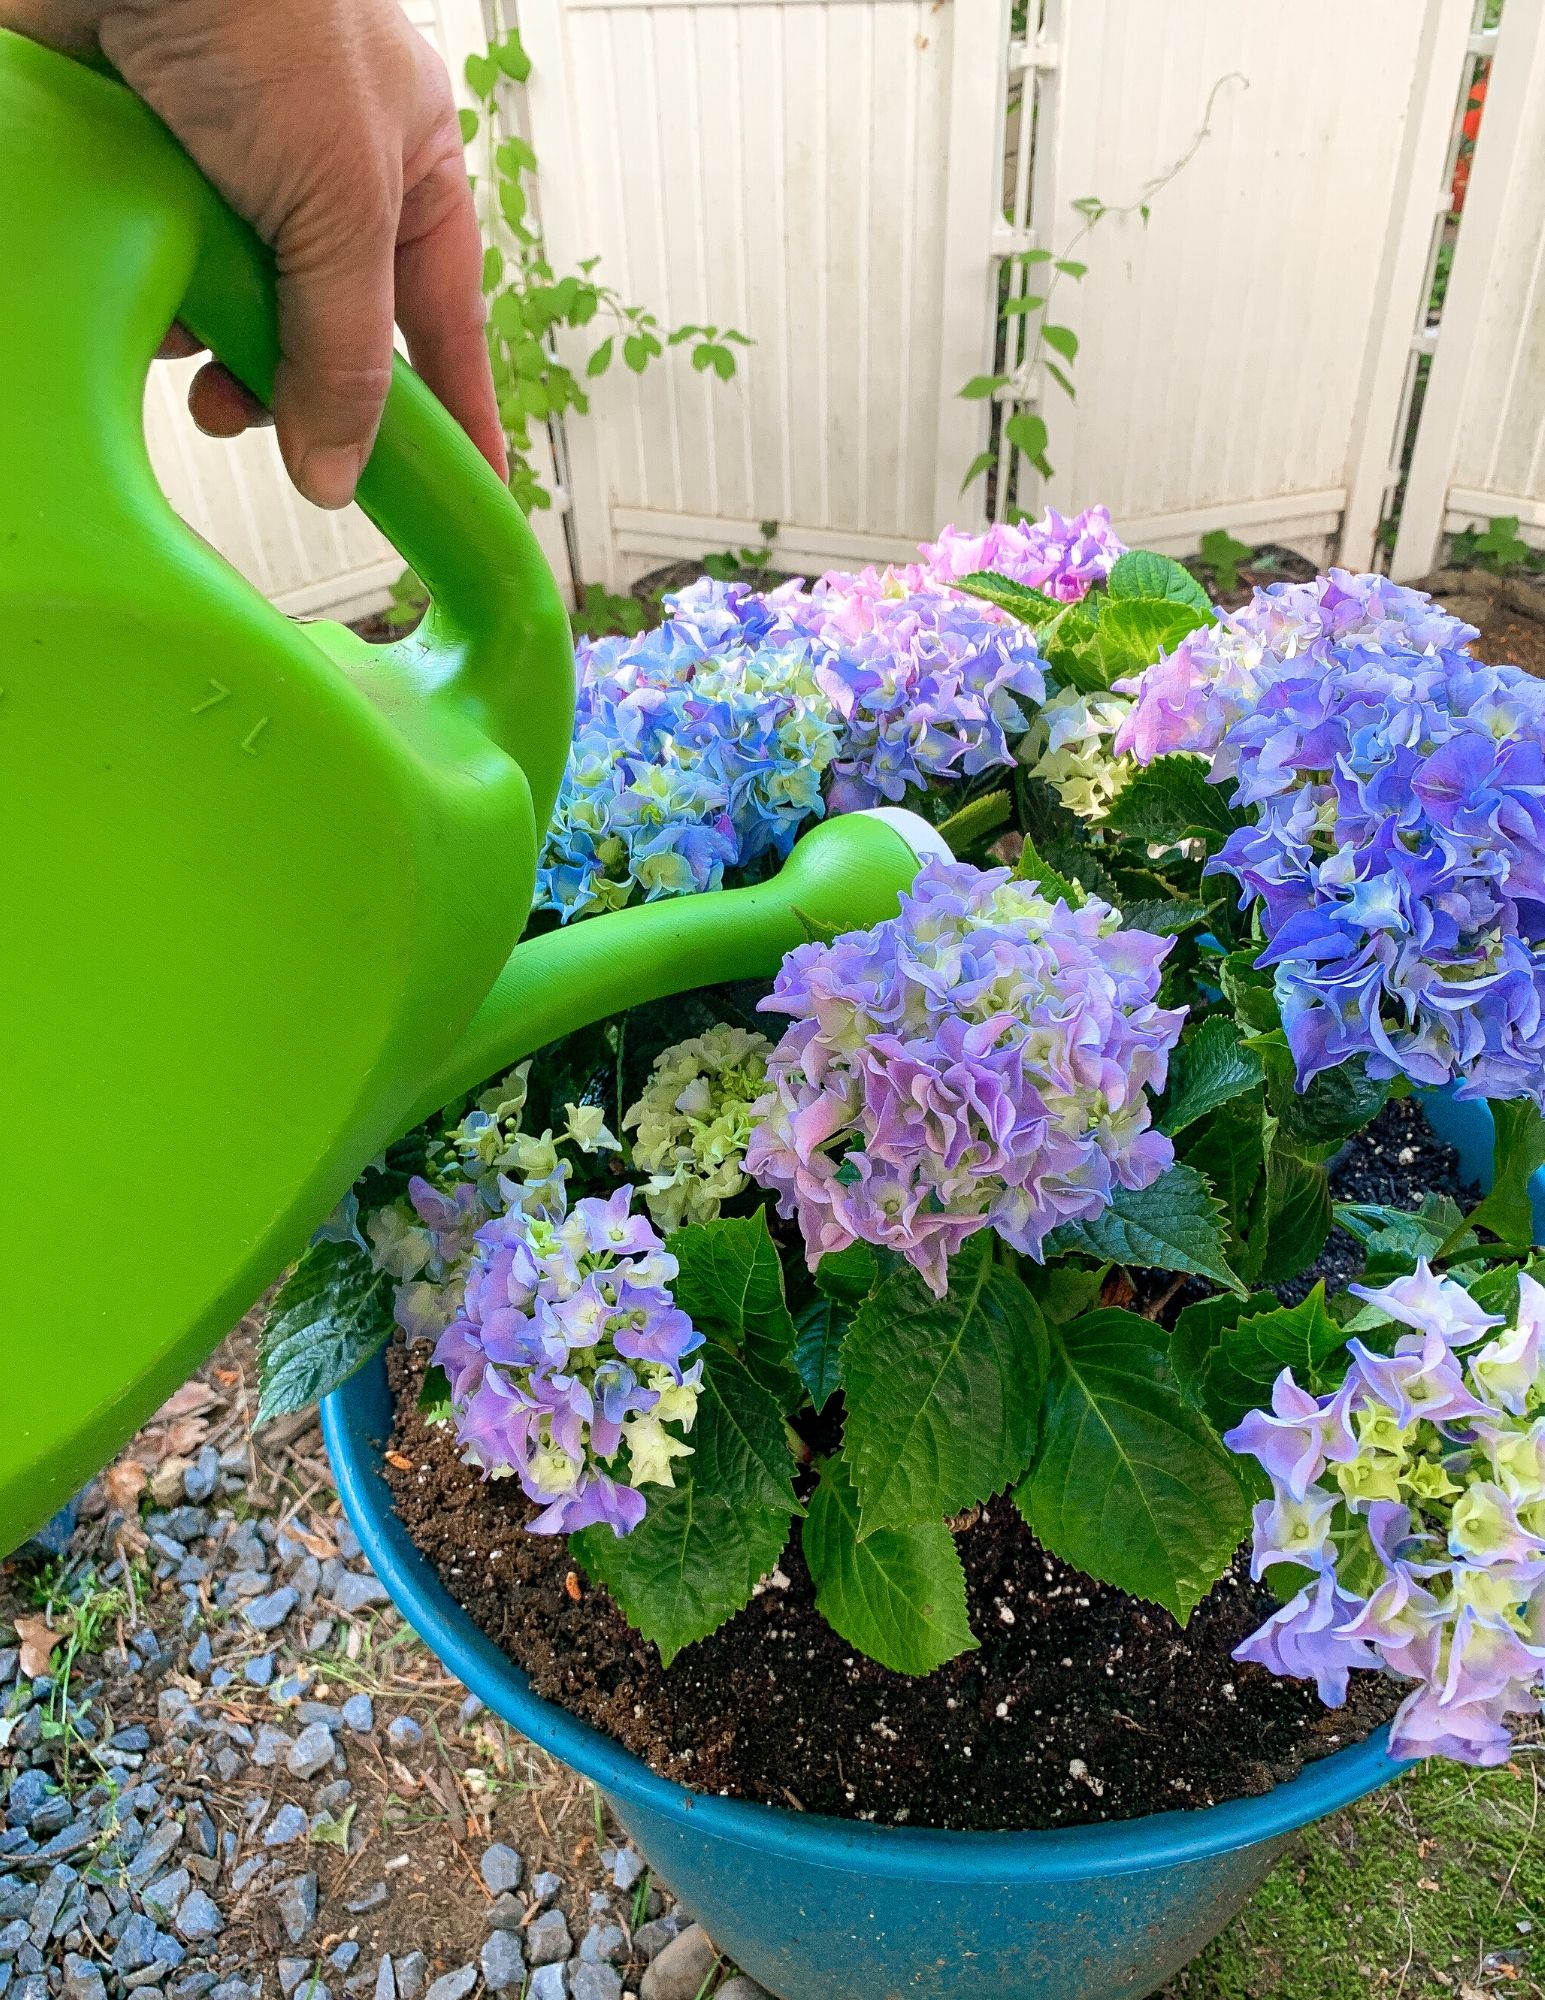
6. Happy Hour Time
It’s time to get those plants a drink! For the first day and over the next week you want to make sure they are properly hydrated as they get used to their new climate and containers. You want moist soil at all times. After the first week you can probably skip a day or two but keep an eye on the sun and weather; hot sunny days wreck havoc on the blooms and they can get dried up very quickly during a heat wave. Most days they will tell you just by looking at them how thirsty or satisfied they are.
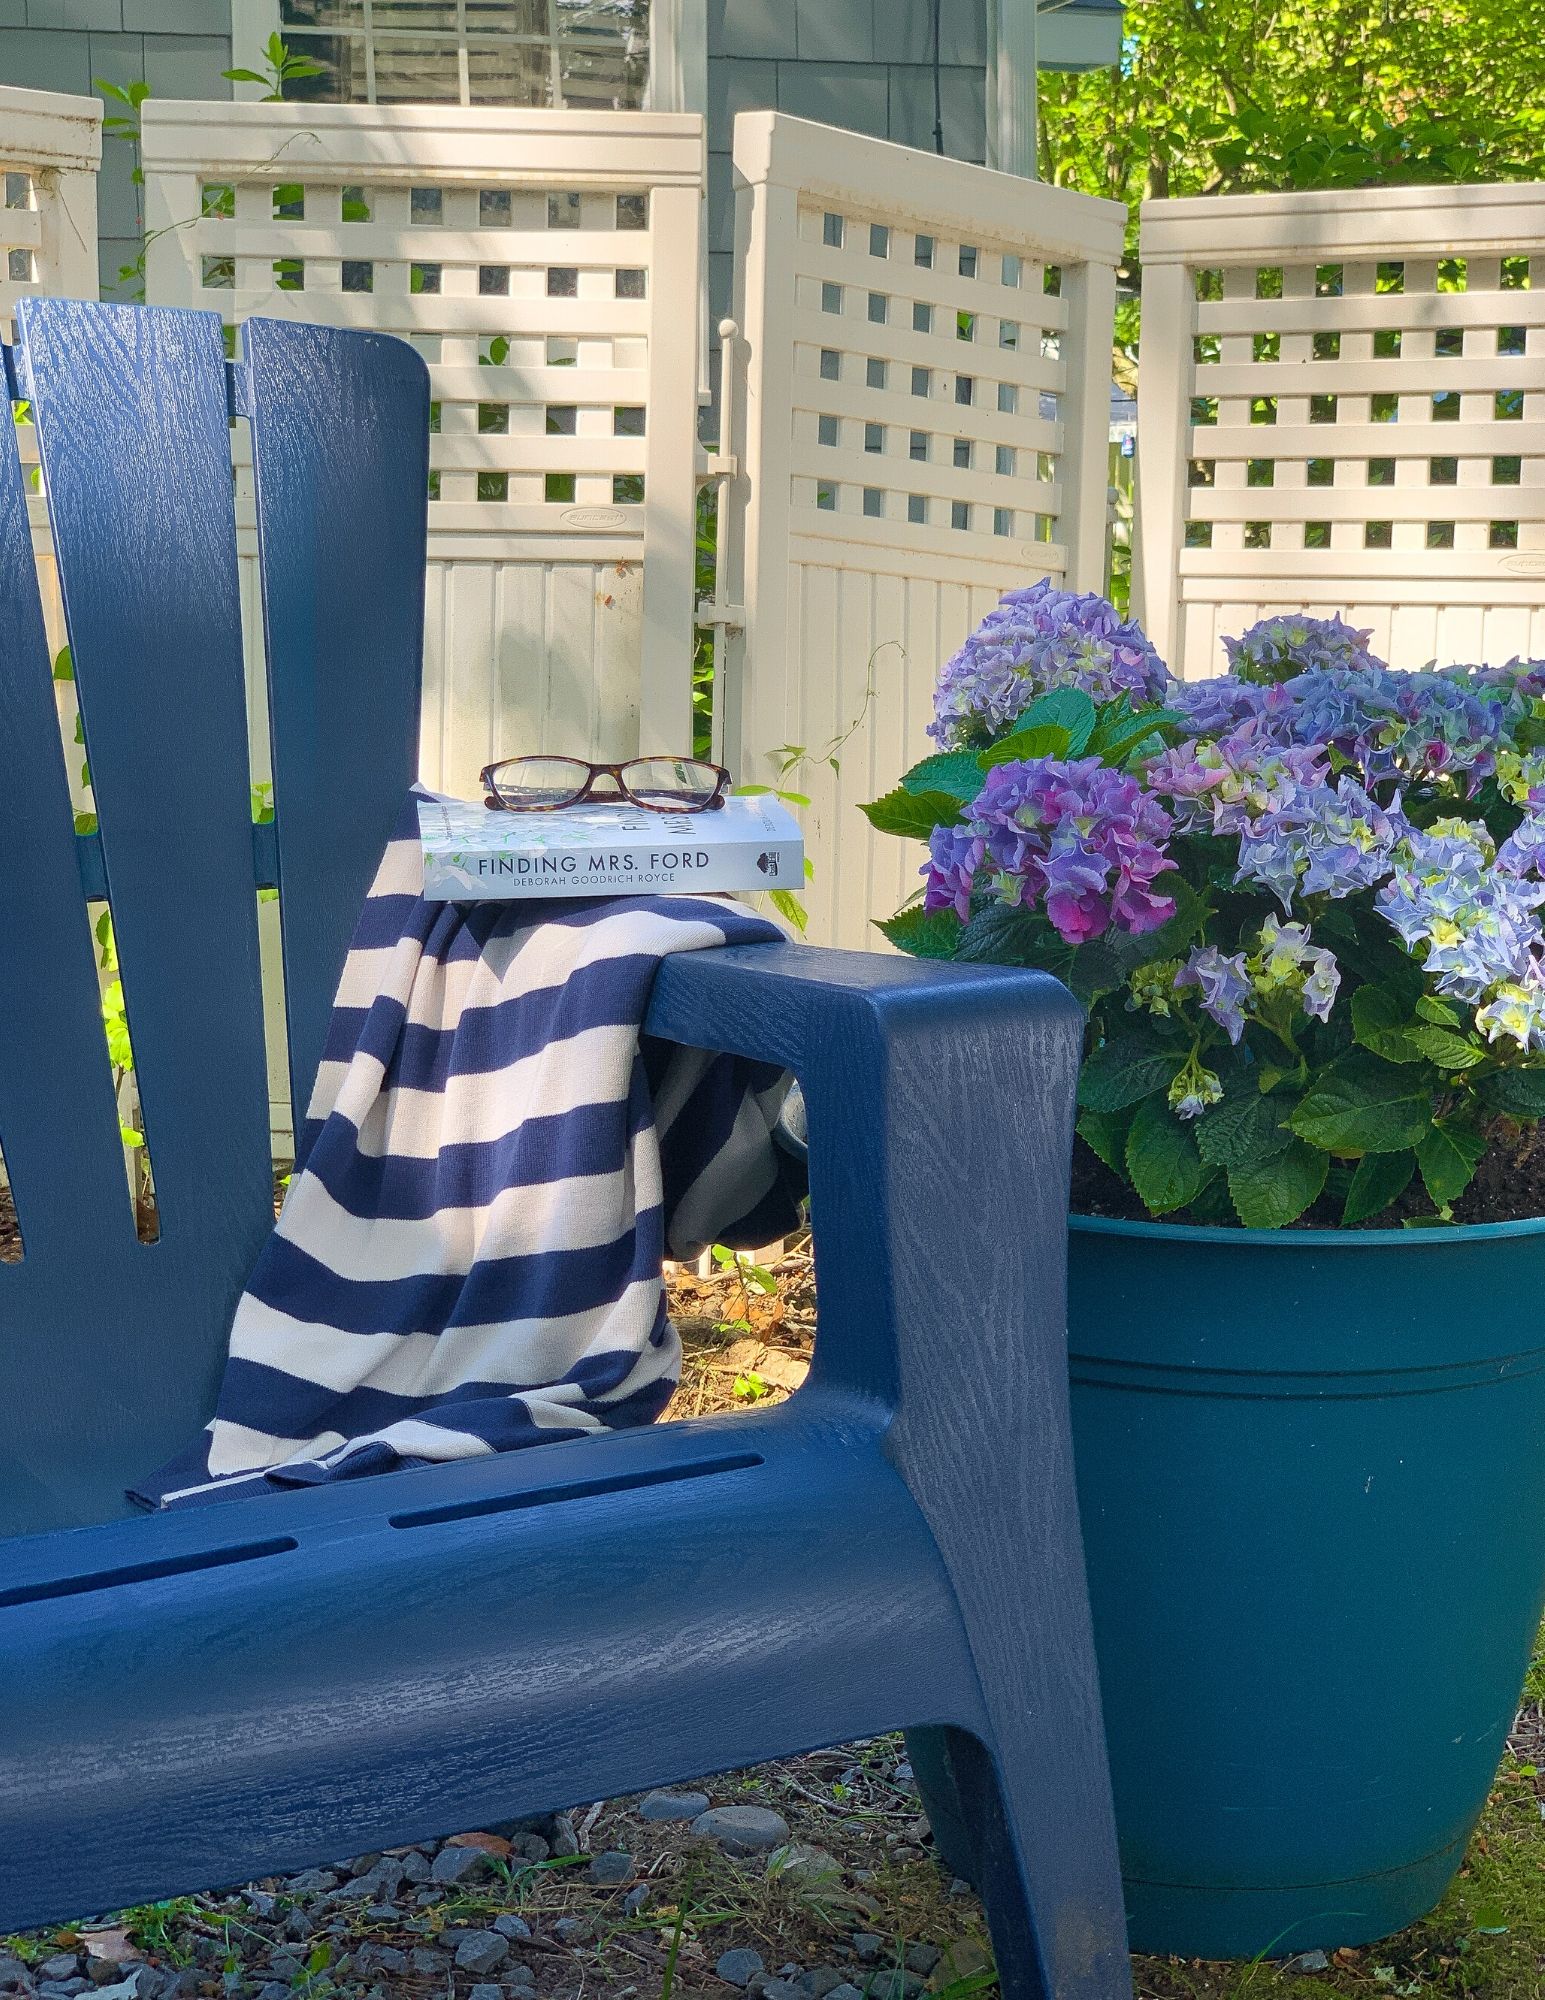
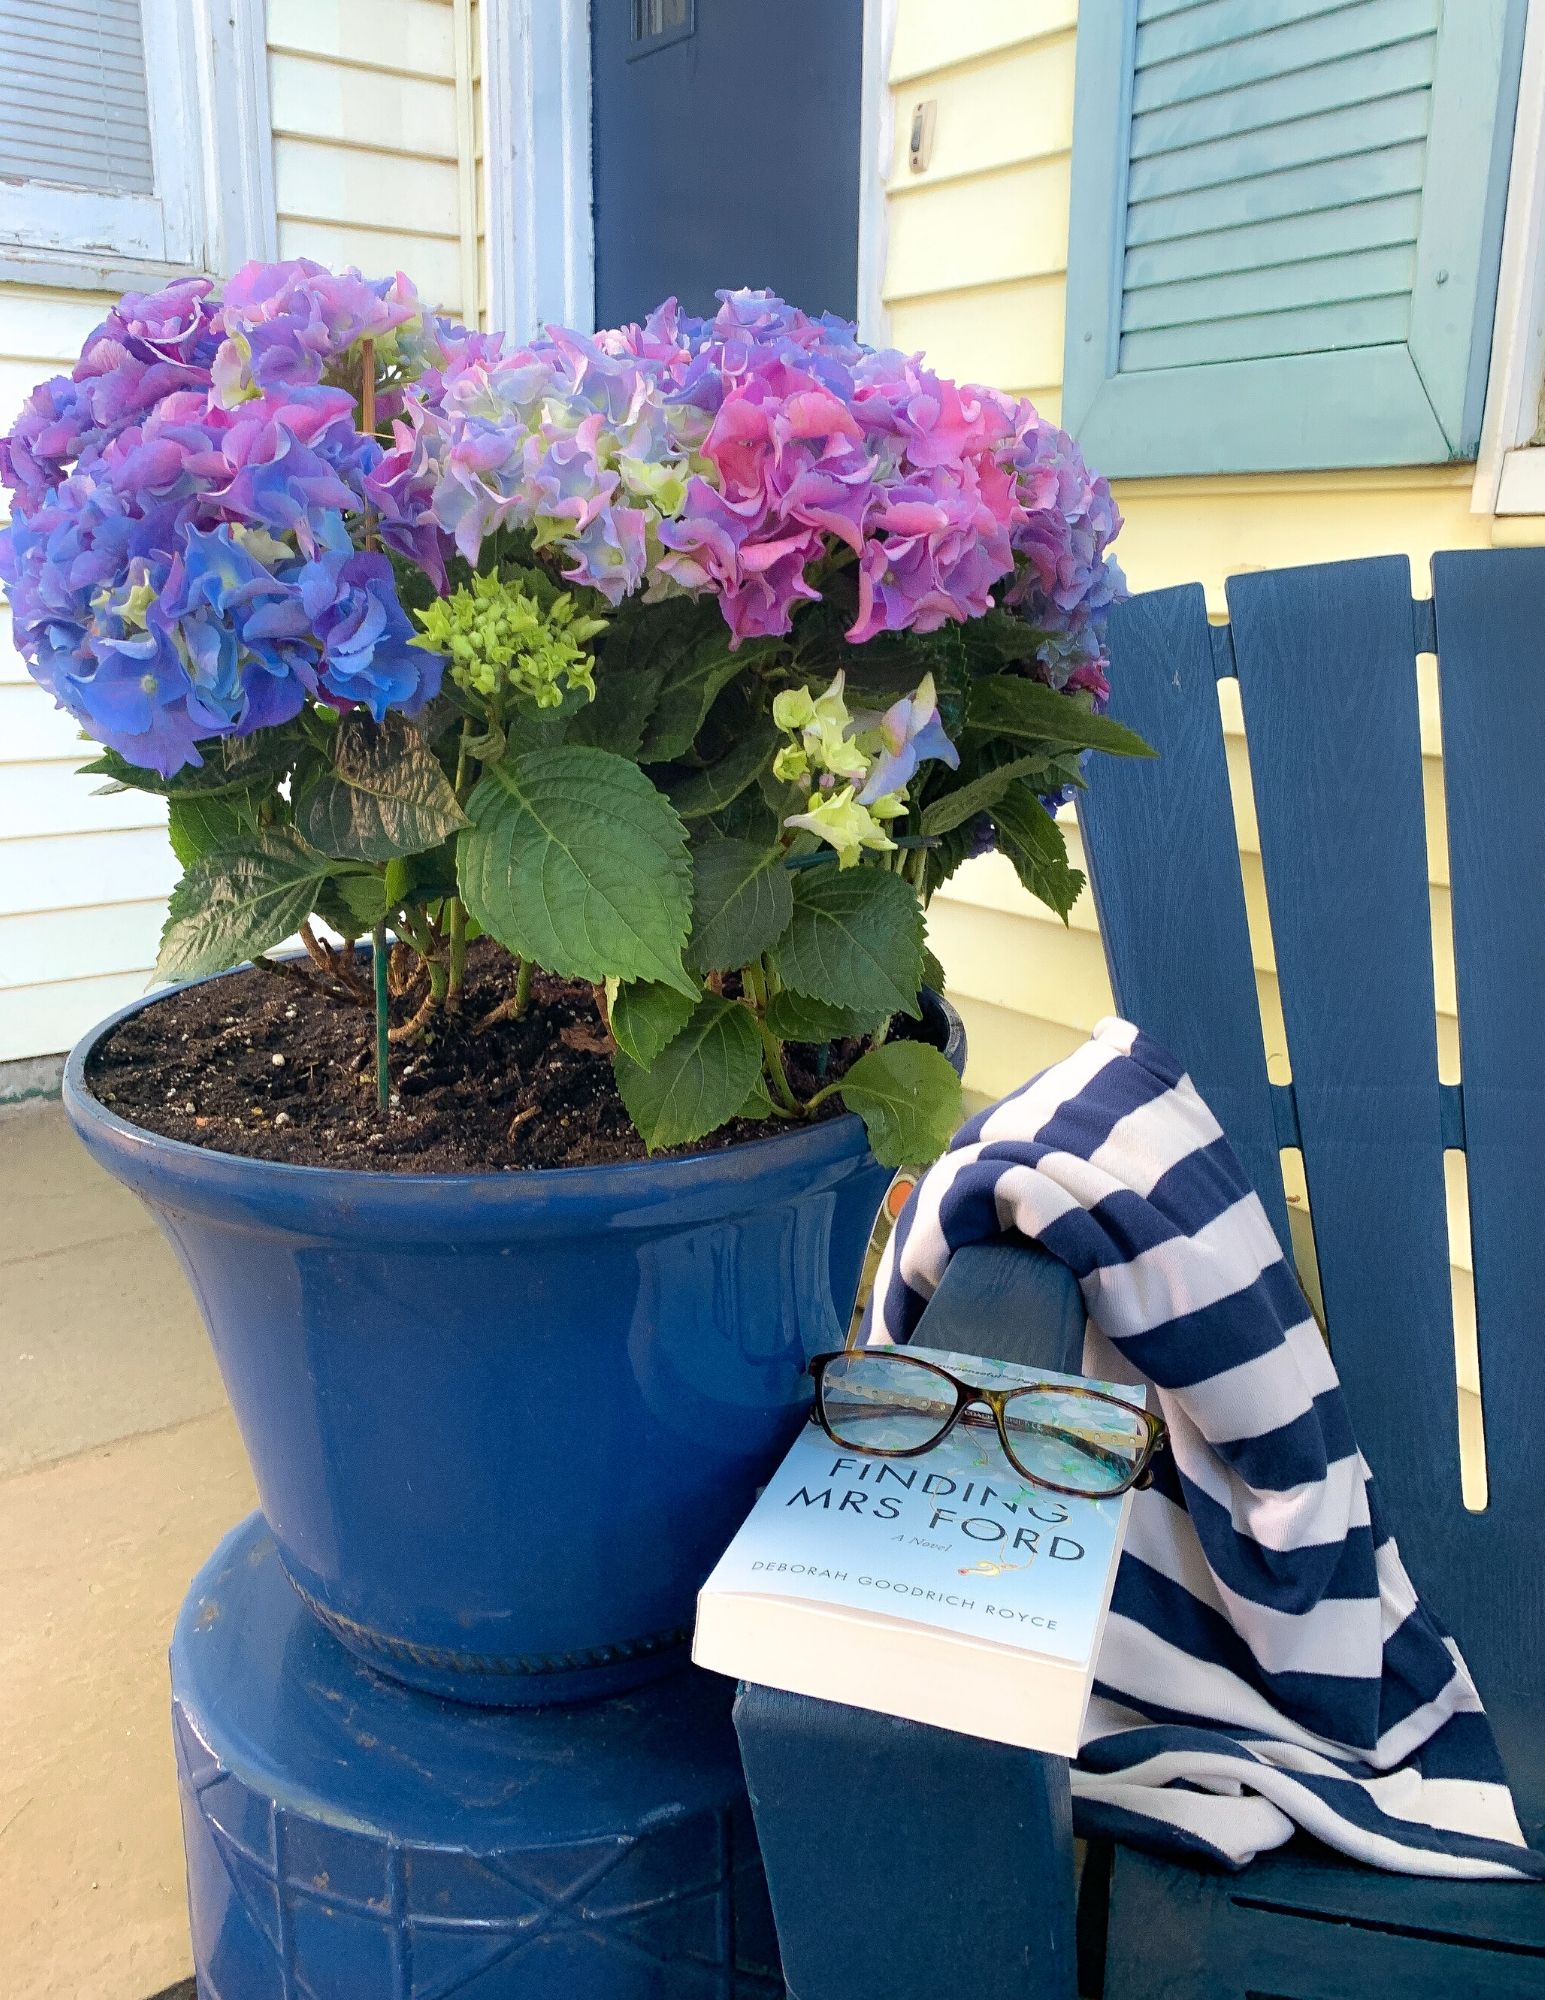
7. Sit and Enjoy
The summer is here! Grab you favorite book, a cold drink and enjoy the fruits and blooms of your labor!